 Leading a horse might sound like something very simple, but in fact there is a correct way that will keep you safer than other ways. Below three commonly seen ways of leading are demonstrated. And like goldie locks and the three bears there is a way that is just right!
0 Comments
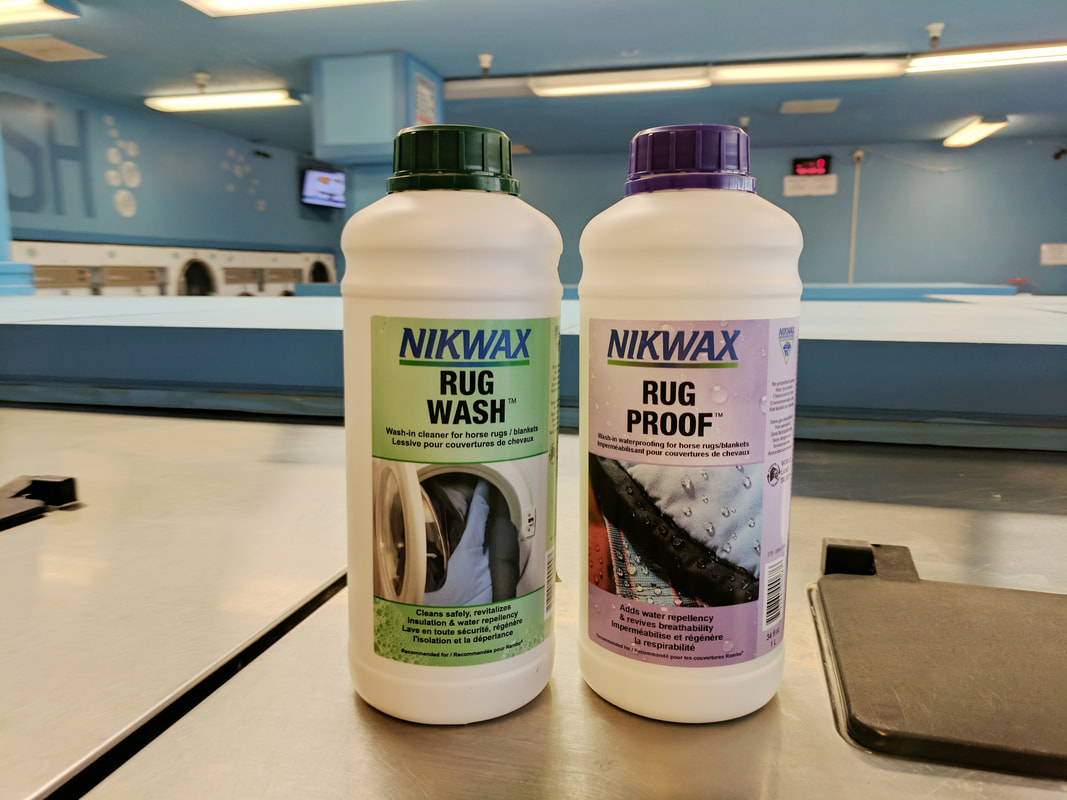
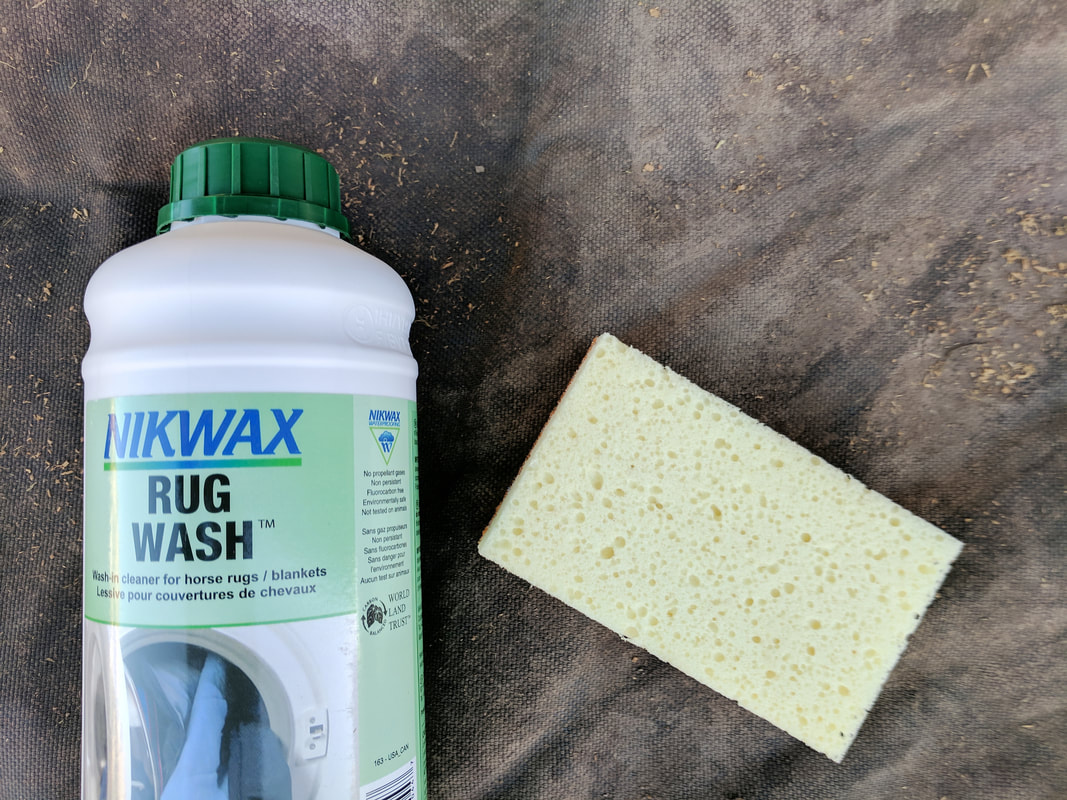
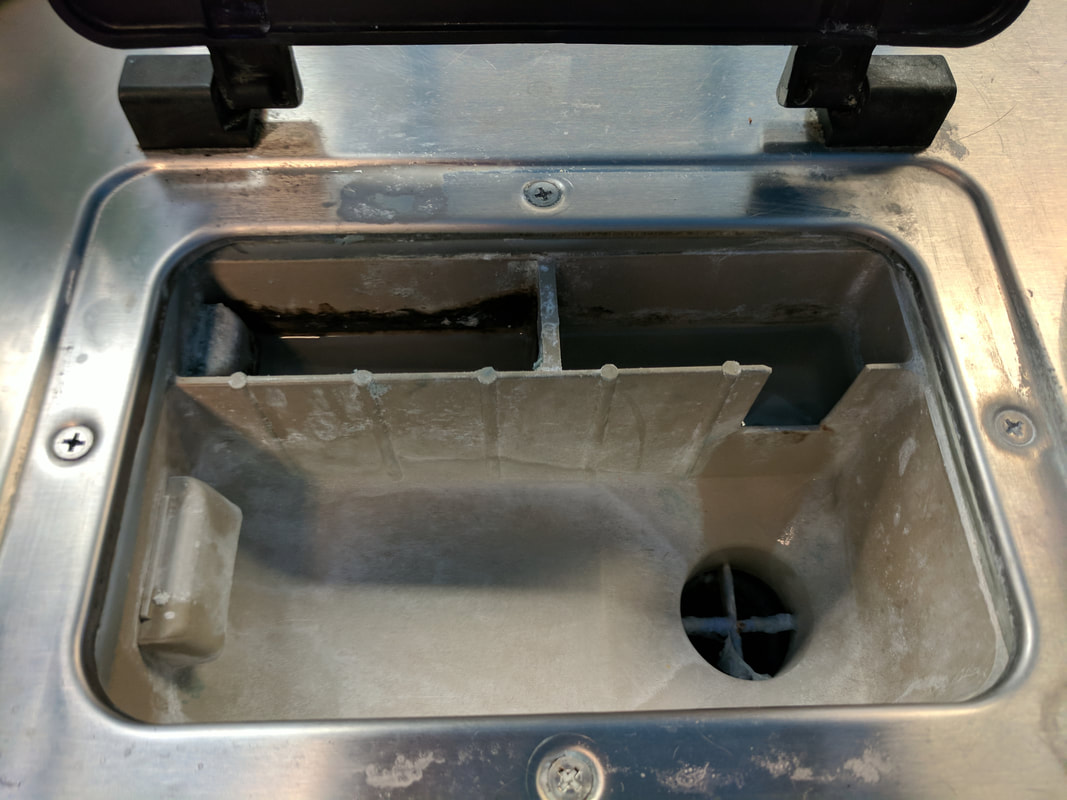
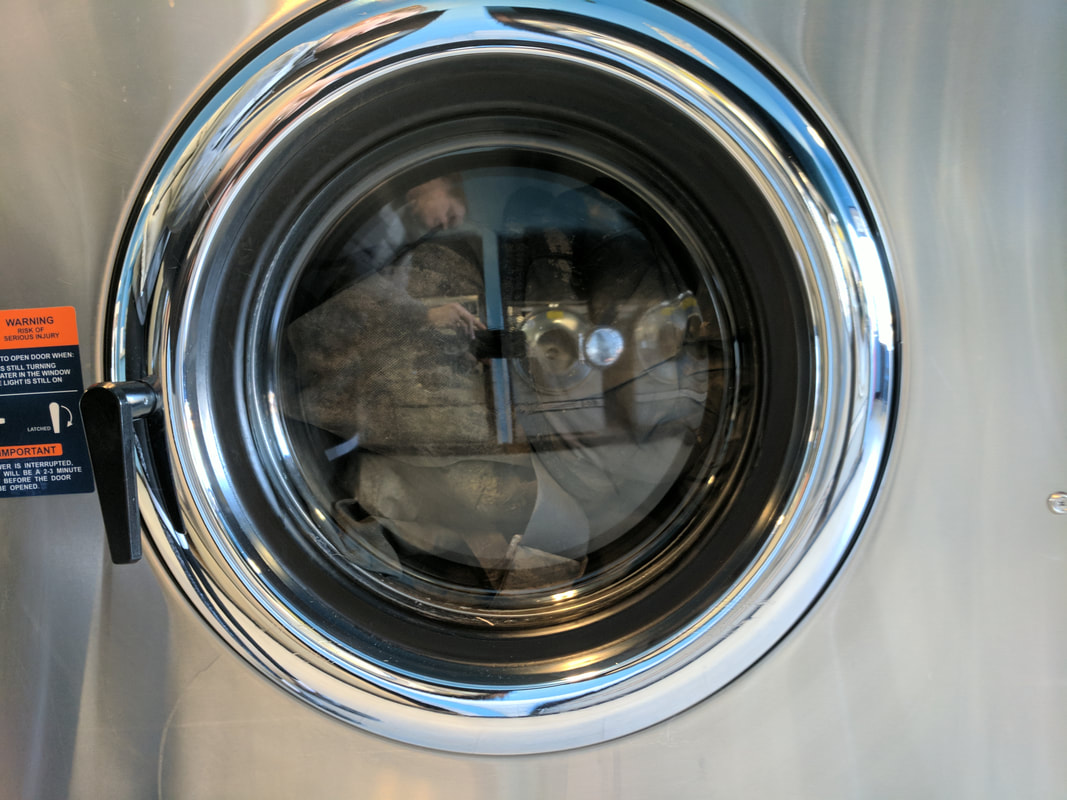
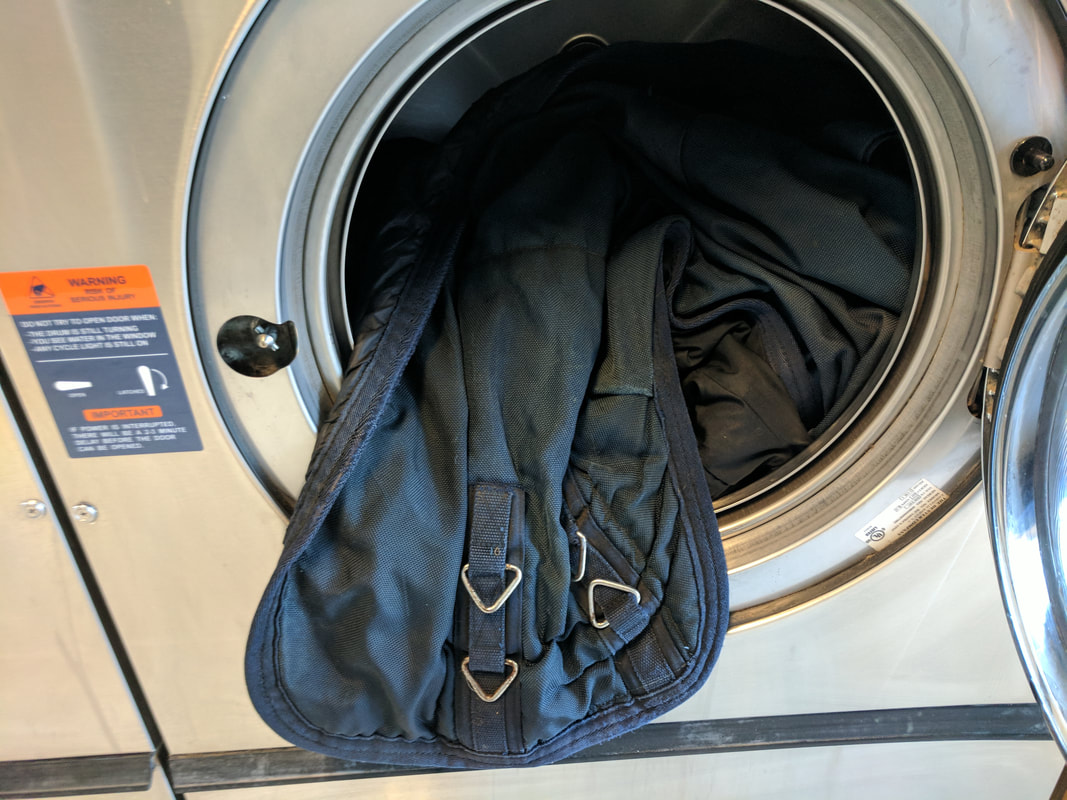
 With spring finally approaching many of us are entering the dreaded mud season. Here in the PNW that season lasts for months on end and dealing with dirty blankets is a regular struggle. With so much rain in the forecast blankets can start losing their ability to keep up and need a refresher with a good wash and re-waterproofing. Below is a step by step guide on how to wash and waterproof your blankets.
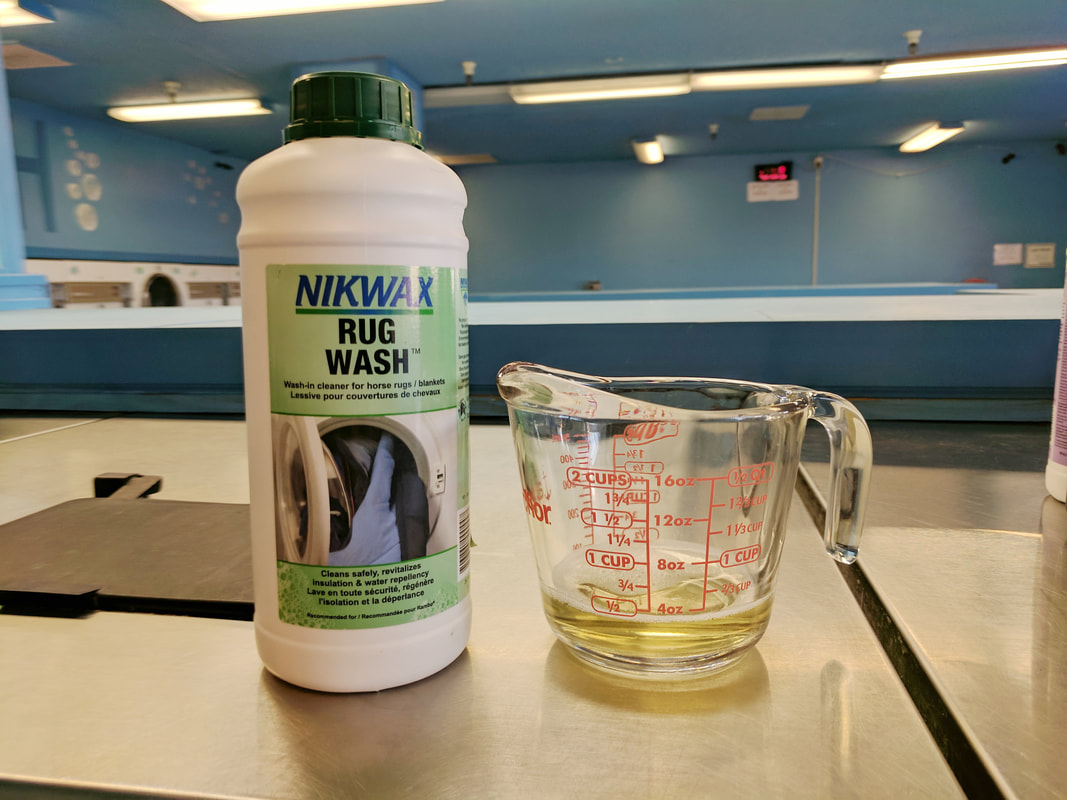
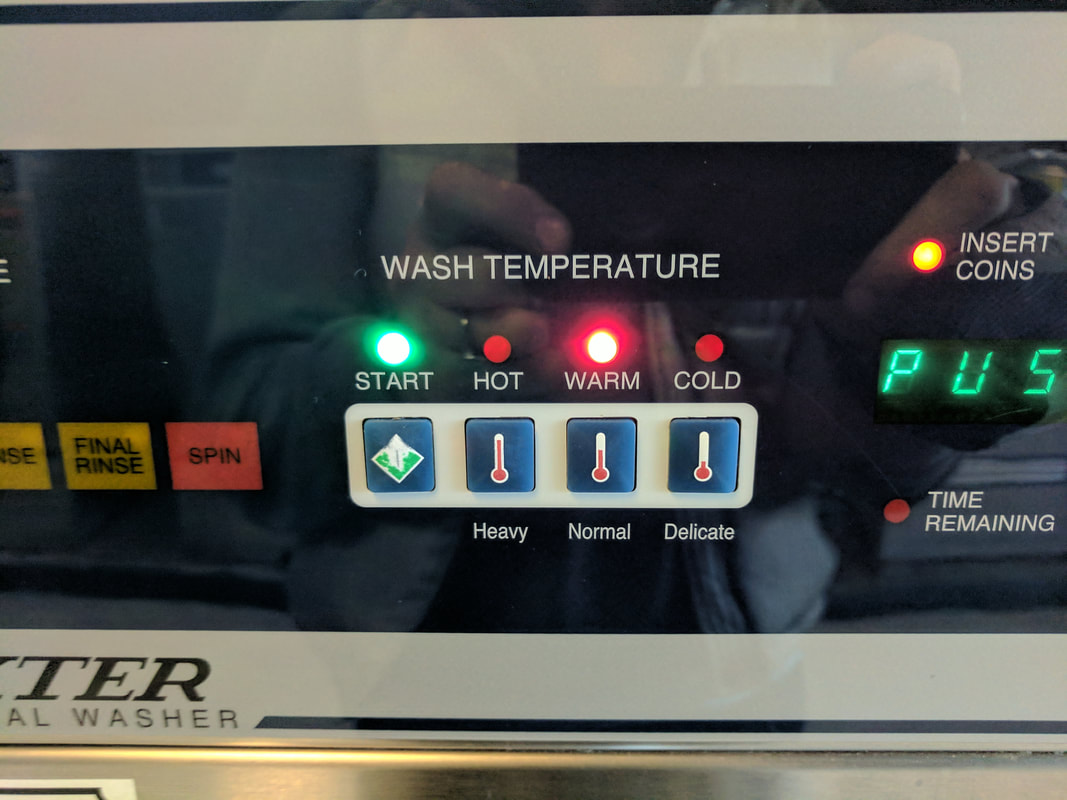
WASHING
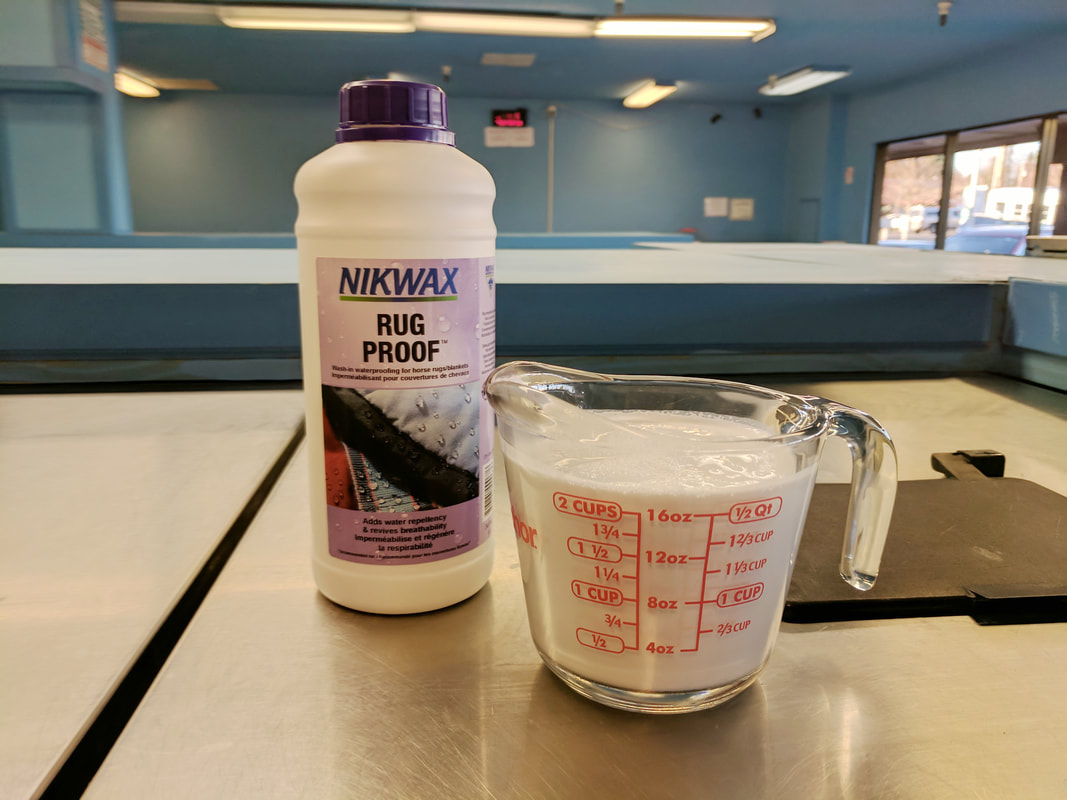
WATERPROOFING
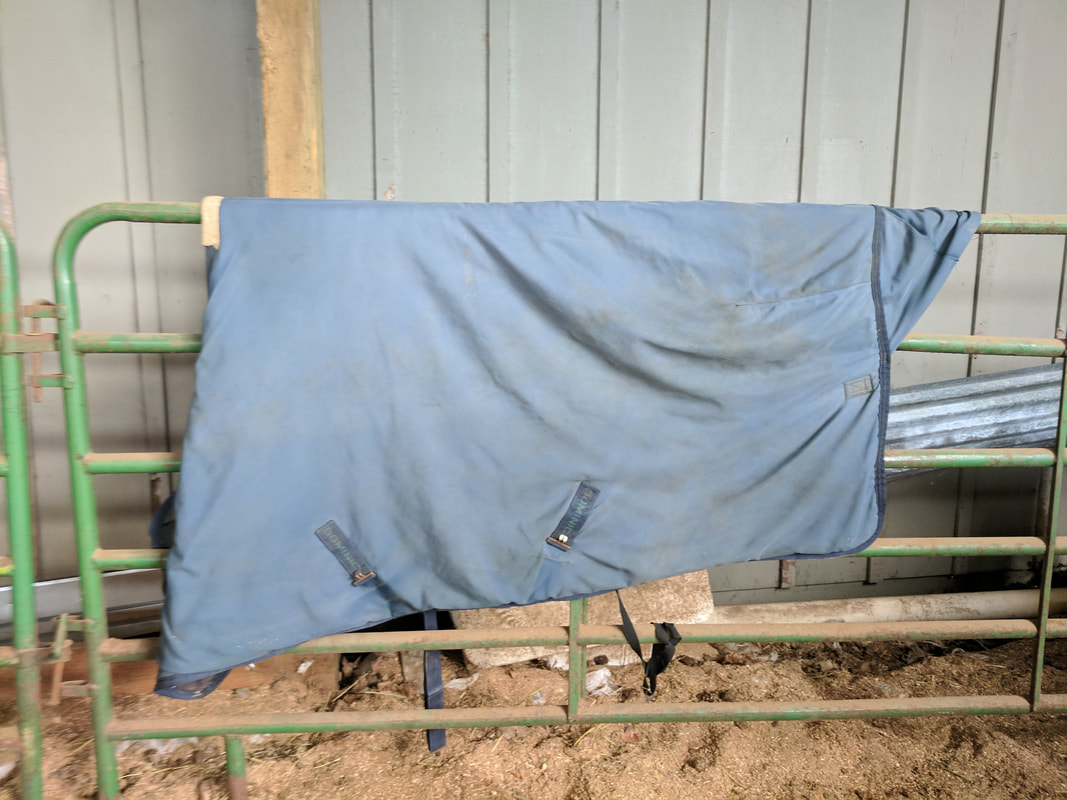
Before & After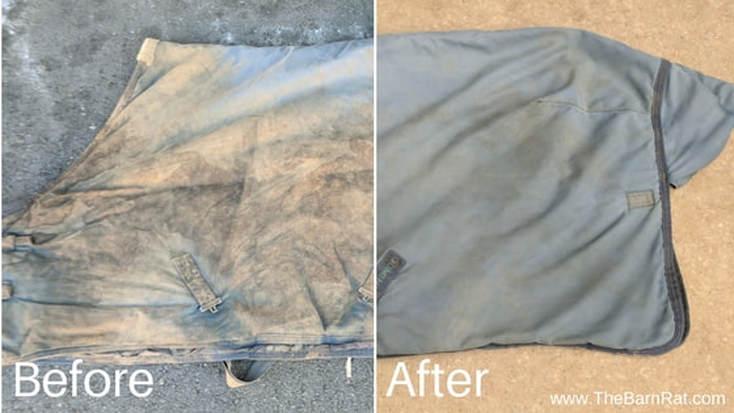
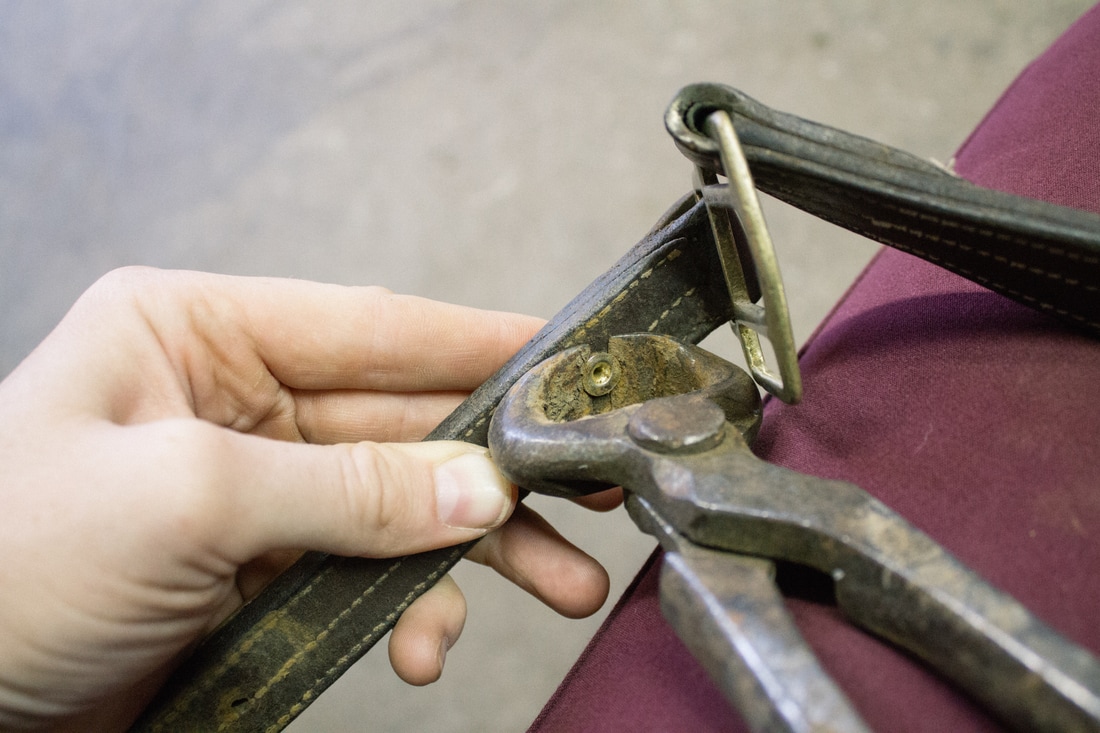
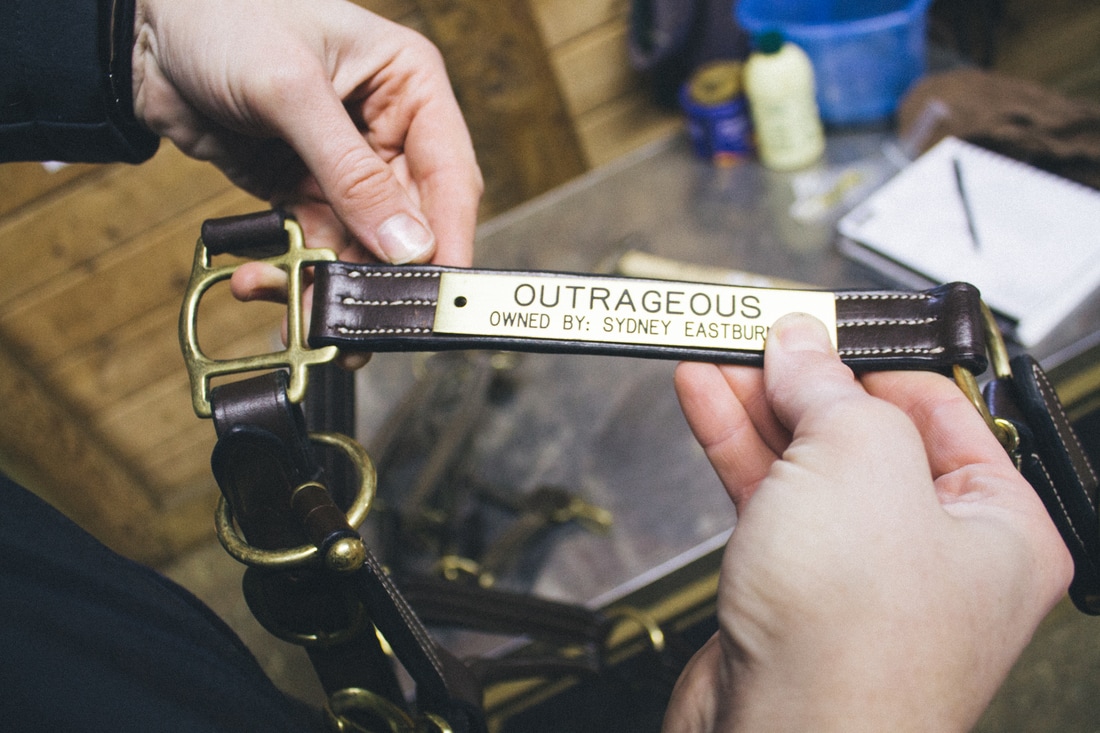
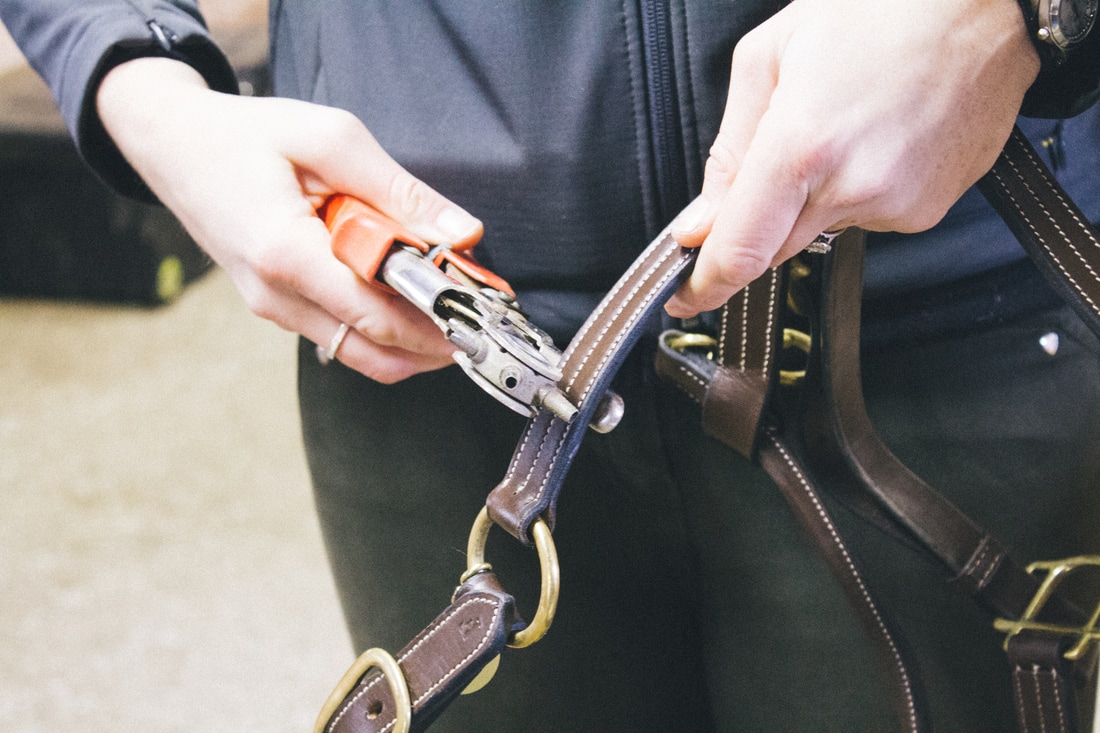
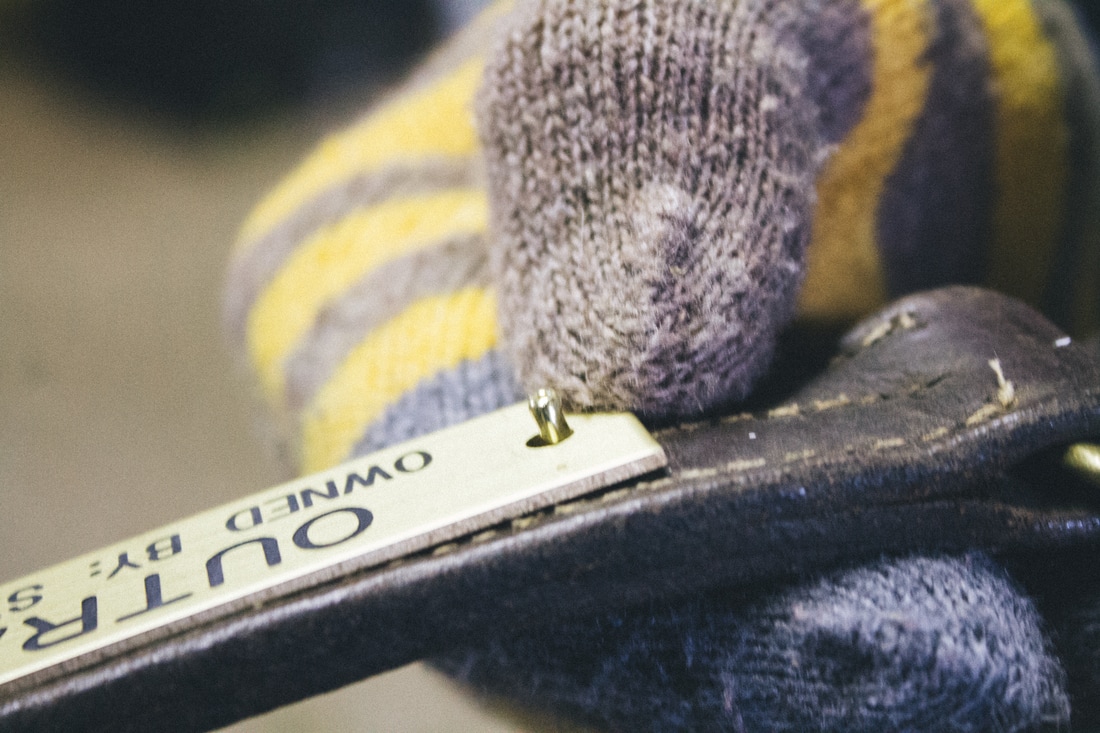
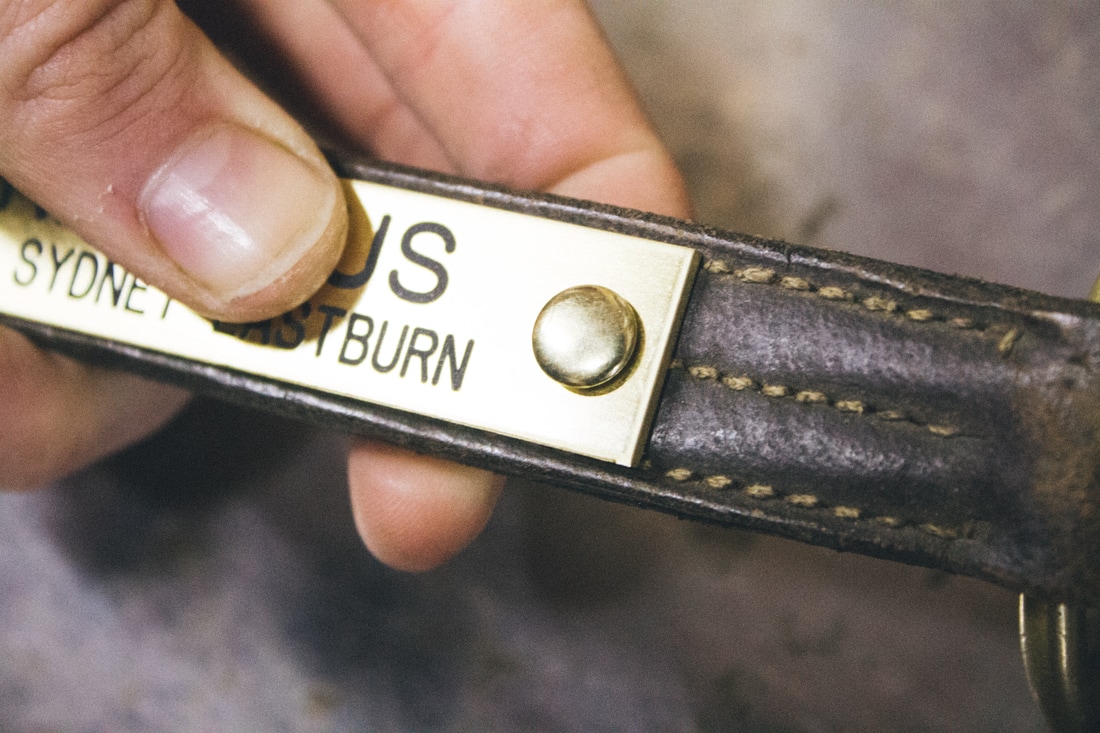
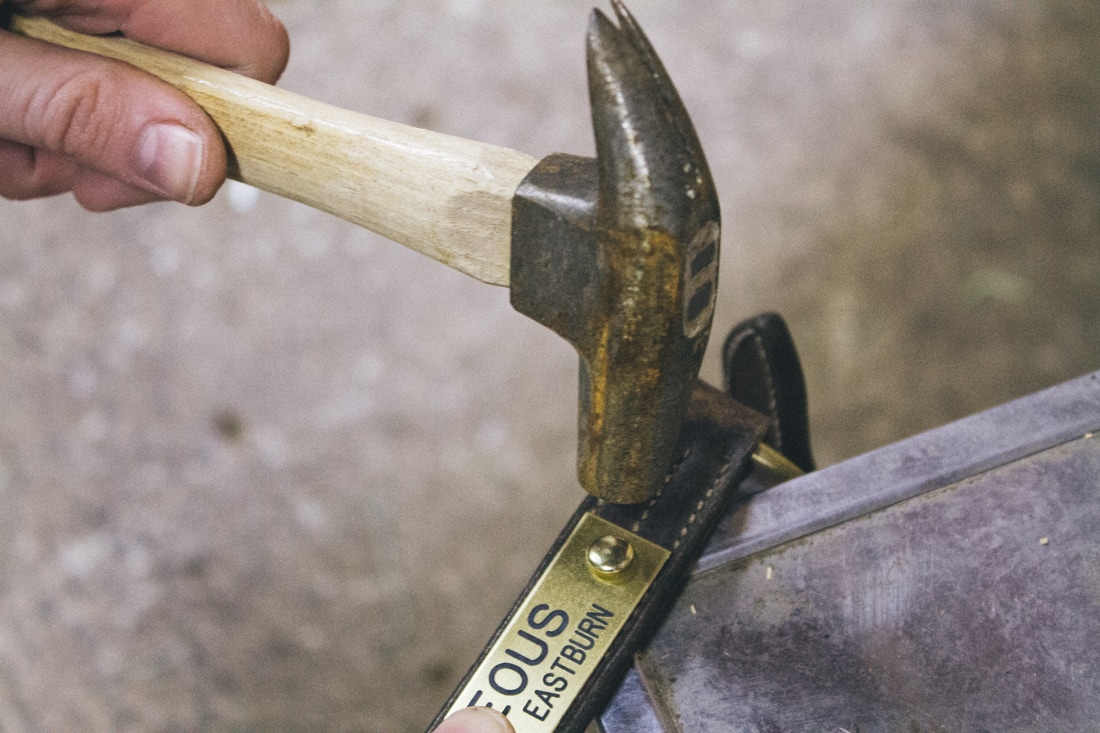
This post was brought to you by the partnership between The Barn Rat and Nikwax Waterproofing.  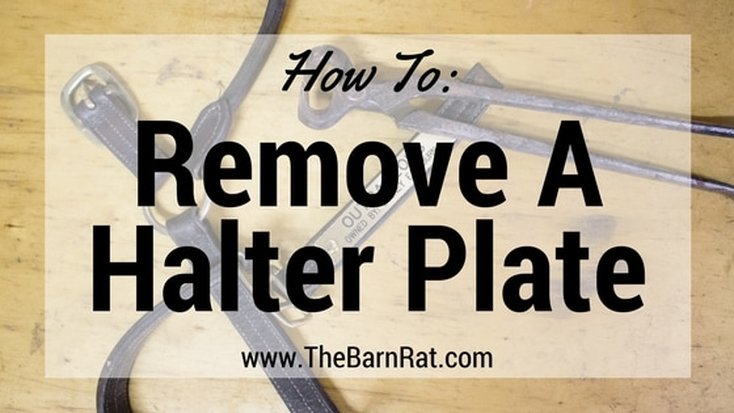 Unfortunately, soon after learning how to somewhat successfully attach a halter plate, I had to learn how to take them off. My leather halters broke beyond repair so while I wait to get new ones I wanted to make sure my nameplates stayed safe. The best piece of equipment I found is a pair of farrier nippers. 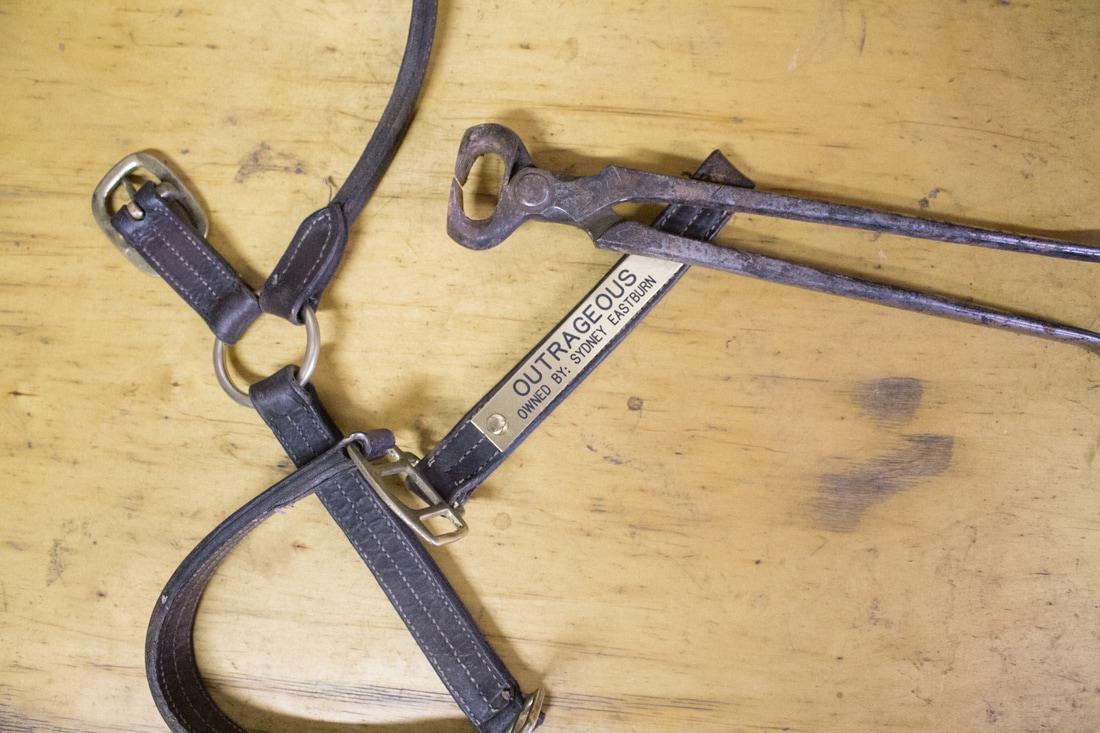
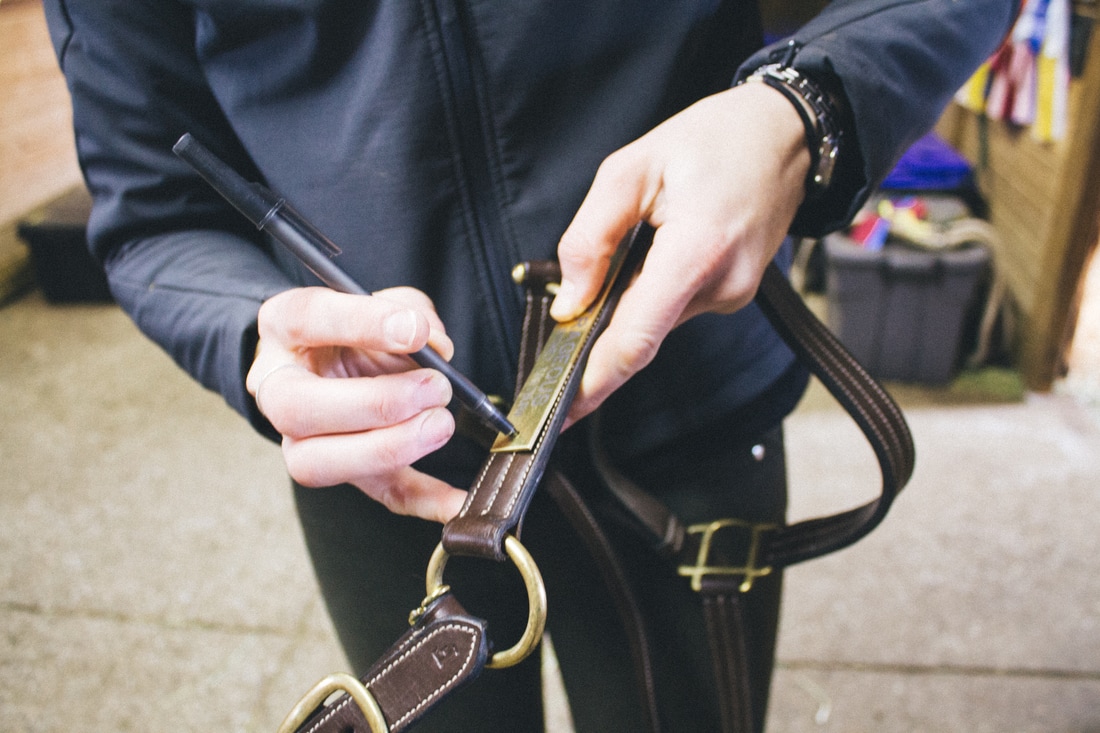
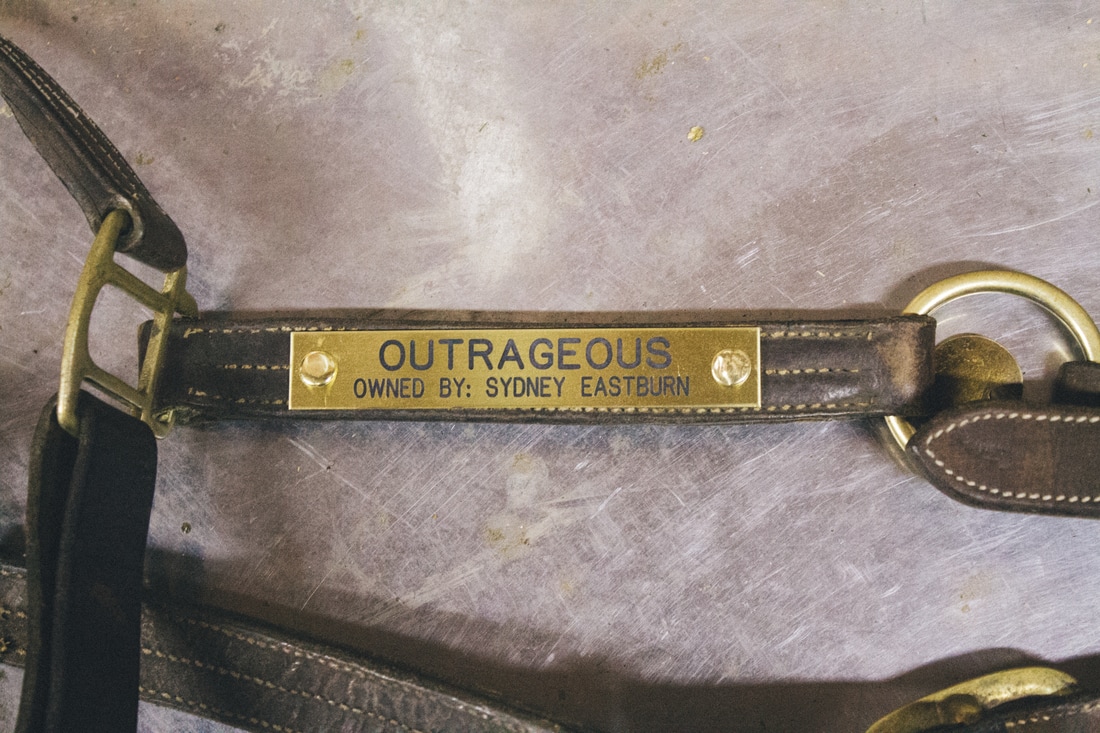
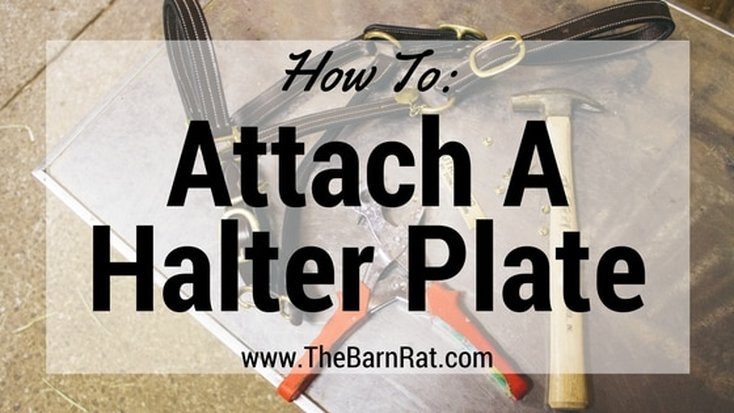 I've always seen these beautiful leather halters with brass nameplates and just thought there was some magical factory that put these plates on halters. Well, recently I finally got nameplates for my horses and realized that there wasn't some factory that just put these on. Now, if you live in an area with a fancy tack store that can do this for you, great. I don't so it turned into a great DIY project. Below are the steps I took to attach my nameplates.
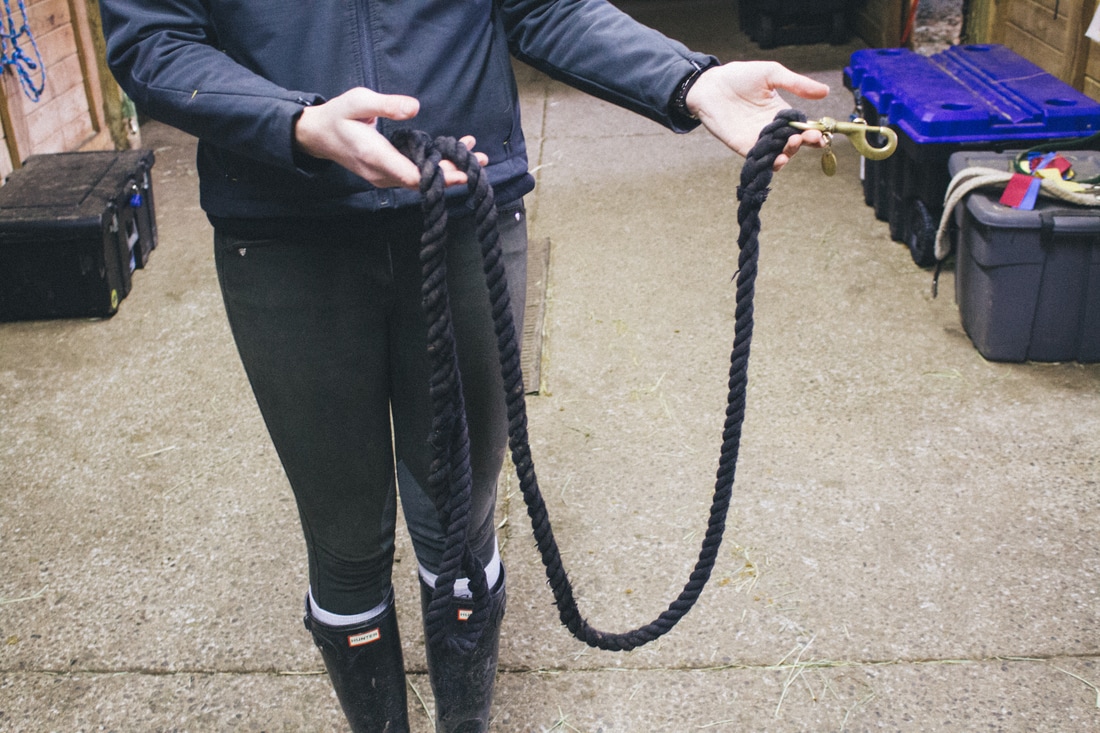
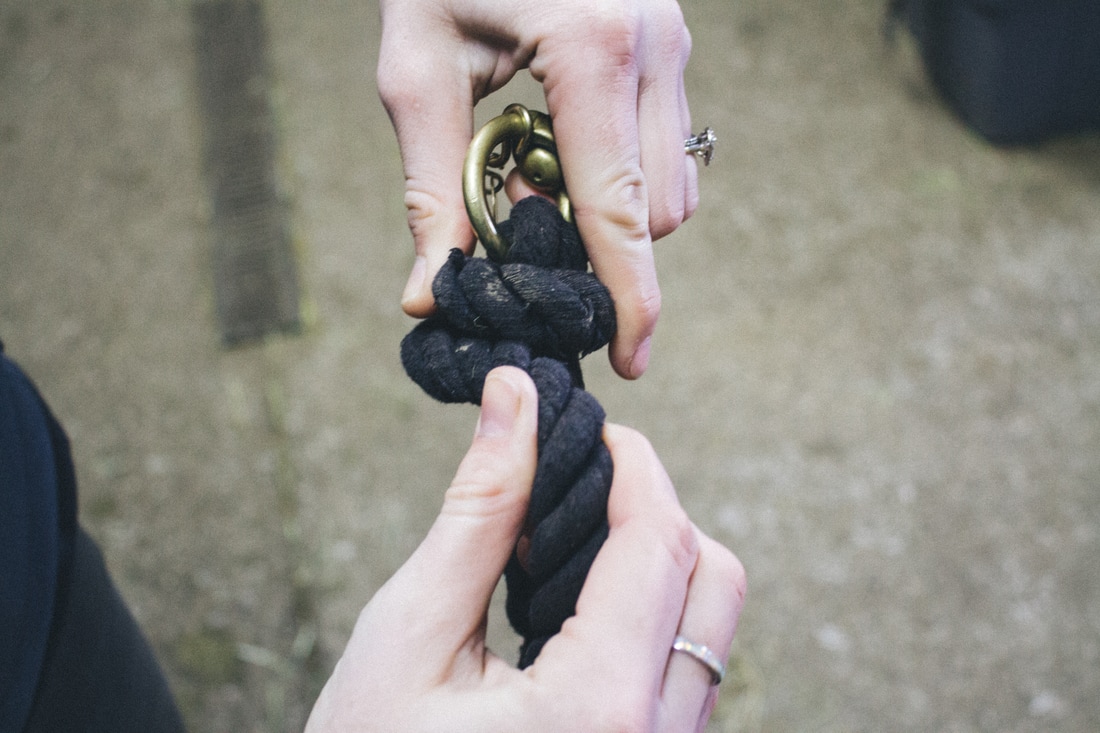
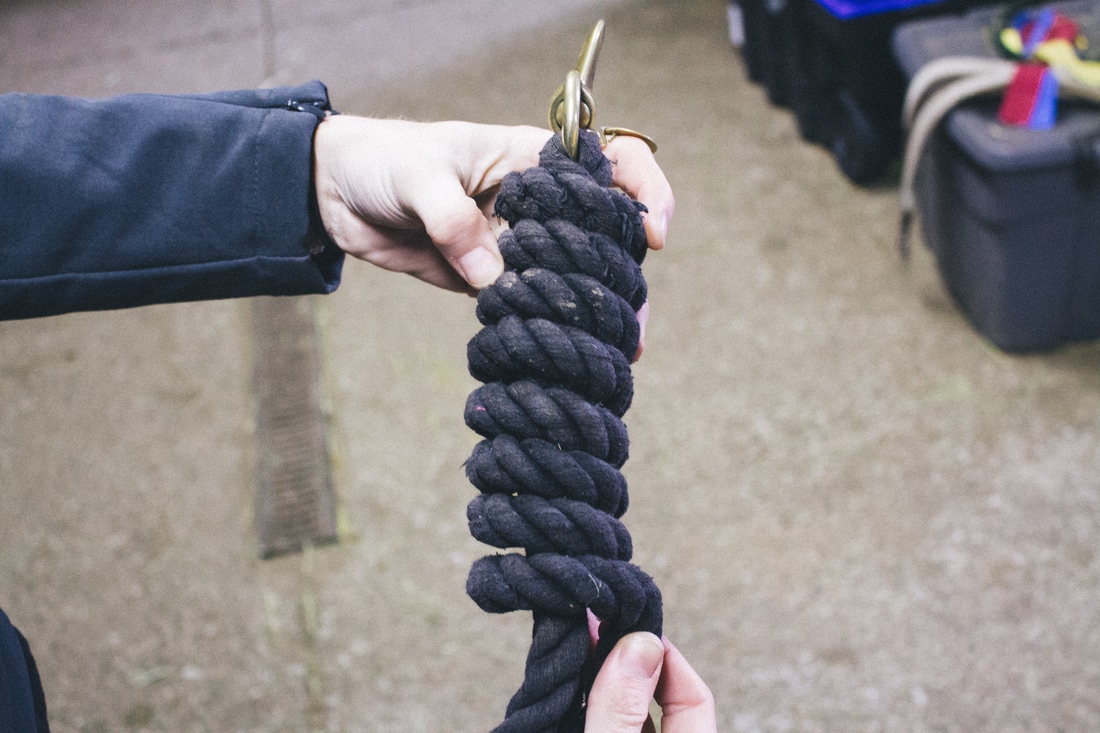
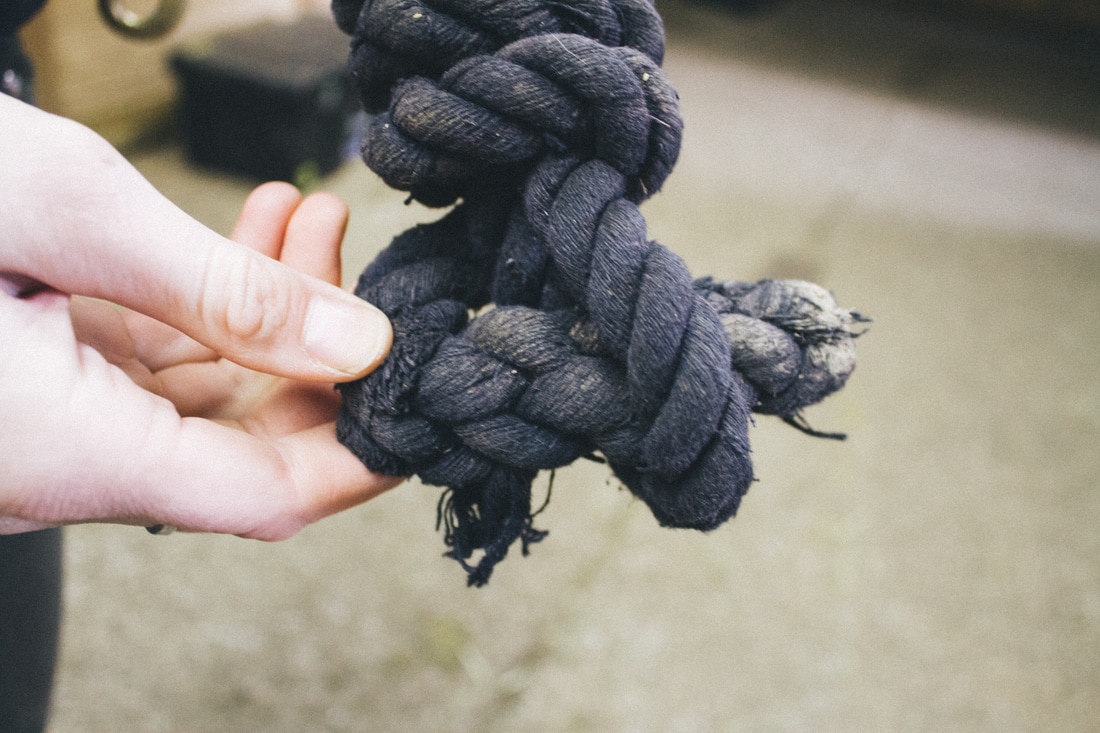
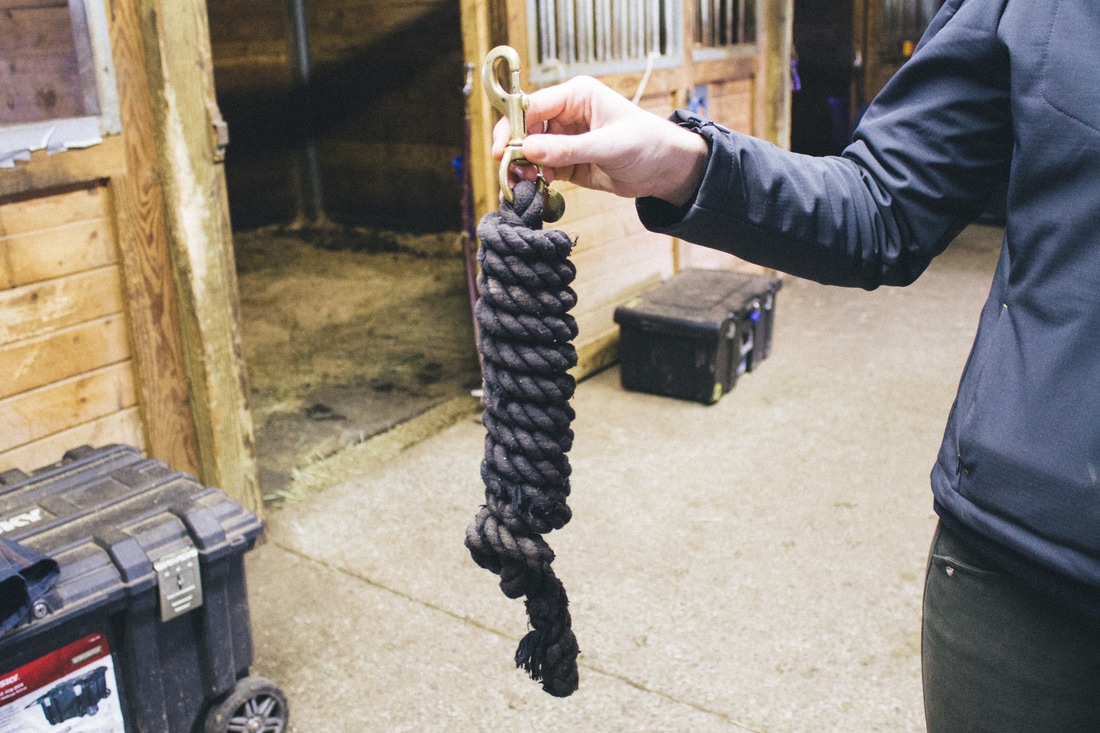
 Ever see lead ropes all wrapped up in fancy show barns making the halters look so neat and organized? Wrapping up your lead rope is not only a good way to keep your horse's stall front looking nice but it also an easy way to keep extra lead ropes from getting tangled. Read below for the easy steps to tie up your lead rope.
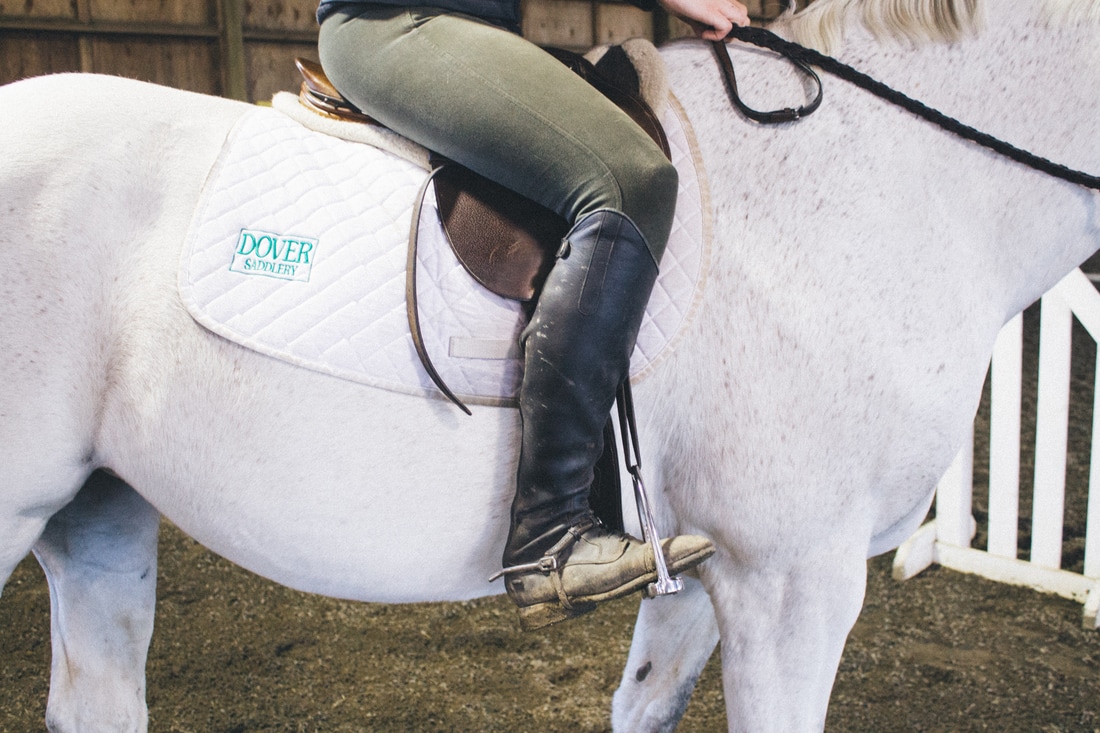
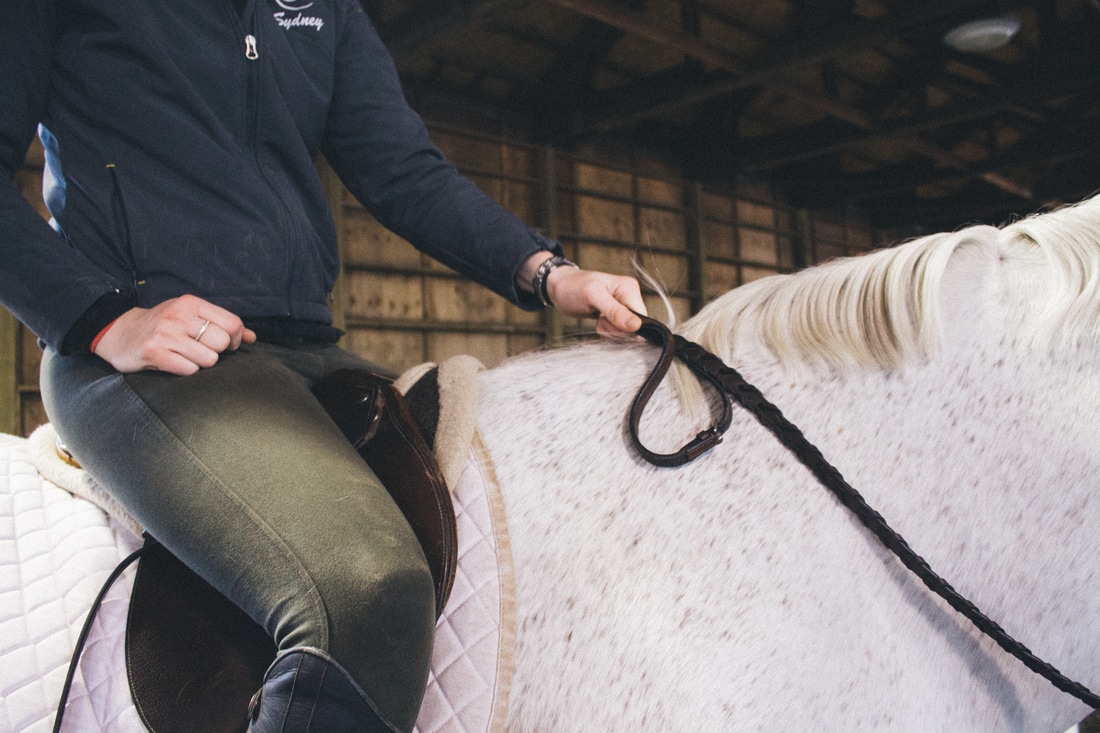
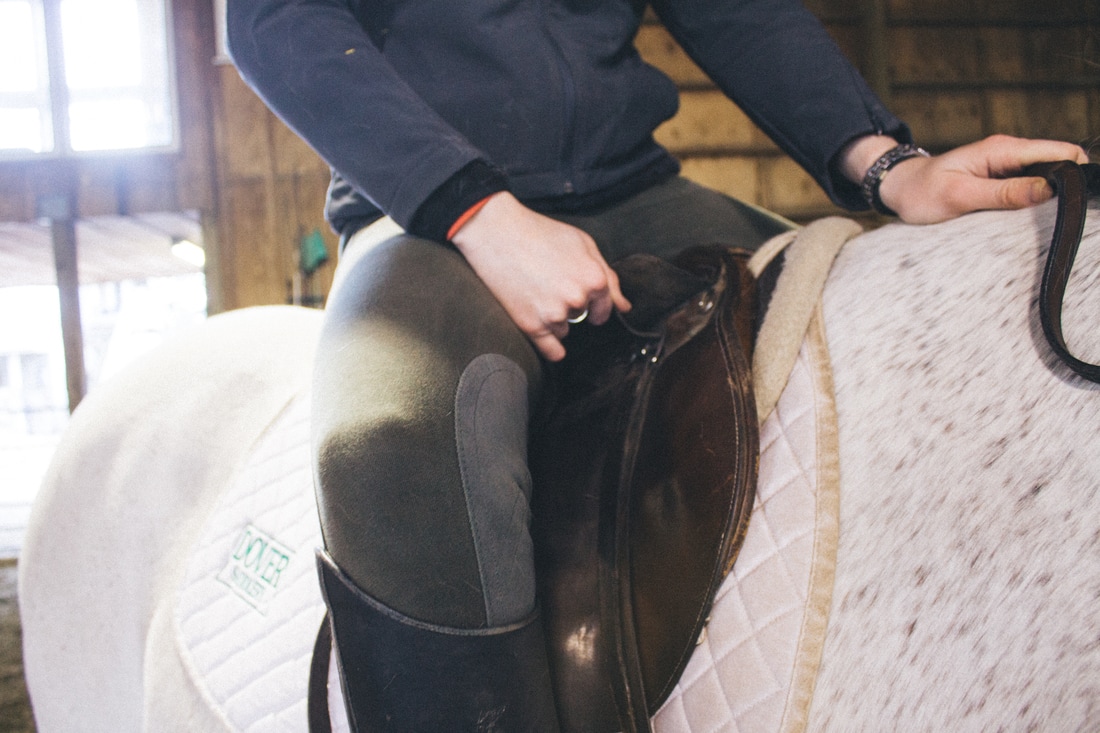
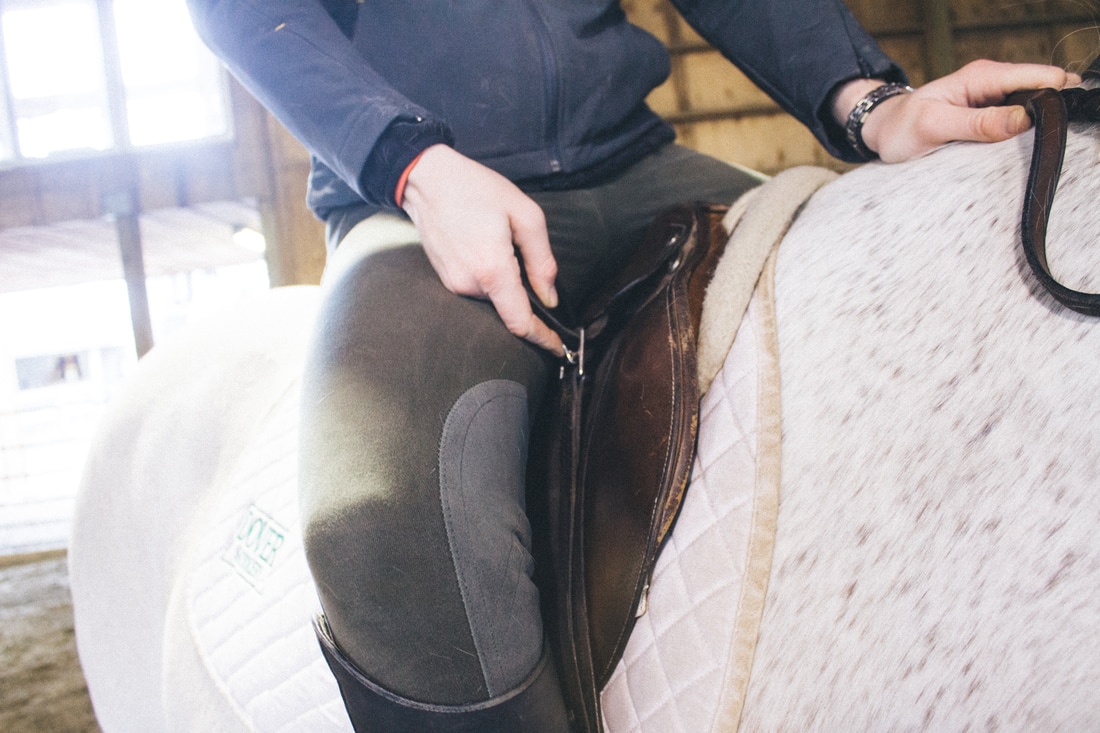
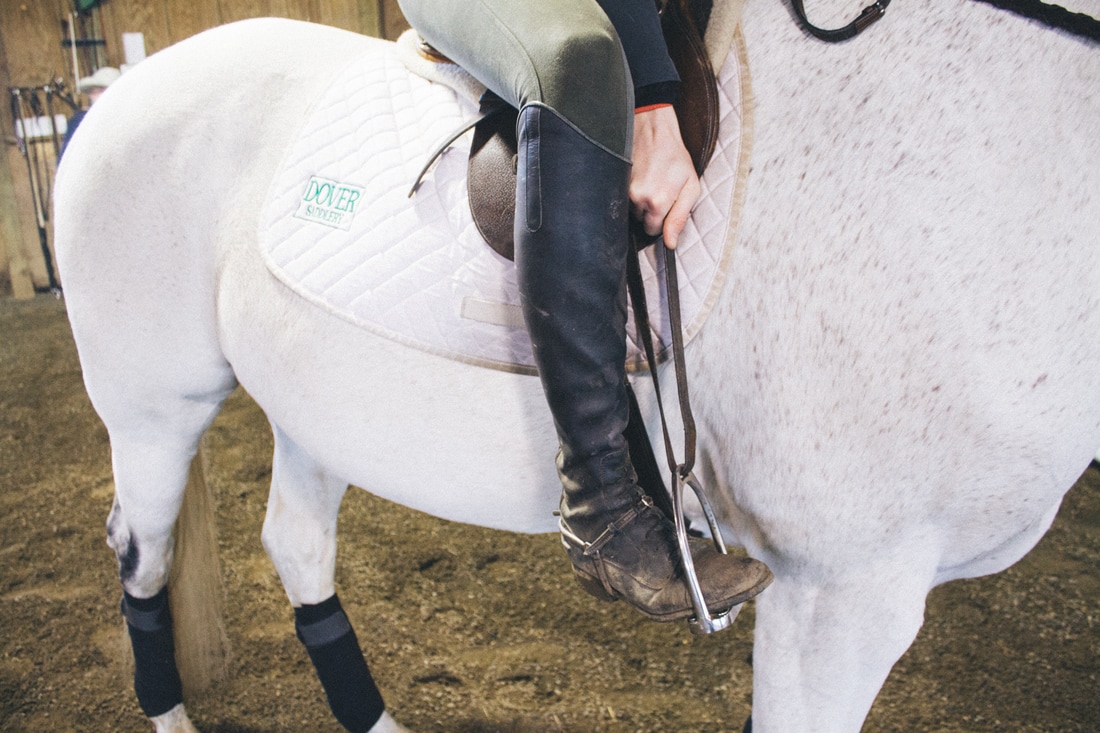
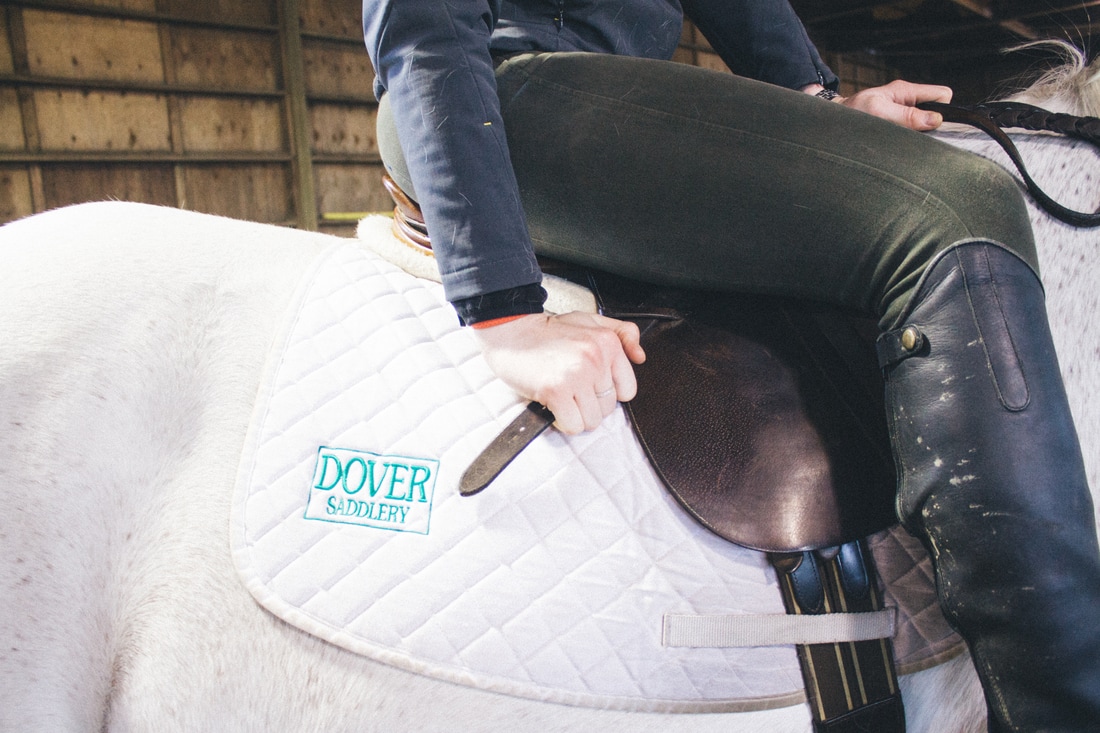
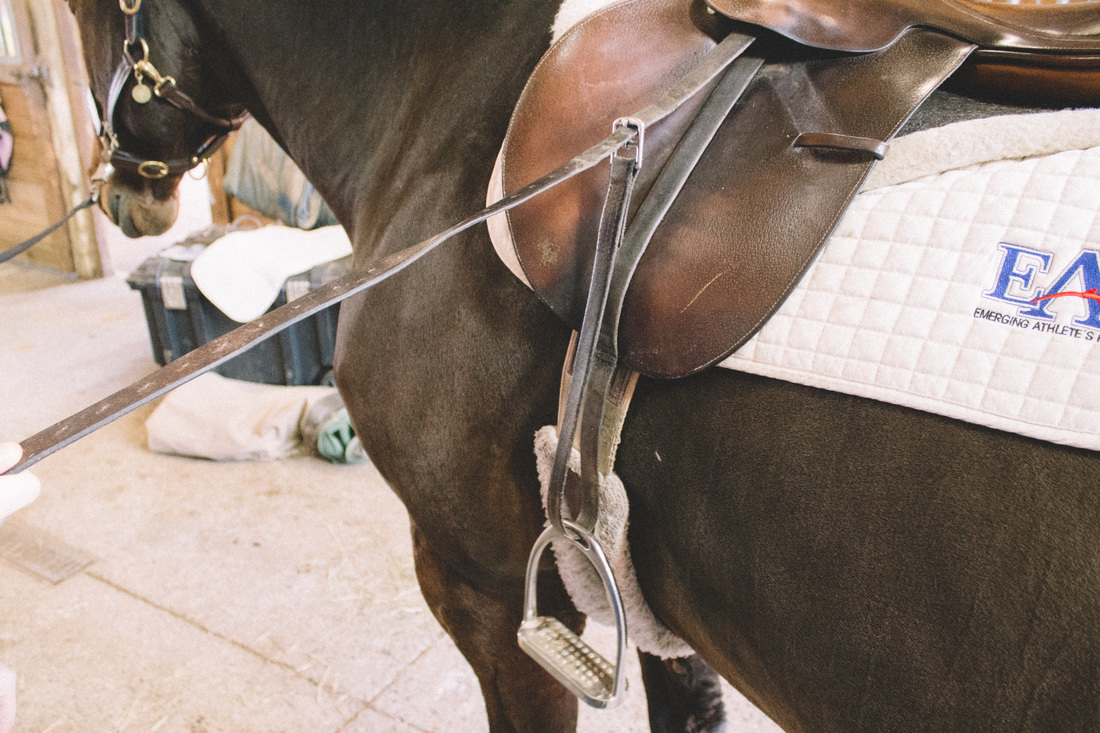
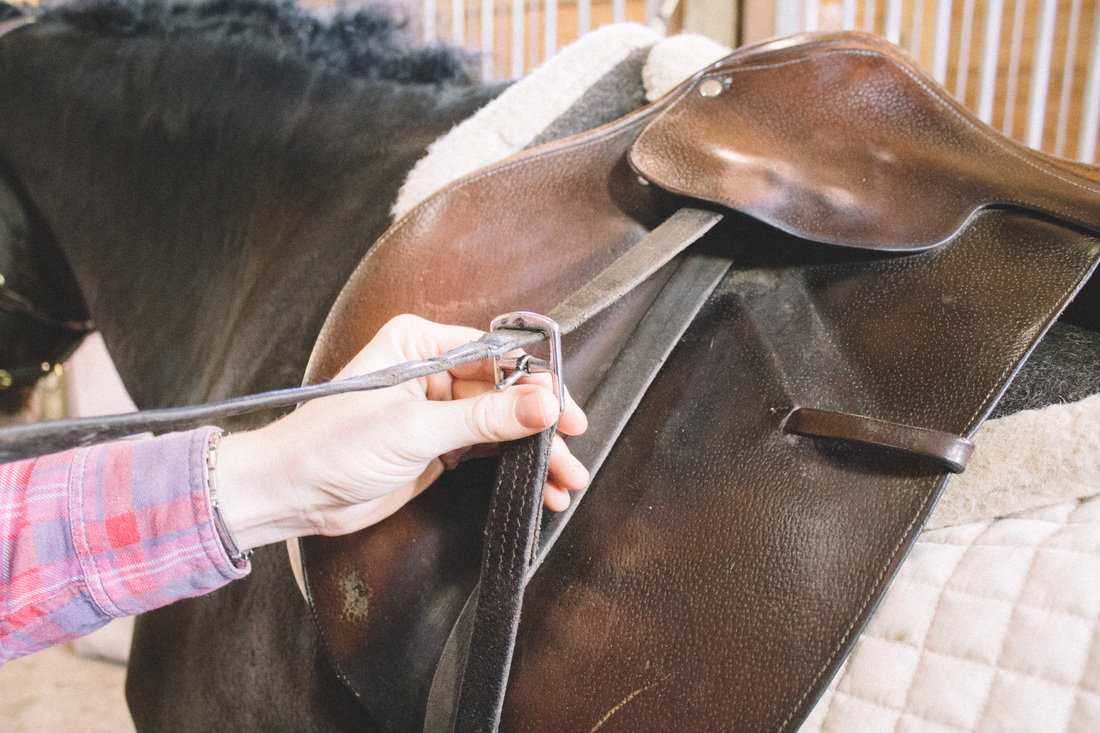
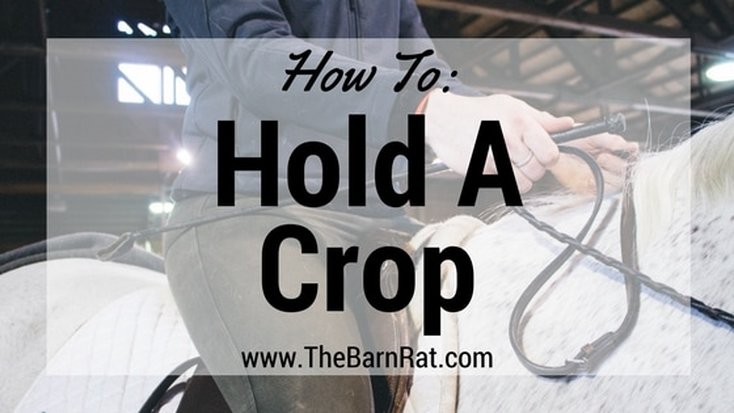 Holding a crop is something many riders off all levels do. Sometimes horses need encouragement to go forward, a crop can be used to reinforce something you are telling your horse with your leg, or it can be used to discourage bad behavior. The crop can be held in either your inside or outside hand, it depends on what you are trying to accomplish. When your crop is not in use it should be kept resting across your thigh. This keeps the crop from waving around on accident, prevents unwanted slaps on the shoulder, and keeps the rider from breaking their wrists. The crop with rest through the middle of the hand with the thumb on top securing the crop in place. 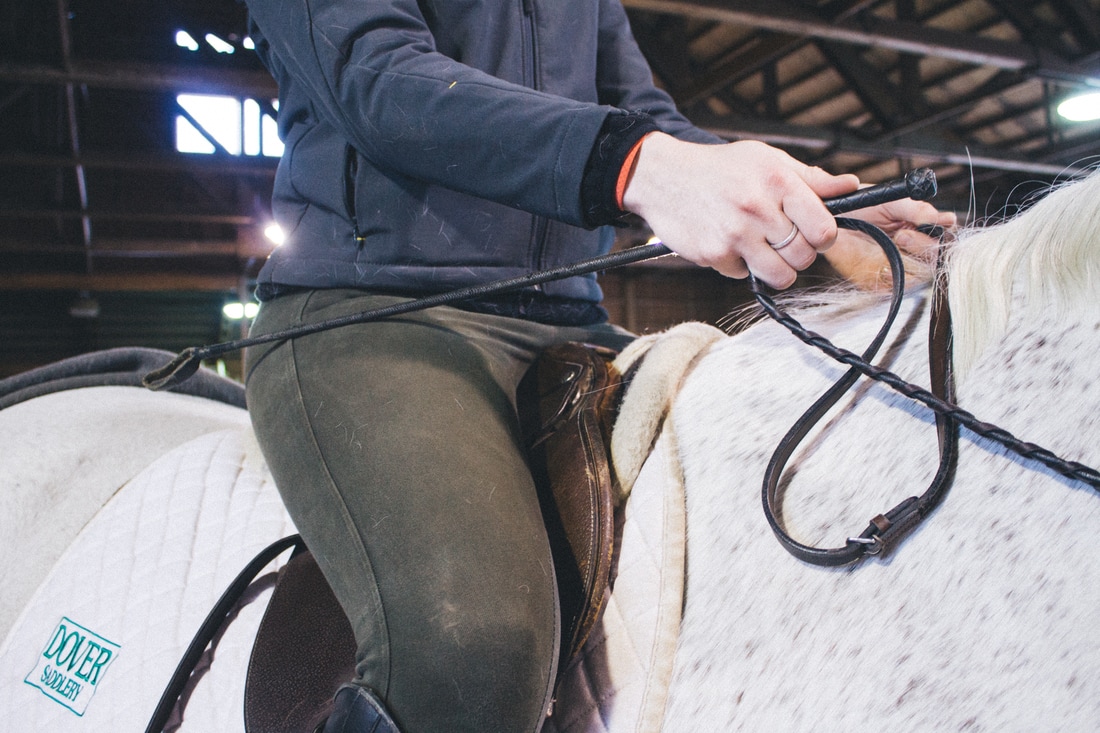  There are many times when you get on a horse you realize your stirrups are either too long or too short. As a new rider many times your trainer will adjust your stirrups for you in order to get your lesson under way. When riders begin to learn how to adjust your stirrups while mounted many will drop their reins and take their feet out of the stirrups. They do this to see what they are doing and fully concentrate on the task they are trying to accomplish. The danger in this is that you are sitting on a living, breathing, prey animal. Even the most trusted school horses can give something a little spook. Without holding on to the reins or keeping yourself balanced with your feet in the stirrups you place yourself at a greater risk of falling off if you horse is to do something unexpected. Read on below how to properly and safely adjust your stirrups while aboard your horse.
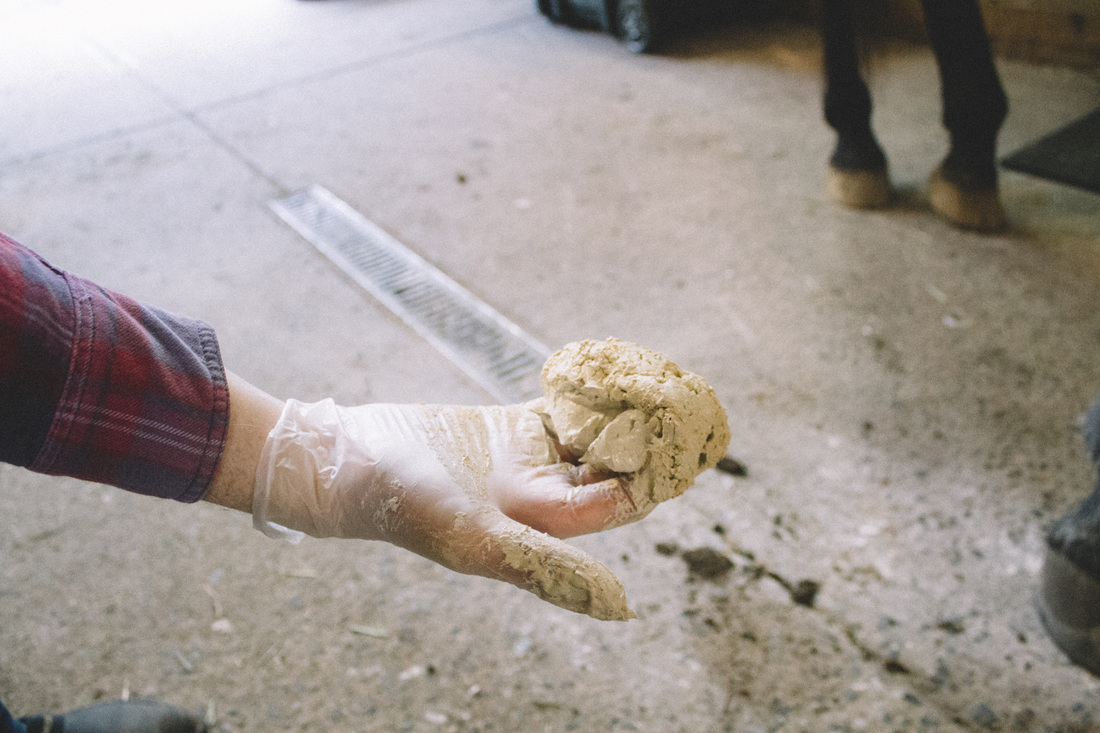
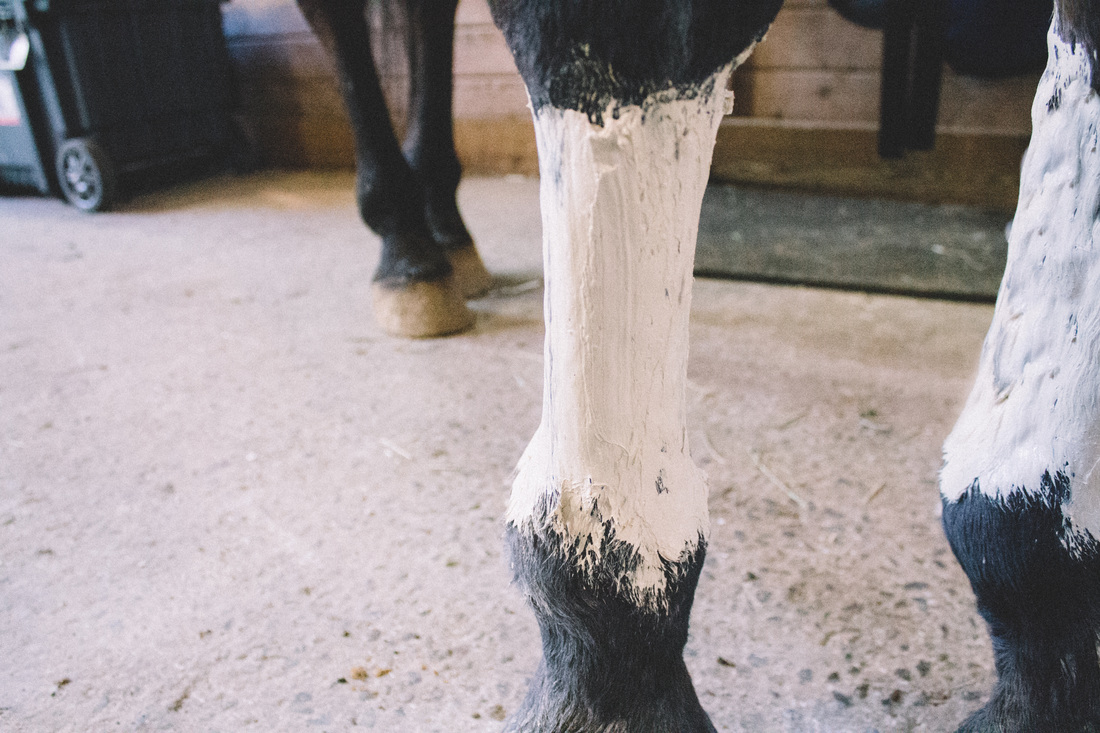
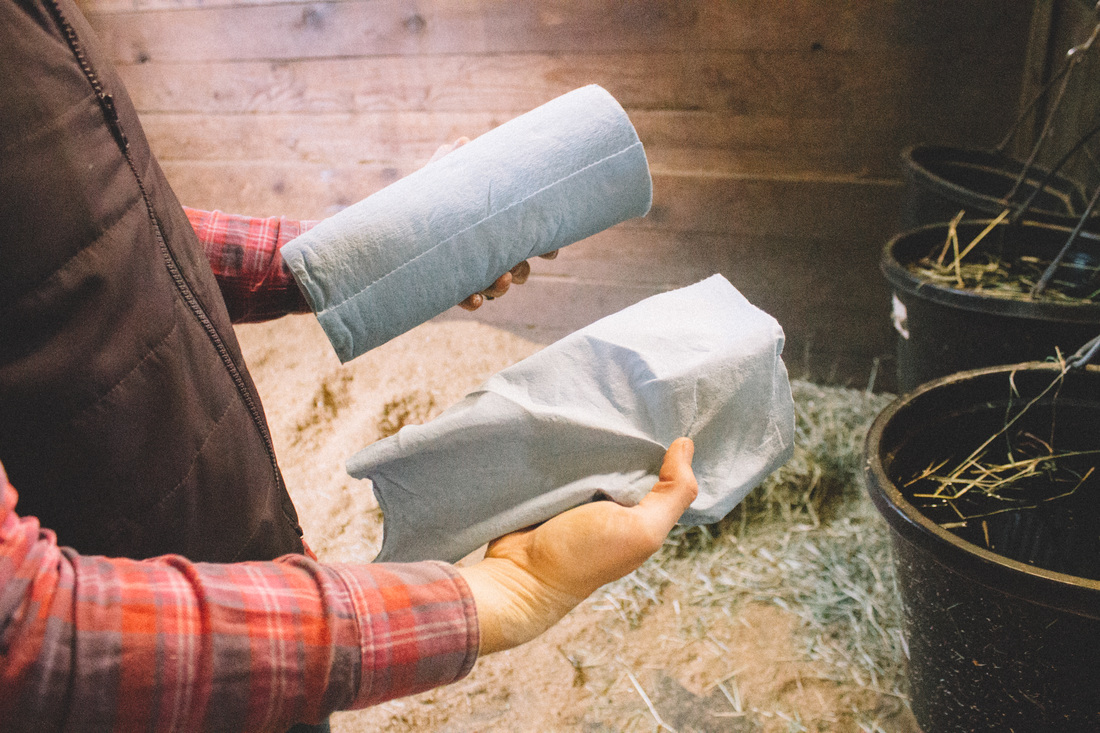
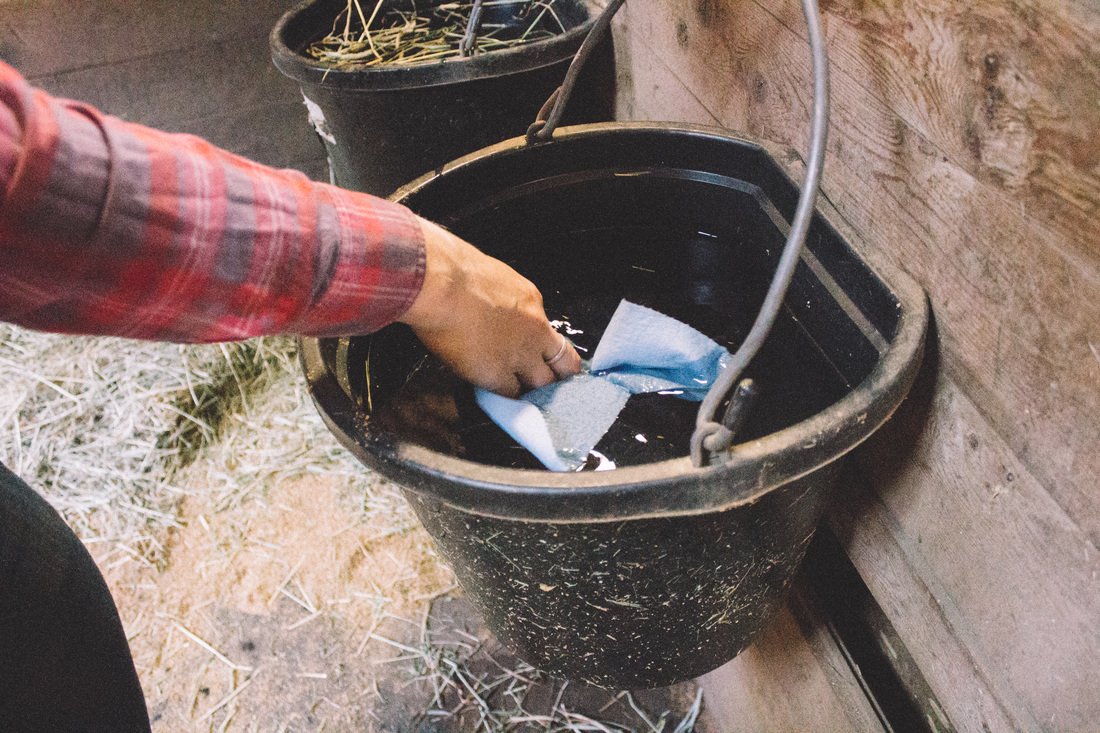
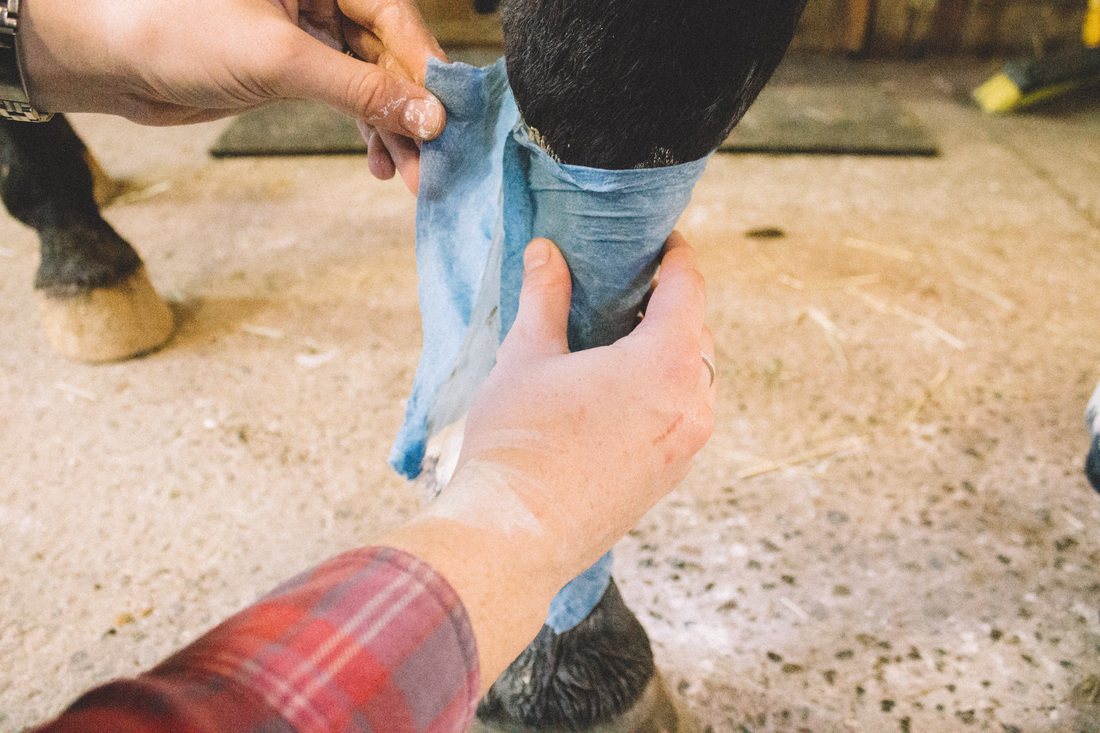
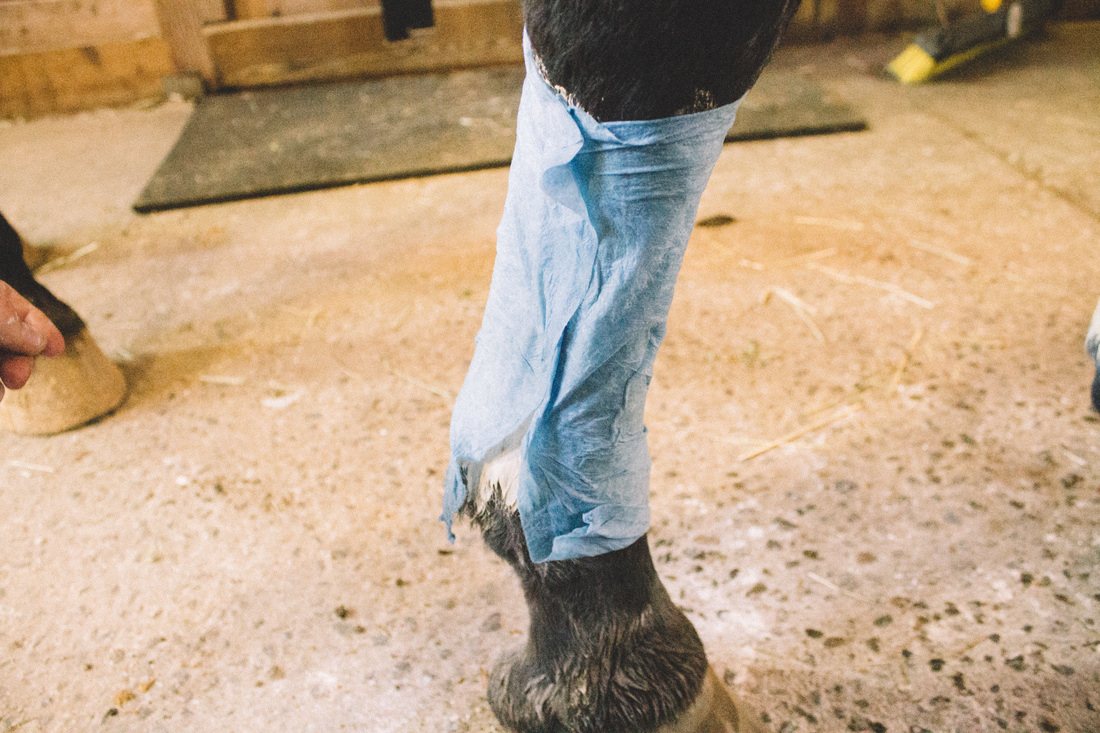
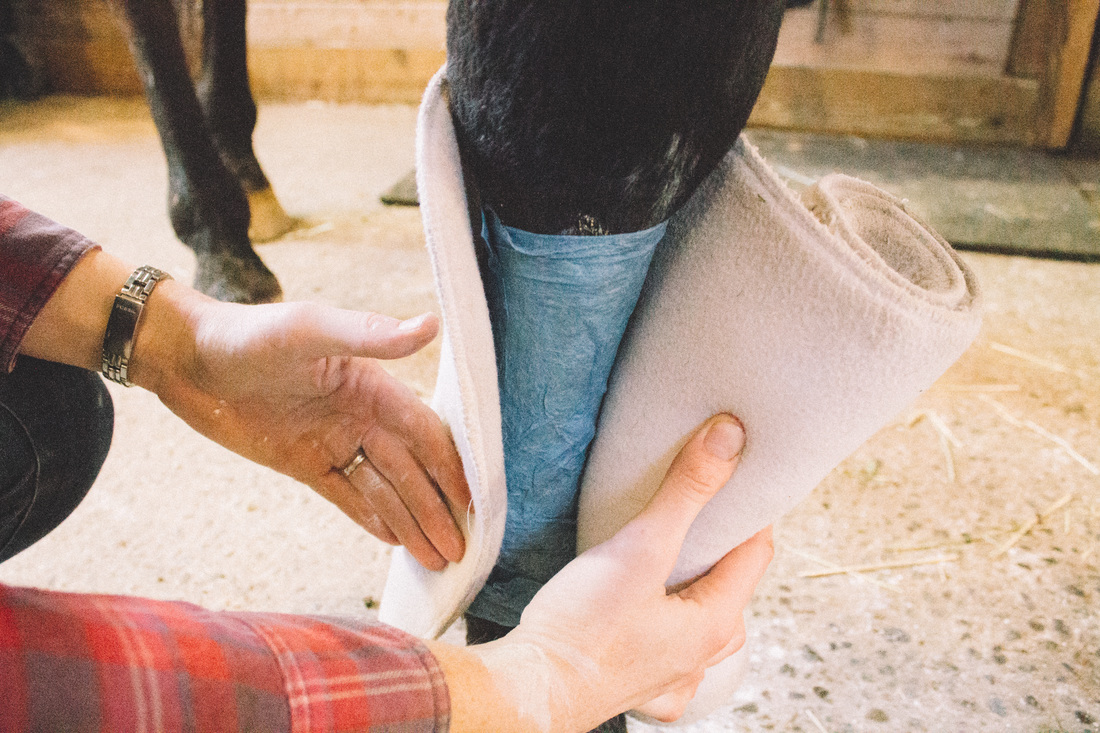
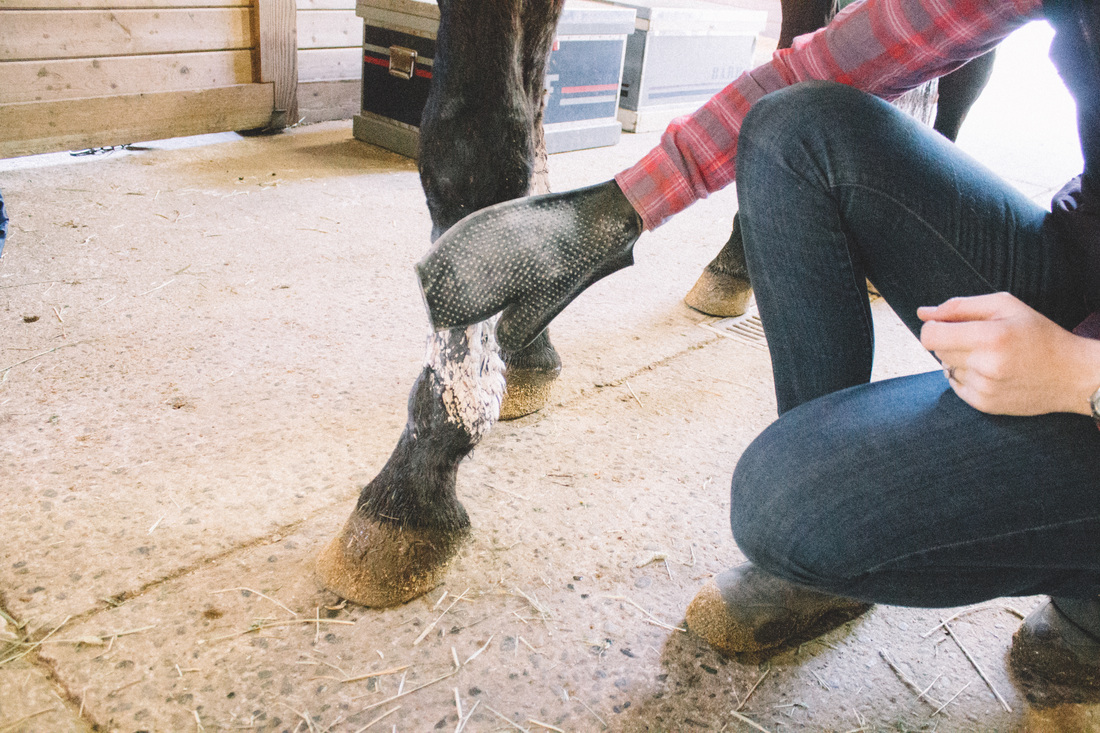
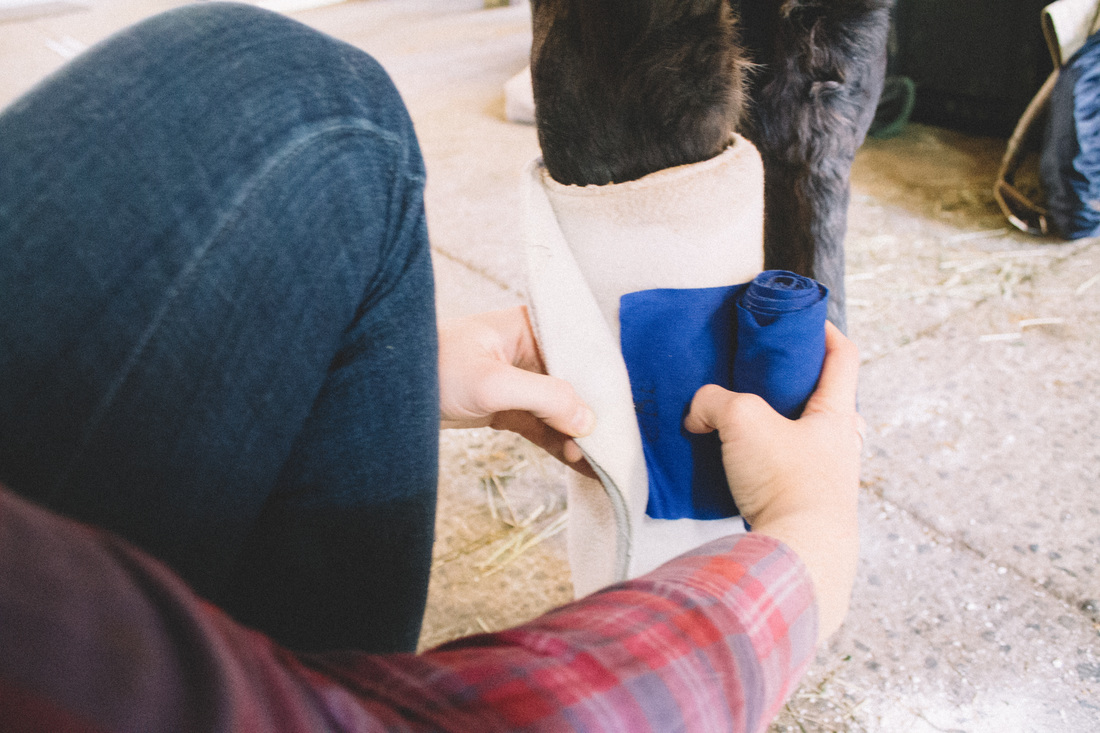
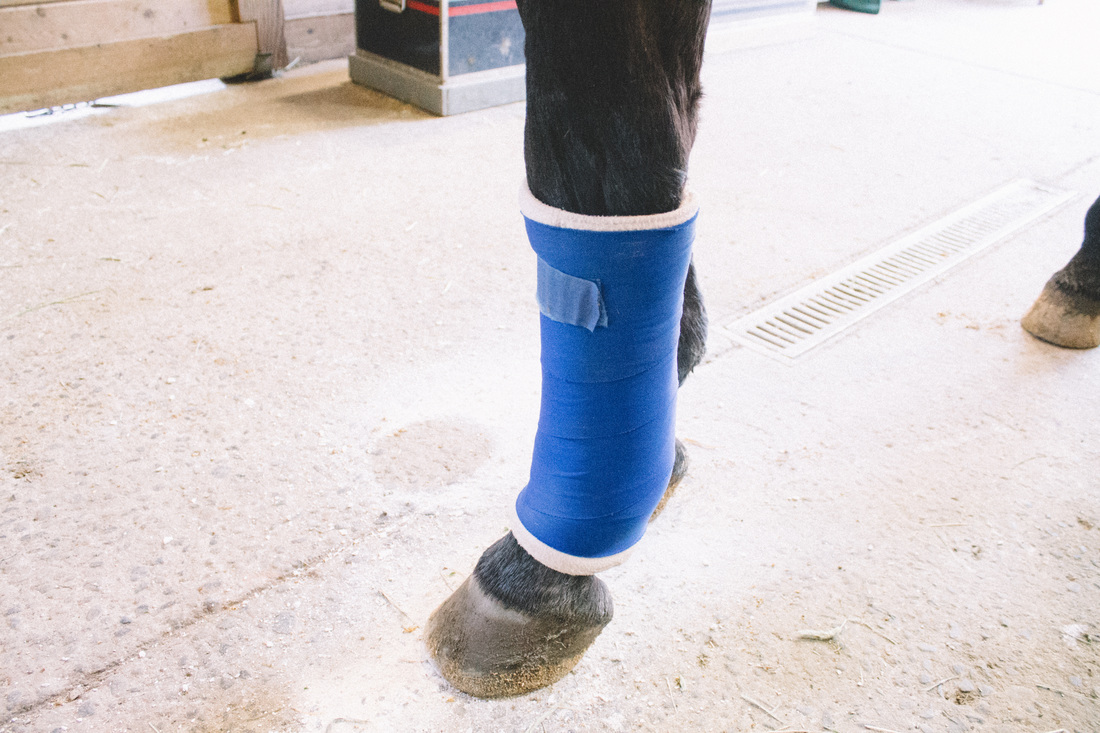
 Taking care of your horse's legs is crucial to their wellbeing and their ability to comfortably continue performing whatever job they have. After hard work outs there are a few things you can do to help keep heat and swelling at bay. If you are looking for more long lasting cooling support than cold hosing that is where poultice comes in! Poultice is a mix of natural clay and minerals that has a 24-hour cooling effect. If you are wanting to poultice your horse's legs here are the things you will need to do so: poultice, brown paper or I like to use shop towels because they are a lot easier to find in stores, rubber gloves to keep your hands clean, applying poultice with your bare hands is safe to my knowledge, it's just messy, and you will need pillow wraps and standing bandages that you use to dry wrap legs. Below are step by step instructions on how to apply poultice. 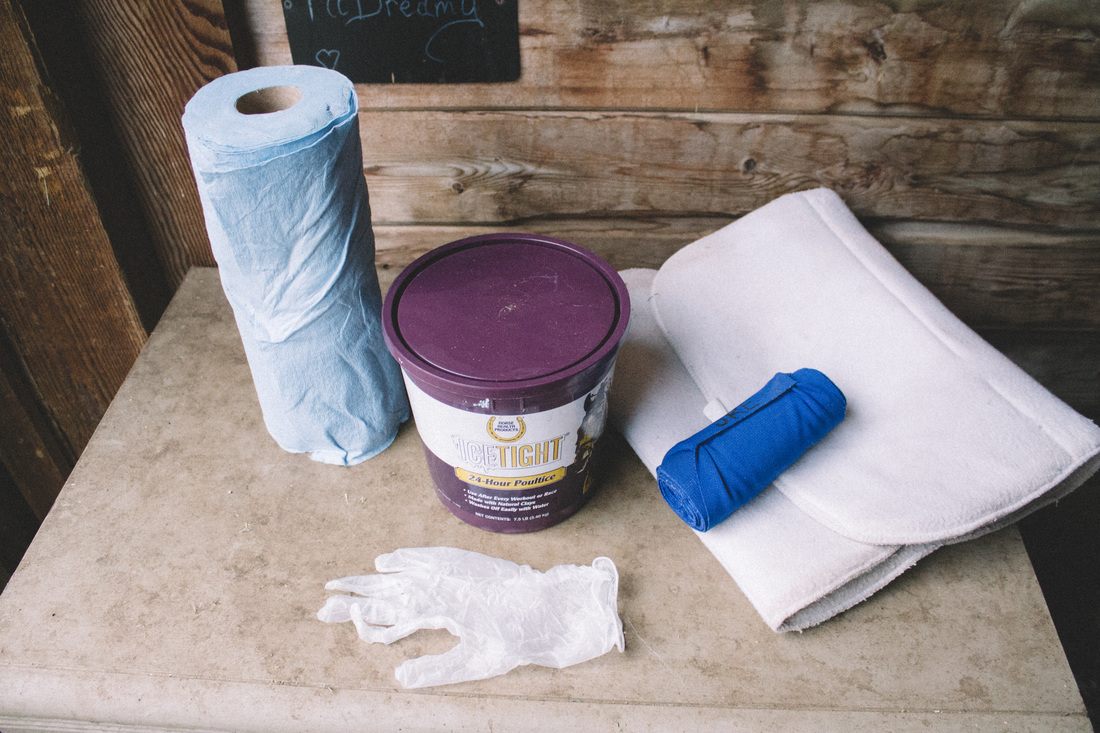
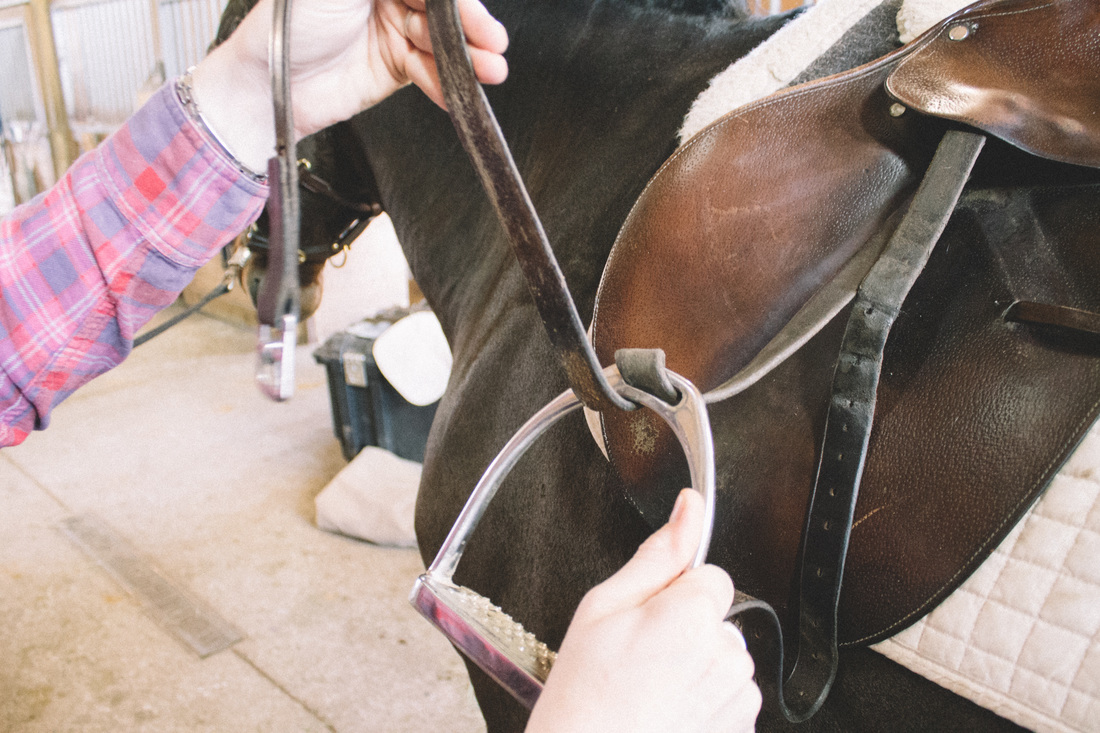
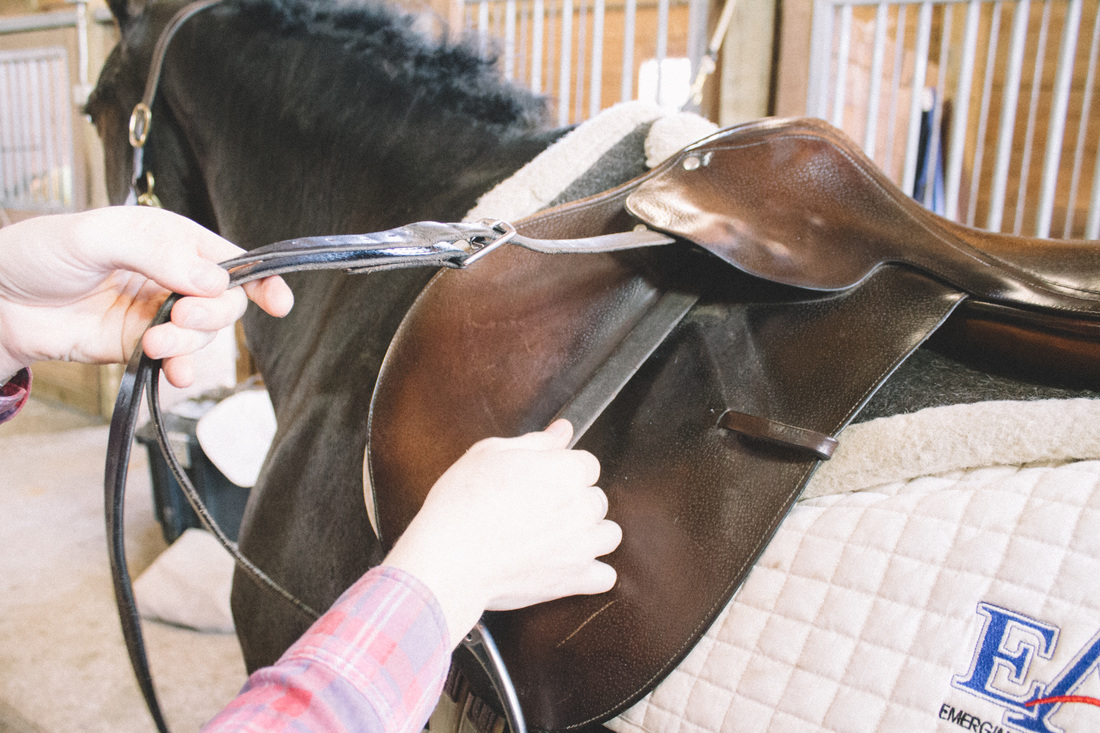
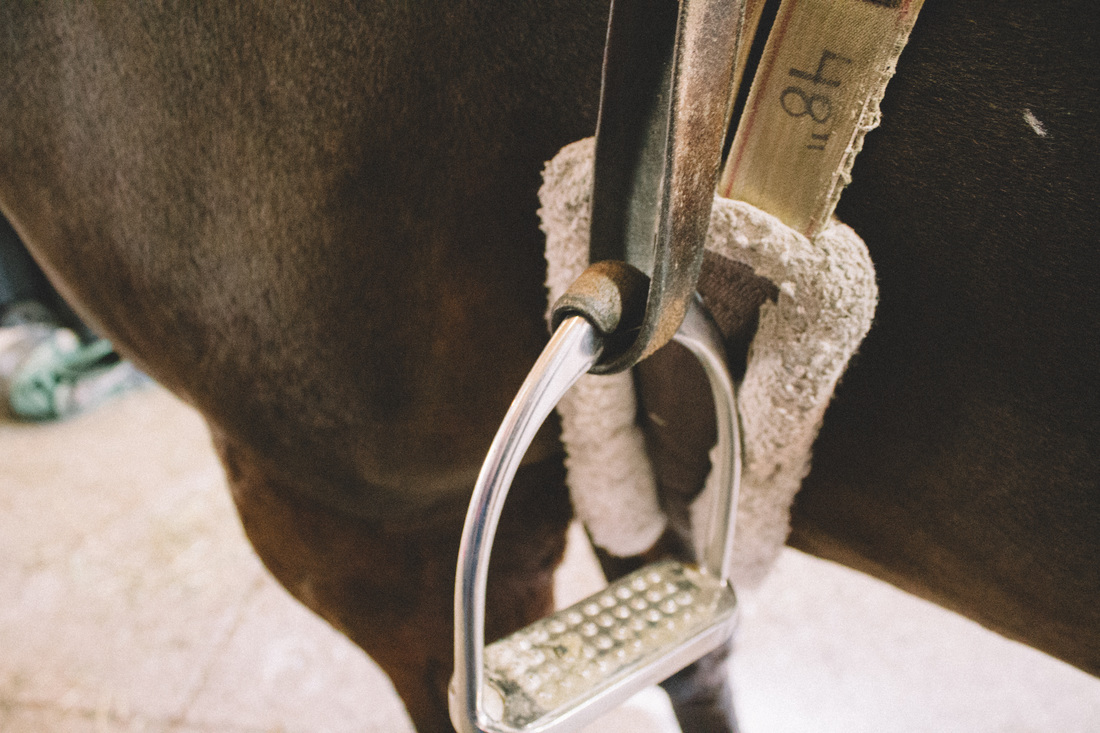
 On occasion it is necessary to shorten you stirrups even when you are already at the last hole available in your stirrup leathers. If you are in a pinch and don't have a hole punch readily available to you, rolling your stirrups can be a quick and easy solution to hold you over temporarily. Follow the picture step by step instructions below and feel free to ask any questions!
|

Categories
All

Sponsors
Cantera Equestrian

Trafalgar Square Books
Interested in sponsoring The Barn Rat? Be sure to contact us here!
|


© COPYRIGHT 2022. ALL RIGHTS RESERVED.