THE BARN RAT
  • Learning Center
    • Anatomy
    • Barn Tours
    • Culture
    • Equipment
    • Grooming
    • Product Reviews
    • Riding
    • Transformations
    • Videos
  • Career Center
    • Farrier School
    • Vet School
  • Book Club
  • Library
    • Magazines
    • Movies
  • Blog
  • Shop
  • Learning Center
    • Anatomy
    • Barn Tours
    • Culture
    • Equipment
    • Grooming
    • Product Reviews
    • Riding
    • Transformations
    • Videos
  • Career Center
    • Farrier School
    • Vet School
  • Book Club
  • Library
    • Magazines
    • Movies
  • Blog
  • Shop

About: Types of Restraints

1/8/2018

2 Comments

 
Picture
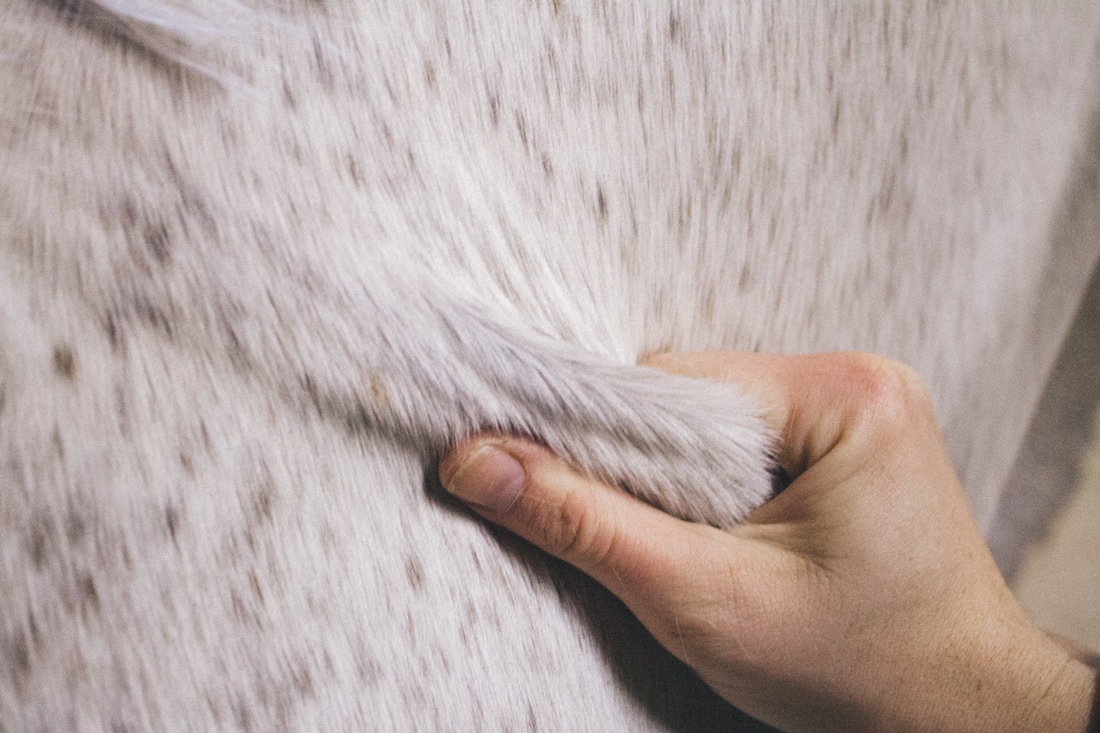
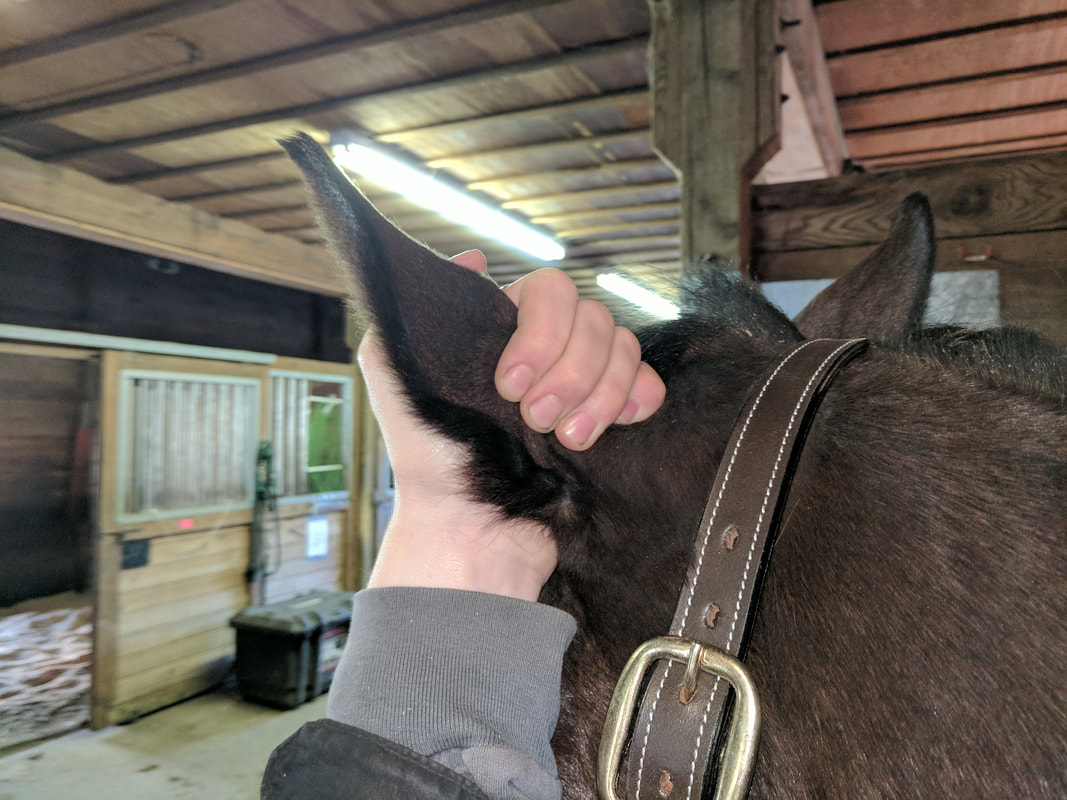
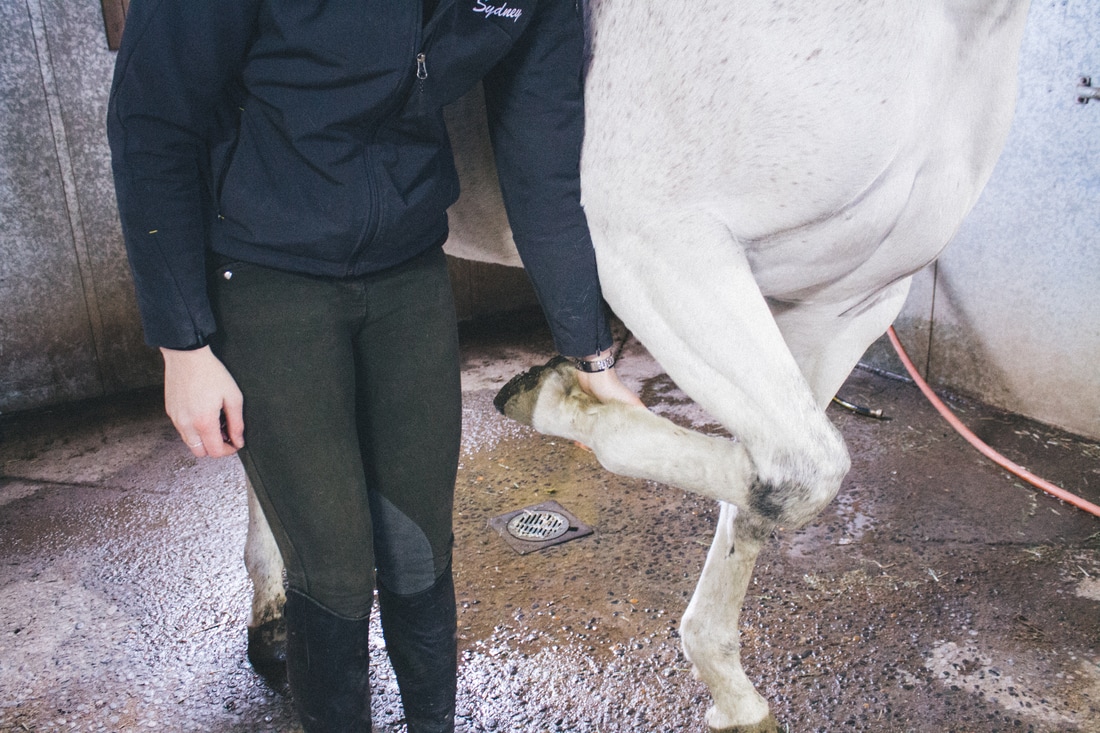
   Daily we handle our horses. Grooming them, riding them and loving on them. Sometimes, we need to do something with our horses that they aren't particularly fond of, like clipping, delivering medication, or leading them on a windy day. When those situations occur using a restraint technique can ensure both yours and your horse's safety. Below are an overview of the most common restraints. These restraints can very in severity and are to be used with caution and understanding. Being too firm with your horse can cause them to fear you and the situation, which no one wants. If you are wanting to practice any of these techniques look to your instructor or barn manager for assistance. 

Picture

Chain Over the Nose

   This is a common way to restrain a horse. You can use this technique when handling the horse for the vet or when leading your horse around when they are feeling fresh. Yanking on the lead rope when you have a chain can be very severe and hurt your horse's delicate nose bone, so be careful.

Lip Chain

   A lip chain can be a difficult restraint for your horse to accept, it is an unique place for your horse to feel an object. The pressure of the chain affects both the gums and the underside of the upper lip. This pressure should be gradual and steady, DO NOT yank on the lead rope! Otherwise you can cause the horse severe pain and bleeding. 
Picture

Picture

Lip Twitch

   There are three different kinds of lip twitches. The chain one you see to the left, a rope twitch and a homemade bailing twine twitch. The chain is the safest to use because the chain links will only twist so tightly together. With a rope or twine it is easy to twist too tightly and cause your horse to lose circulation if left on for too long. 

Skin Twitch

   A skin twitch is a simple distraction technique to get your horse's attention on something else besides what you are trying to accomplish. Depending on your hand strength this is a safe restraint that is difficult to overdo.
Picture

Picture

Ear Twitch

   Some horses can be sensitive with their ears so using an ear twitch requires you to be aware of your horse's feelings. The last thing you would want to do is create ear issues with a horse that didn't have them before. This technique is commonly used when clipping their ears and bridle path since you need to work in that area.

Picking Up a Leg

   This is the easiest and least intrusive restraint. If you are needing to work on a certain leg and they won't stand still, having someone simply pick up the opposite leg can allow you to finish your task.
Picture

Chemical

   There are many many different chemical drugs that can be used in a wide variety of situations. Determining what is the best to use in a particular situation is best left to your experienced barn manager or trainer. Administering a drug incorrectly can cause extreme repercussions that can be detrimental to your horse's health.
2 Comments

2017 Christmas Wish List

12/11/2017

0 Comments

 
Picture
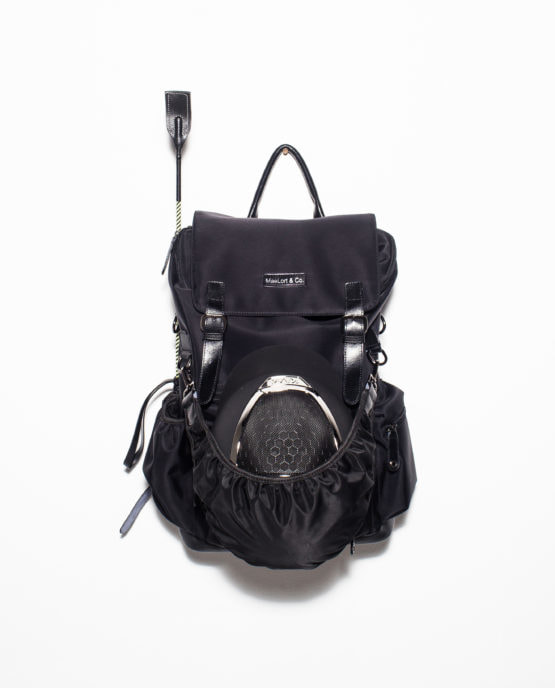
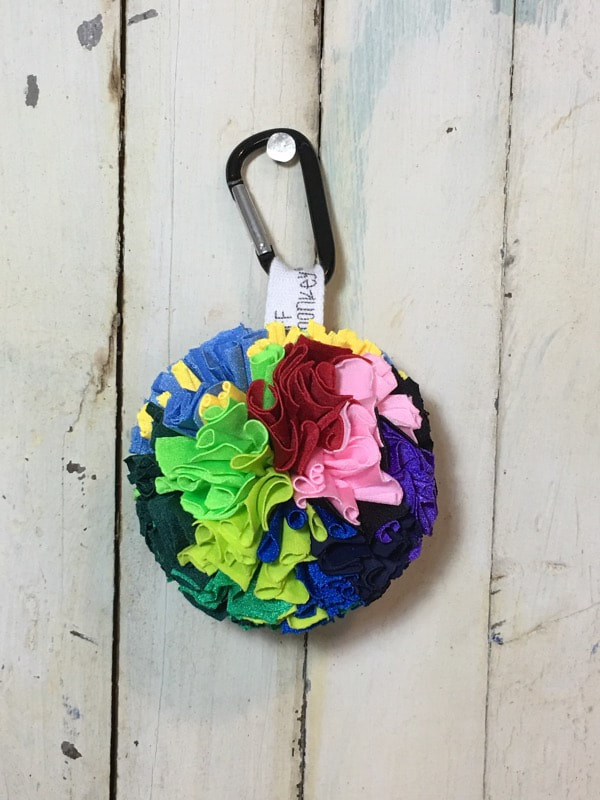
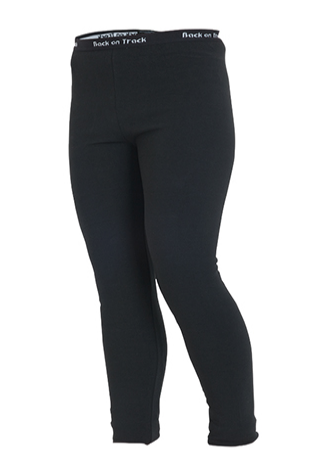
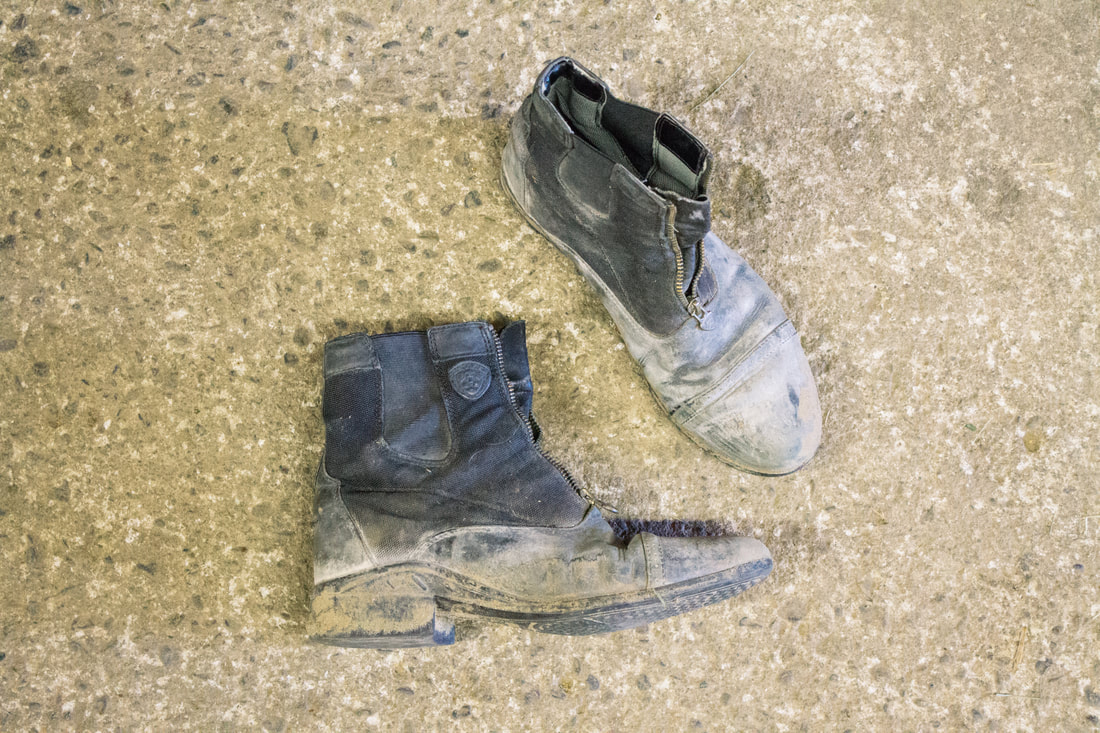
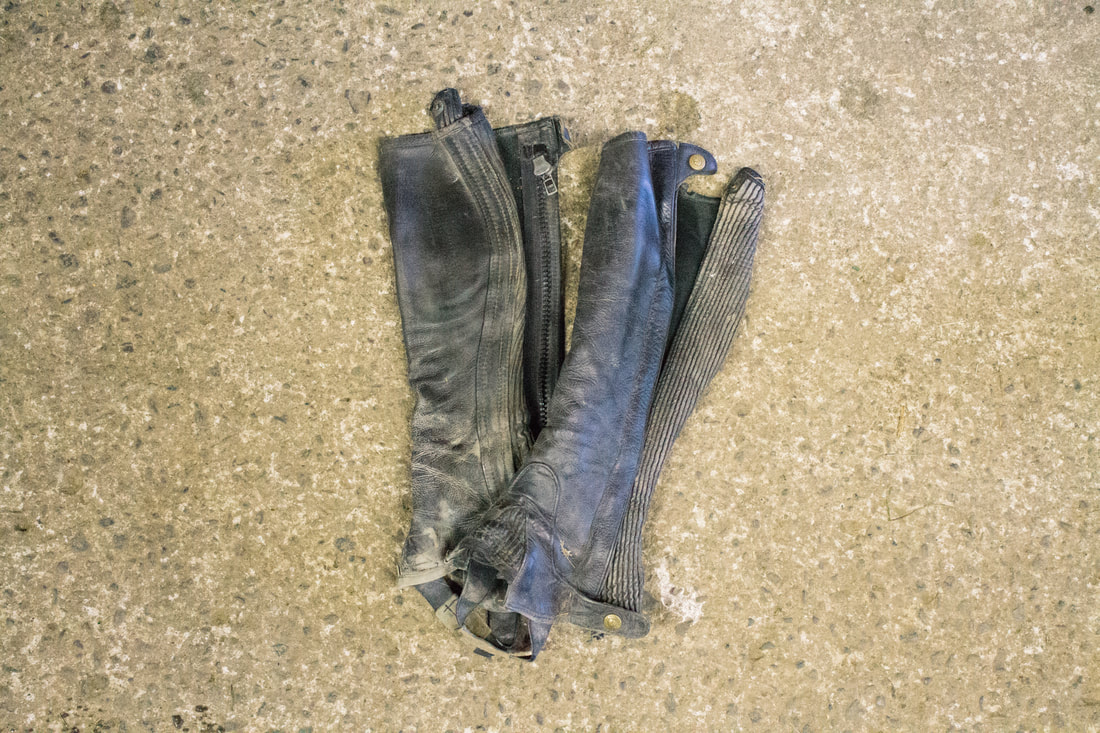
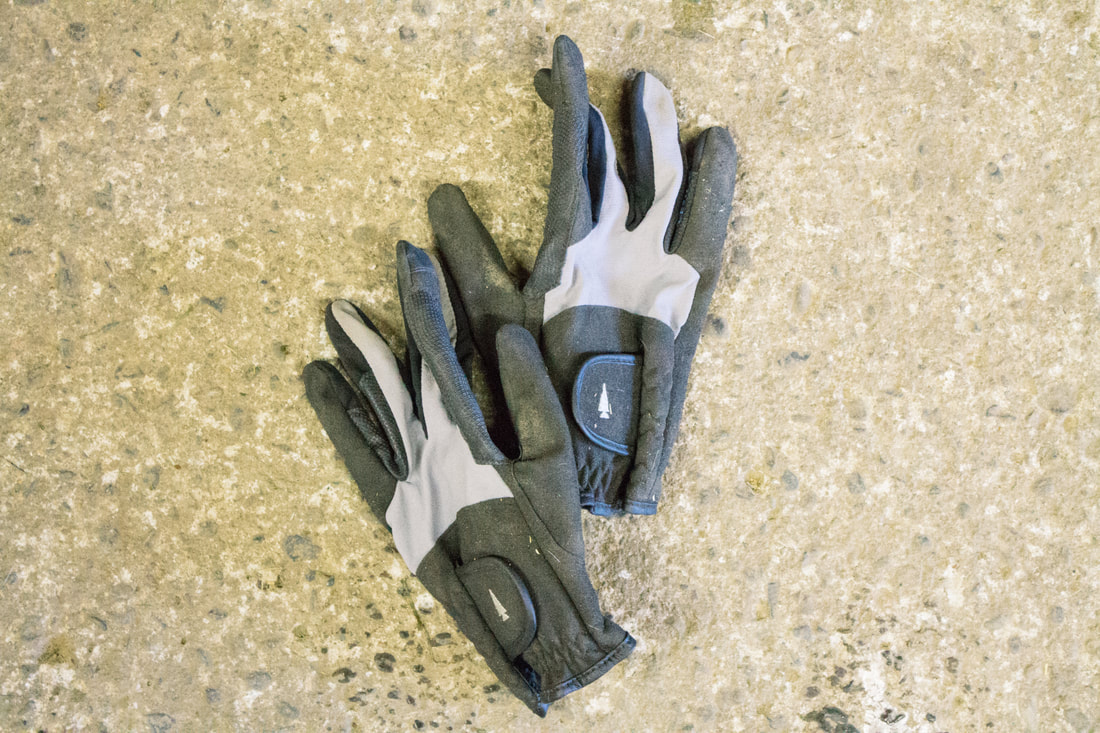
   Christmas is right around the corner and if you are wondering what to get the horse lover in your life consider a few items from my personal Christmas wish list below. There are many other things to get your rider friend other than anything with a horse on it. 

Picture
Mae & Lort Ring Backpack
Picture
ManeJane Spur Straps
Picture
TKEQ Shop T-Shirt
Picture
George Morris Book Set
Picture
Shop Hunt Club Derby Belt
Picture
Custom Fluff Monkey
Picture
Back on Track Leggings
0 Comments

About: Basic Riding Equipment

12/4/2017

0 Comments

 
Picture
   When you first start riding, the overwhelming amount information that comes at you can be intense. It can seem like you need lockers full of stuff that you might never use. Well, if you are just getting started with horseback riding lessons below is a list of equipment that will really help your skills progress.

Picture

Helmet

By far the most important piece of riding equipment! Keeping your brain safe is essential, broken bones can heal but you only get one head. Riding helmets are rated specifically for horseback riding, bike helmets are not made for falls from an animal. Check out this post about different helmet brands to find the right one for you. 

Paddock Boots

A pair of paddock books are the next most important piece of riding equipment. Paddock boots serve two purposes, first they keep your toes protected in case you get stepped on, which is bound to happen. And second the heel keeps your foot from sliding through the stirrup causing a rider to become stuck to the saddle in the event of a fall. 
Picture

Picture

Half Chaps

Half chaps go over your paddock boots and pants to keep your legs protected from rubs from the stirrup leathers. They also give additional grip to the rider to help their legs stay in the correct position. That extra grip will keep a rider feeling more secure in the saddle.

Gloves

A good pair of riding gloves can be super helpful for new riders because they offer additional grip and protection from rubs and blisters. Not every rider feels gloves are necessary but in the cold months they become quite valuable. Riding gloves are made specifically with seams in areas that won't hurt a riders hands. Other gloves can be slippery and uncomfortable. 
Picture
0 Comments

About: Different Helmet Brands

9/28/2017

0 Comments

 
Picture
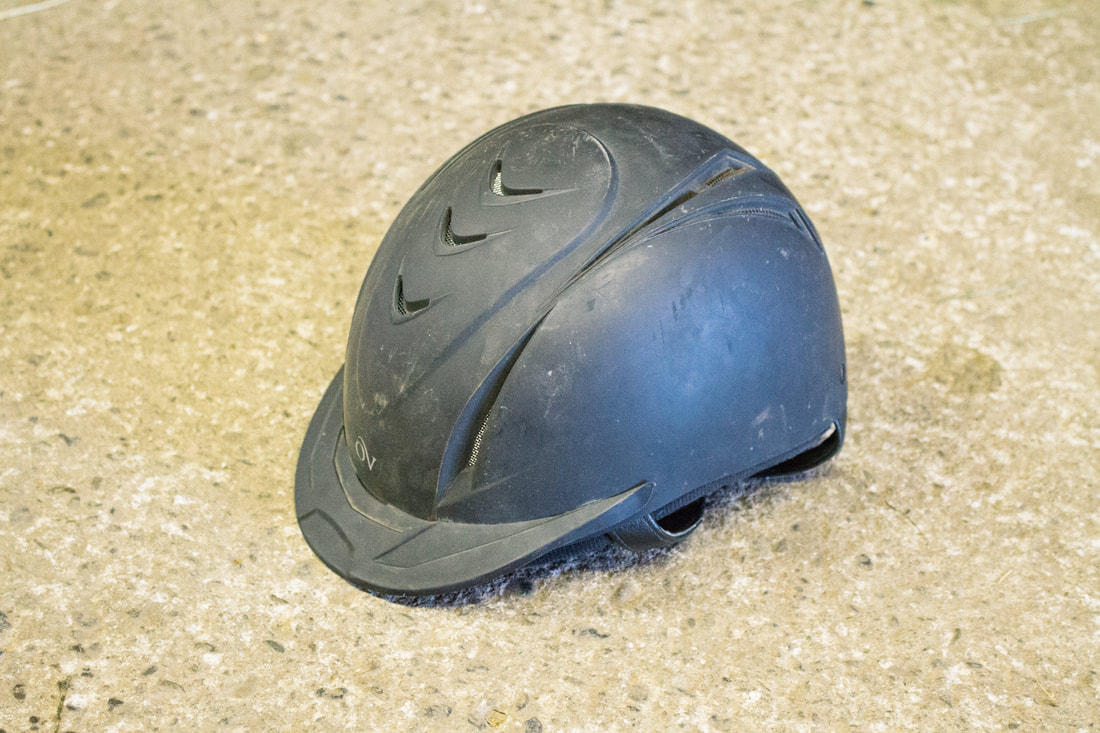
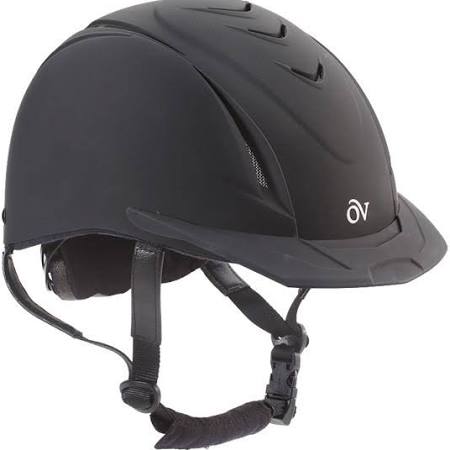
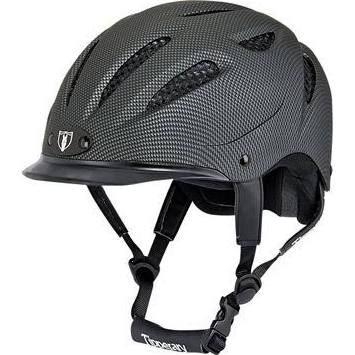
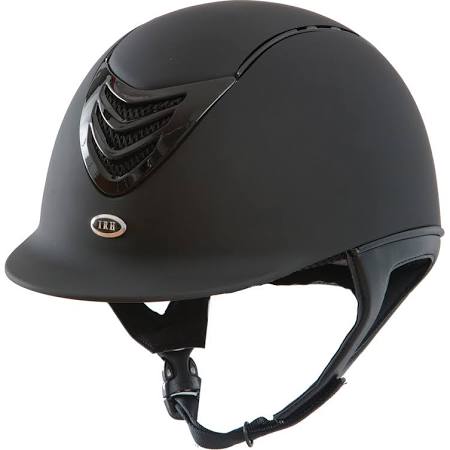
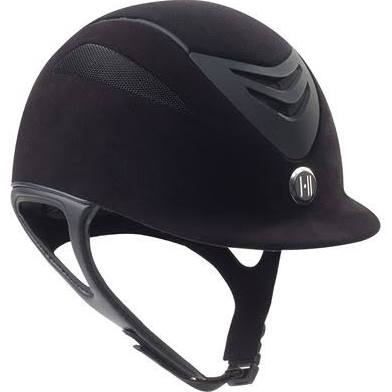
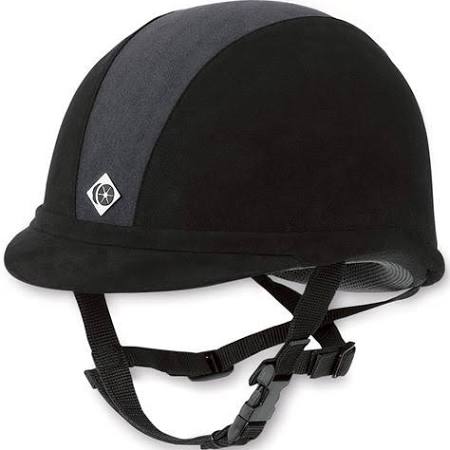
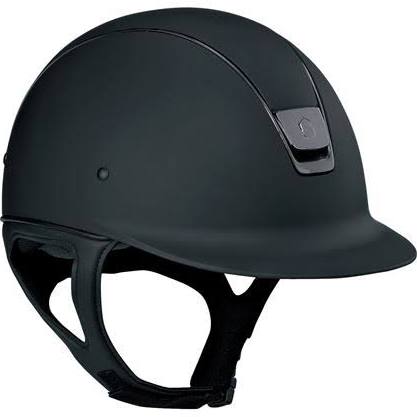
   There are many different brands of helmet out there of all different designs, fit, price points and features. Sometimes you are buying brand recognition, but many times the higher priced helmets have more to offer in terms of safety and comfort. Below the 9 most recognizable helmet brands are examined.

Picture

Troxel

$25.00-$60.00
Troxel helmets are probably the best known introductory helmet. They come in many different colors and styles giving new riders a chance to express themselves with their riding gear. Most of these helmets have a spin dial at the base of the skull to help adjust the size and fit to grow with the rider. Sometimes these helmets can be a bit large and bulky and typically seen in everyday riding and not usually used for showing.

Ovation

$50.00-$100.00
Ovation gives you another low priced introductory helmet with a sleeker look. Young students still look polished going from practice to showing in this helmet. Many of these helmets also allow for adjustment with a similar rotating dial at the base of the skull. 
Picture

Picture

Tipperary

$50.00-$130.00
The Tipperary helmets offer similar introductory prices, but this brand is more common in the eventing or endurance field. The shape of the helmet doesn't have that sleek round look desired for the hunter/jumper or dressage rings. The many vents in this helmet offers a lot of ventilation to keep you from over heating which lends itself well to the endurance and eventing disciplines. 

IRH

$25.00-$250.00
IRH helmets start to climb higher in price tag. This brand frequently has looks based off other higher priced brands. So if you want the look of one of the helmets below, chances are you can find an IRH with a similar look.
Picture

Picture

One K

$180.00-$360.00
The One K is gaining popularity as a great first show helmet because it has a classic sleek look similar to the Samshield without the high price tag. These helmets come in many different colors and finishes. Some even have crystals embedded in the plastic offering some pizzaz to the show ring. These are sized based on a S, M, or L shell with liners inserted to get the correct fit.

Charles Owen

$80.00-$440.00
A classic, the Charles Owen is popular among professionals and the first helmet on this list that is well accepted as fashionable. However, even with it's popularity the Charles Owen helmets are still very reasonably priced. There are many different colors and finishes to these helmets. Some offer more vents than the one pictured to allow for more air flow. These helmets are also known for being a great fit for those with an oval head shape, though they just recently came out with a rounder style. These are sized based in inches.
Picture

Picture

Kask

$500.00-$700.00
The Kask helmet is a relatively new helmet to the market and is more popular with European jumper riders. The wide brim option is slowly gaining ground here in the US but has yet to gain the fame as the Charles Owen, Samshield and GPA brands. The large vents in this helmet offer great ventilation and there are a ton of ways to customize this helmet allowing the price tag to get very high. These are sized in centimeters based of the circumference measurement of your head.

Samshield

$440.00-$800.00
The Samshield. Currently this is THE helmet people want and it is easily seen at every show around the US. Many top hunter, jumper and equitation riders sport this helmet. It is almost the uniform in the equitation ring these days. Many different colors and styles are available and you can customize this helmet beyond your wildest dreams, allowing it to get to be the most expensive helmet with those options. These are sized based on a base shell size of S, M, L and liners are added to get to your desired fit.
Picture

Picture

GPA

$380.00-$700.00
When comparing the most popular styles of all helmets the GPA is the most expensive. However, if you are going to customize a helmet it falls in the middle of the pack. Most GPA helmets come in a few standard colors and customization is not offered. The speed-air as pictured was the helmet of choice just a few years ago. The large vents allow tons of air in and are great for warm weather riding. These are sized based on circumference of your head in inches. 

What is your favorite helmet brand? Let us know in the comments below or share you picture on Instagram using the hashtag #TheBarnRat!
0 Comments

About: Draw Reins

9/12/2017

0 Comments

 
Picture
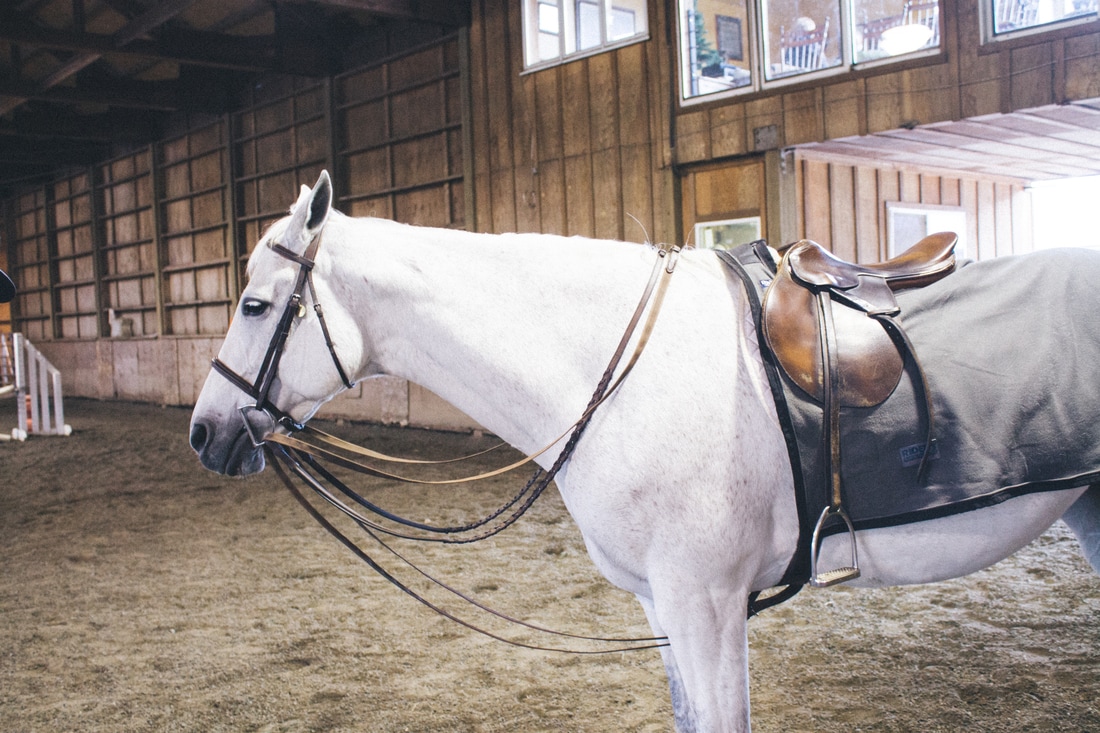
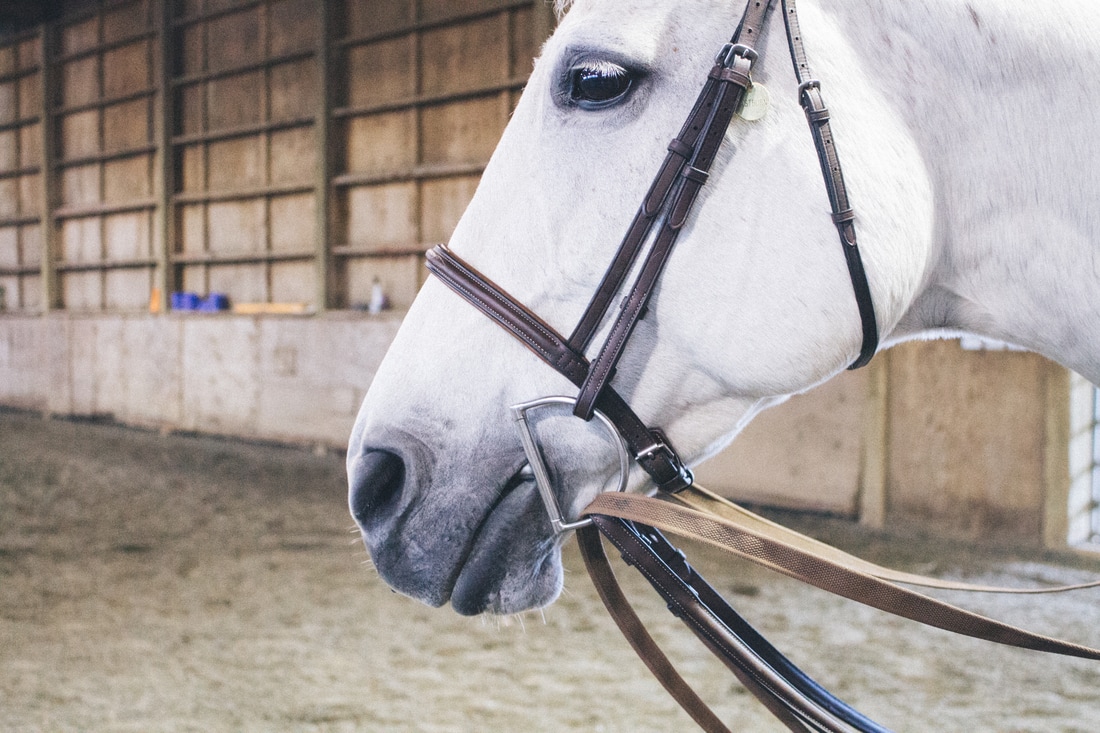
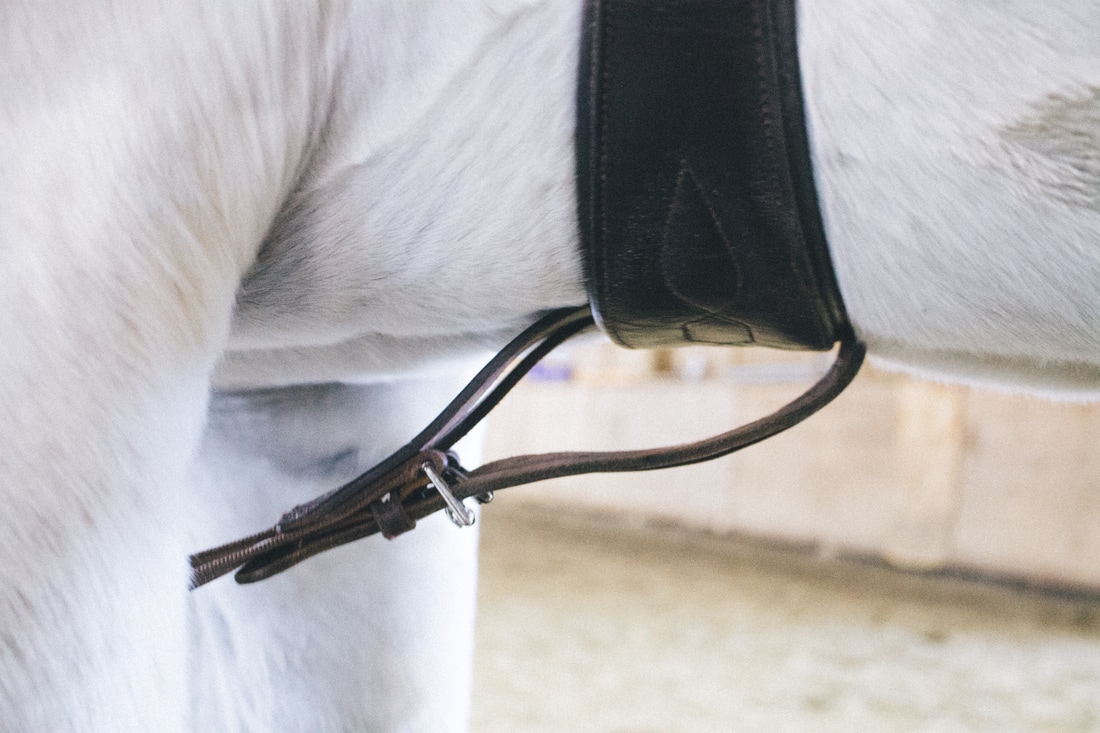
    There are mixed feelings about draw reins. Many think they are abusive and others think that when used correctly are an effective training tool. I can see both sides to this coin, just like many things in the wrong hands almost anything can be used poorly. The negative and positive about draw reins is that they are easily adjusted. To make them tighter you just shorten the draw rein in your hand. This is convenient over tools that you would have to dismount to adjust. When used correctly draw reins are a helpful tool to get a horse to use their back and accept contact with the bridle. Below are the steps to use draw reins, a correct working example and an incorrect example.

Picture
Draw reins attach to the girth, slide through the bit and buckle back like reins. 

   The reins slide through the bit going from inside to outside.
Picture

Picture
   Many draw reins have the girth slide directly through them. This does not allow for easy removal if you plan to only use them for part of your ride. If you have a ring on your girth you can get draw reins with clips that can easily be taken on and off.

This horse is being correctly ridden in draw reins. The front of the horse's face is flat, or it could go with the nose farther out in front. When a horse gets to the desired position, the draw reins should relax their pressure so the horse gets a reward and knows this is where it should stay.
Picture

Picture
This is the incorrect way to use draw reins. The reins are so tight the horse's nose is being drawn to its chest. This does not encourage balanced movement from the horse and is considered abusive. This is why many don't like draw reins, because they are adjustable you can tighten them too much.
0 Comments

About: The Neck Stretcher

7/19/2017

0 Comments

 
Picture
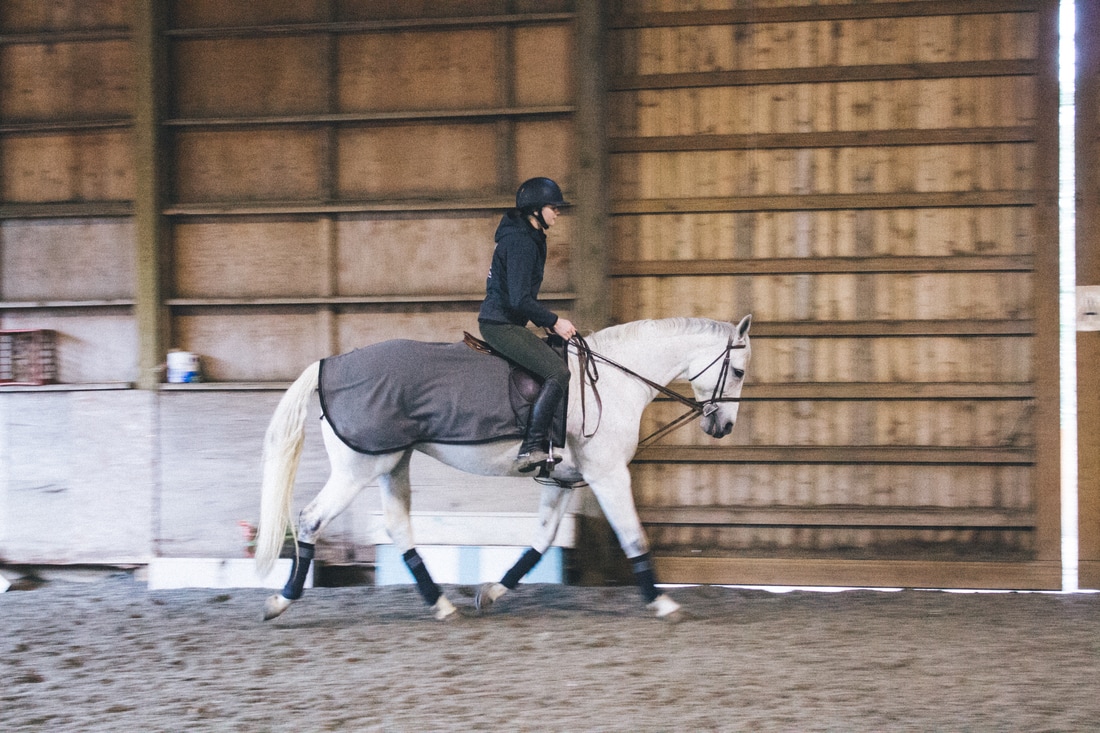
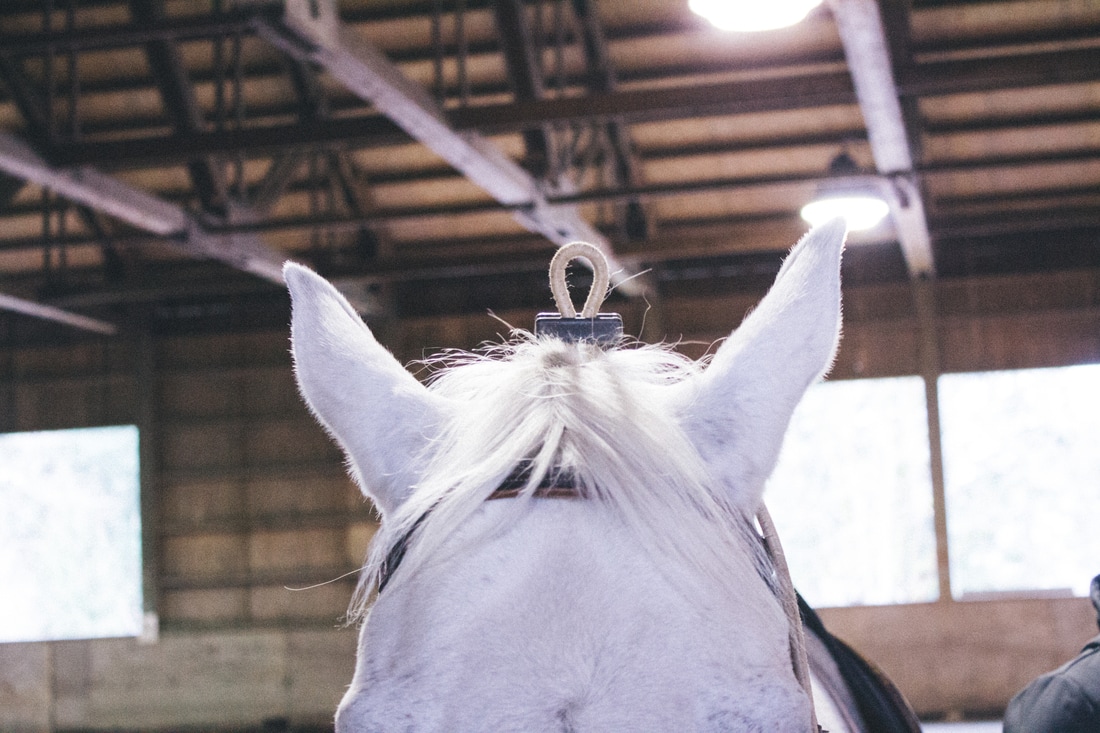
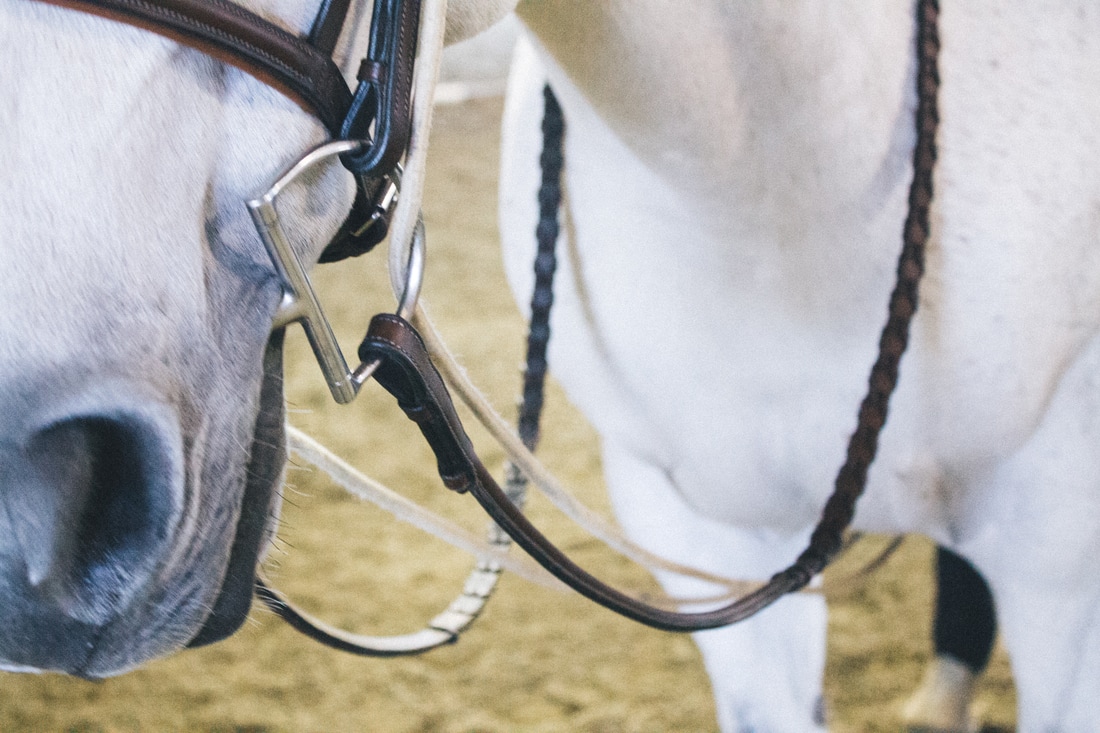
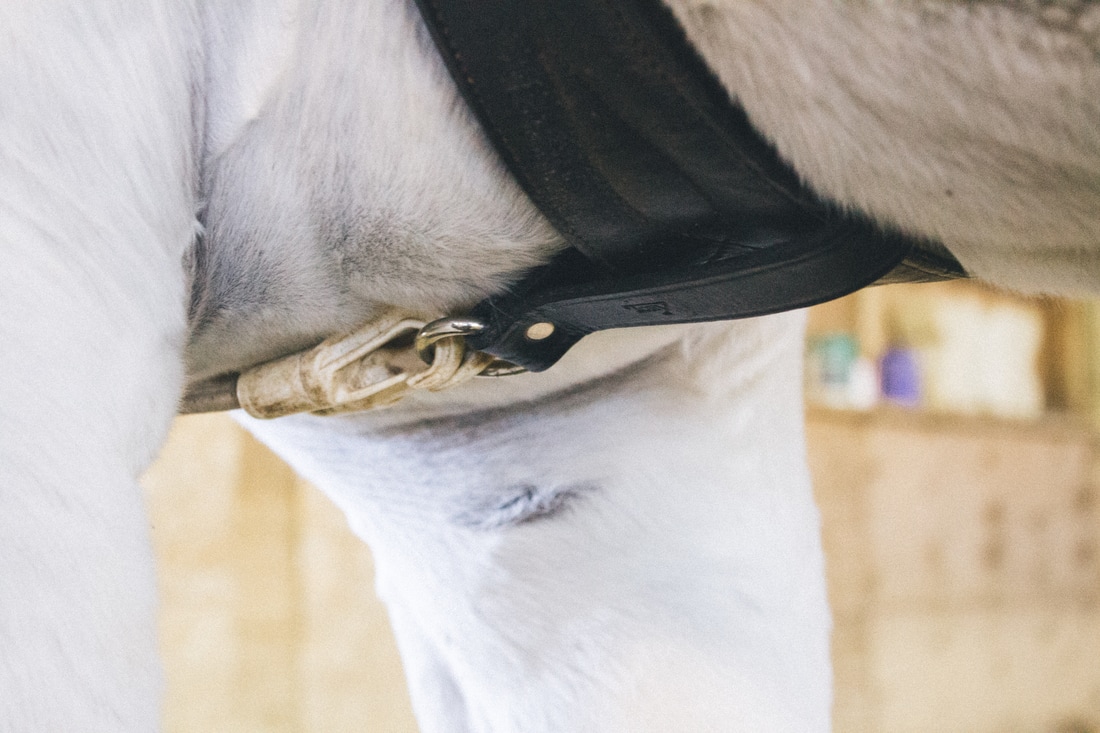
   There are many different pieces of equipment you can use to help train your horse or to help keep them fit. Many people are opposed to equipment because they feel it can be too harsh, used in the wrong hands anything can be made abusive. Used correctly, however, training equipment can improve your horse's way of going. The saying "work smarter, not harder" comes to mind. 
   
   Today we will be discussing the neck stretcher. This elastic attachment is to help encourage your horse's head down by putting pressure on their poll. The neck stretcher should be adjusted so when your horse moves their head into the correct position the elastic ropes relax and there is the relief of pressure. Your horse should also be able to have the freedom to reach their neck down and forward, stretching all the way through their back. The neck stretcher is a stationary piece of equipment, meaning it is not easily adjusted while riding. You would have to stop movement to change the tension in the elastic. Because of this it is important not to start out with the neck stretcher too tight, make sure you allow your horse plenty of warm up time before making it too tight.

Start with the adjustable piece behind your horse's ears at the poll.
Picture
Picture
Loop the ropes through the bit, going from outside to inside.
Then attach either between your horse's legs or to the sides of the girth.
Picture

Picture
   In this image you can see how when the horse is holding it's head in the desired position the neck stretcher is loose, allowing the horse to stay there comfortably. 
0 Comments

How To: Remove A Halter Plate

5/26/2017

0 Comments

 
Picture
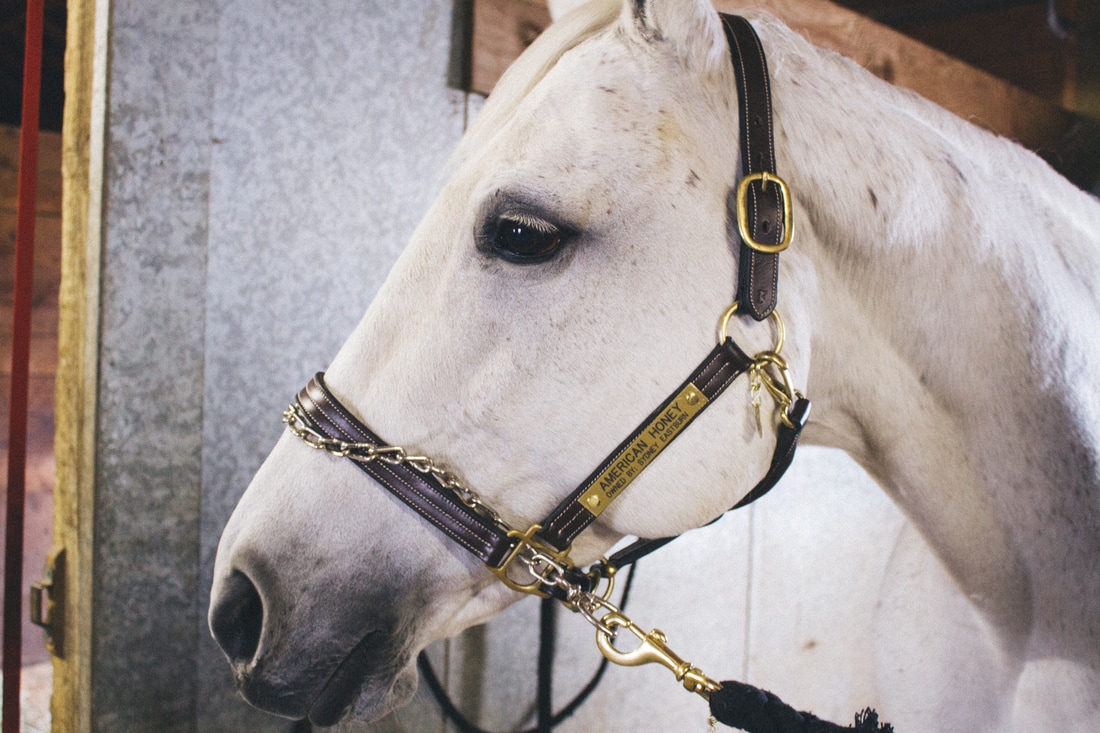
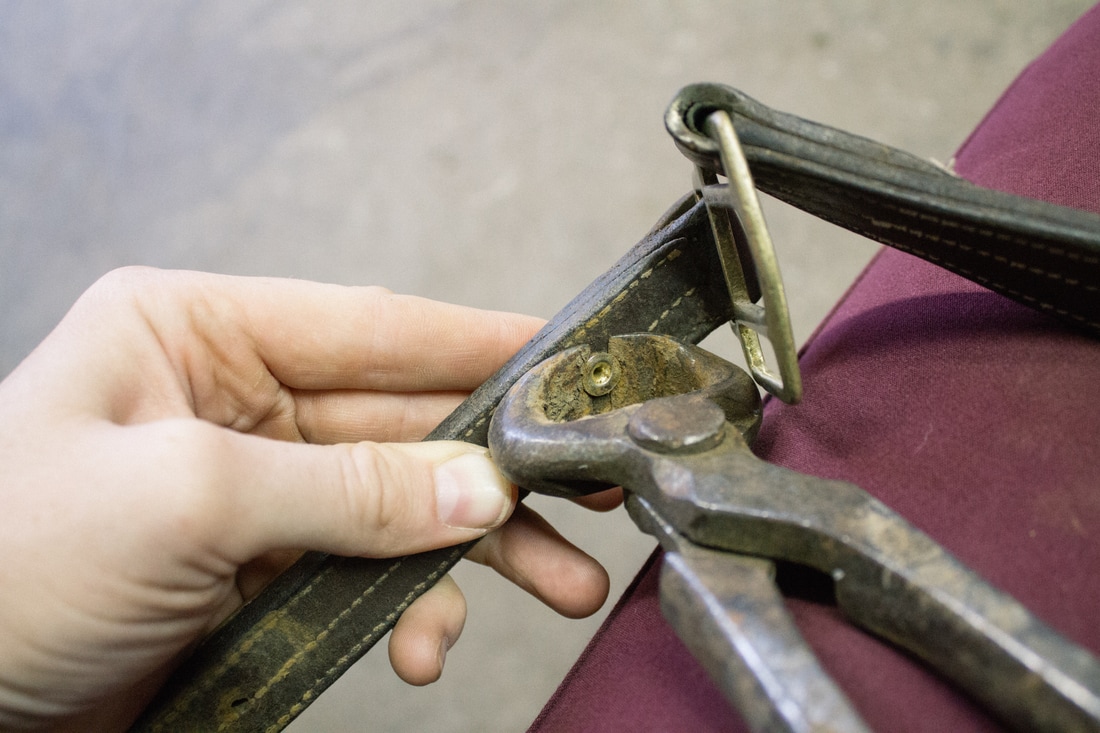
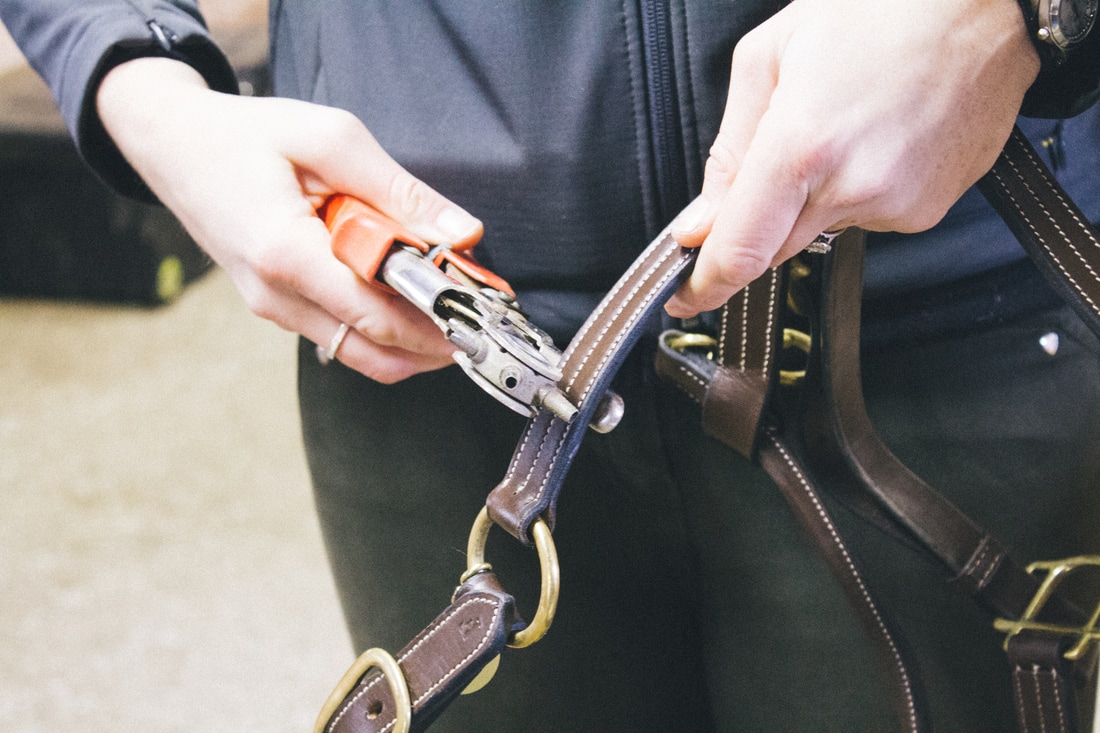
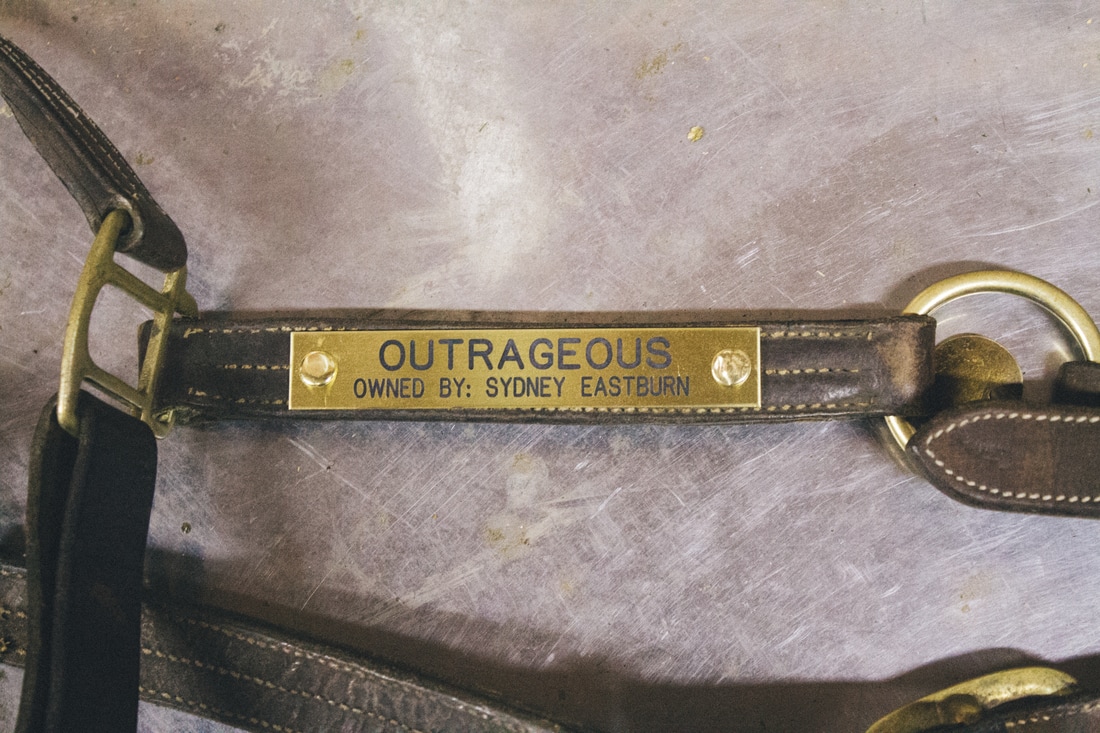
   Unfortunately, soon after learning how to somewhat successfully attach a halter plate, I had to learn how to take them off. My leather halters broke beyond repair so while I wait to get new ones I wanted to make sure my nameplates stayed safe. The best piece of equipment I found is a pair of farrier nippers.
Picture

Picture
   Push the rivet away from the leather on the back side so you can get the nippers around the rivet. Be sure to be careful to not catch the leather in the way (if you are worried about saving the leather). Then clamp the nippers shut and spin and wiggle till the end pops off. The rivet then will easily separate from the nameplate. Such a simple process! 

   Most barns have a pair of nippers for emergency shoe removal, but if not I'm sure you could borrow your farrier's the next time you see them!
0 Comments

How To: Attach A Halter Plate

5/20/2017

0 Comments

 
Picture
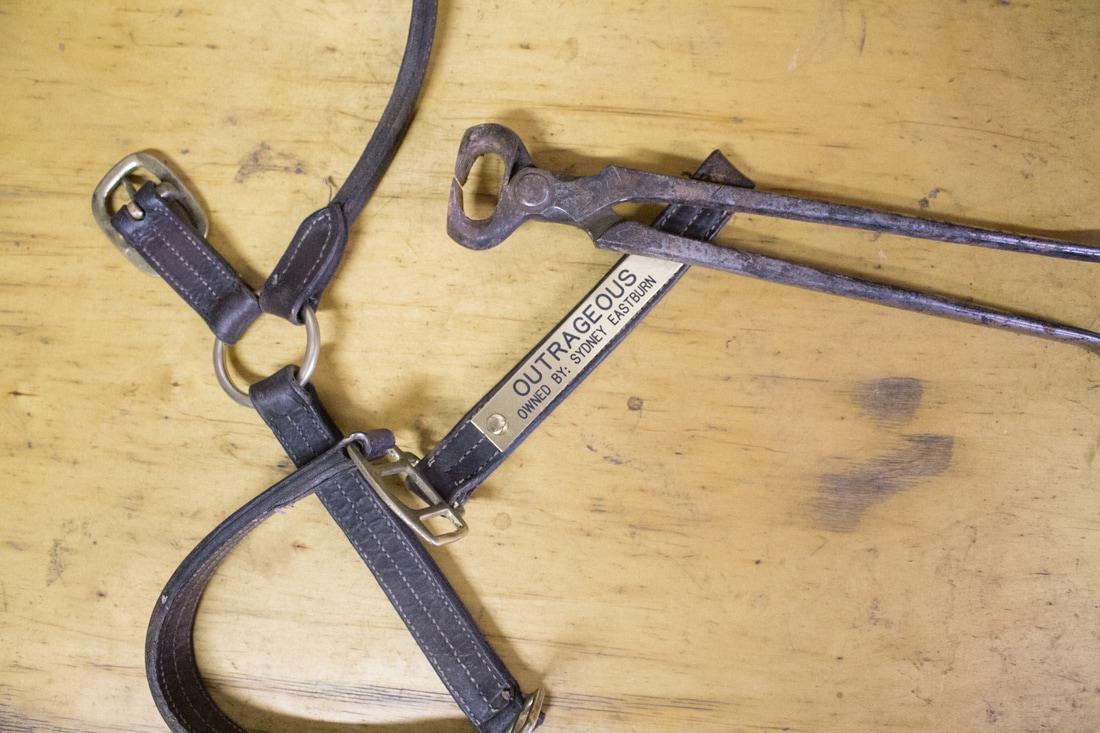
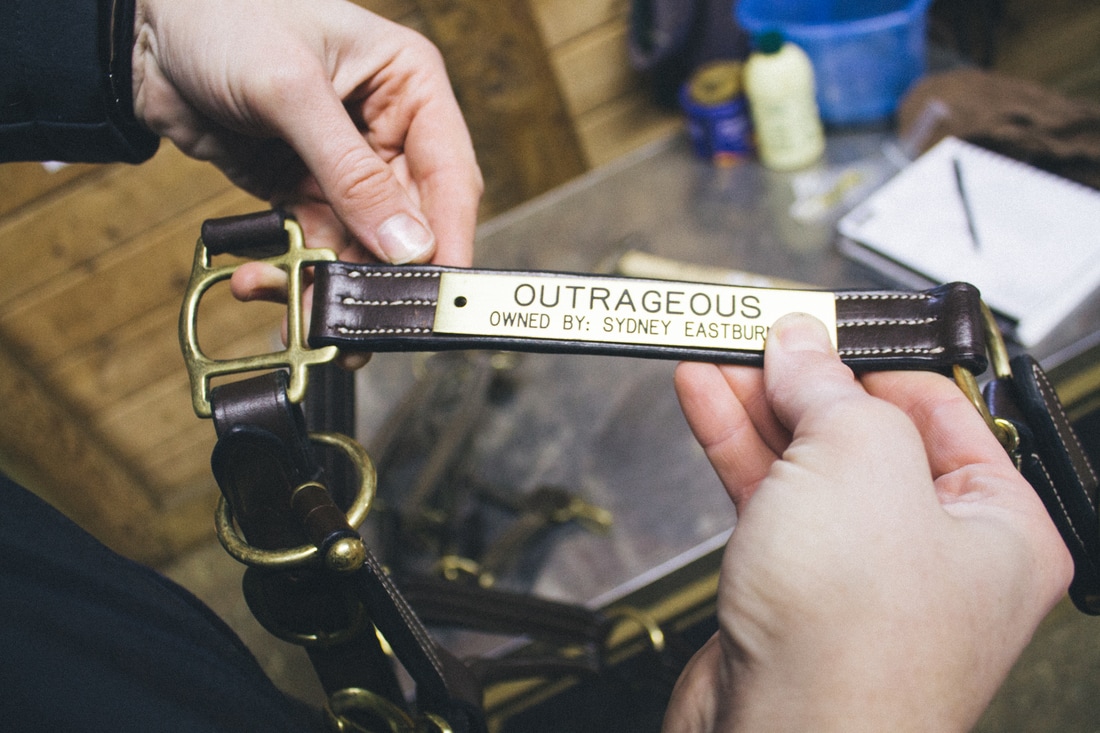
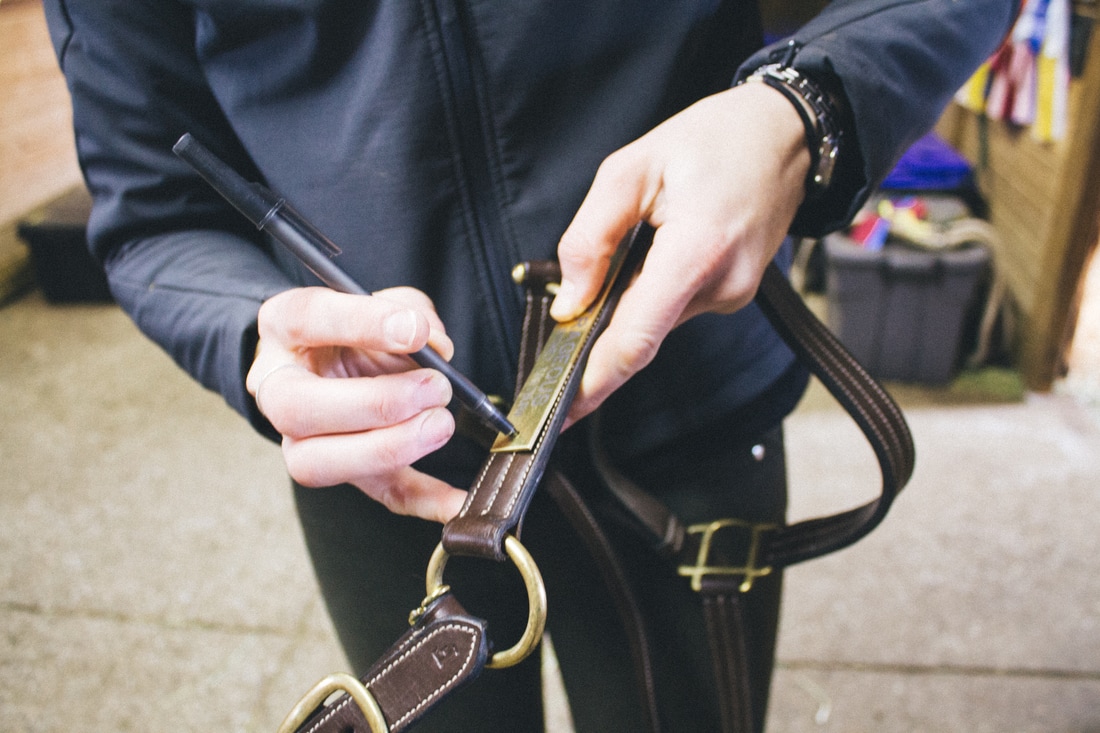
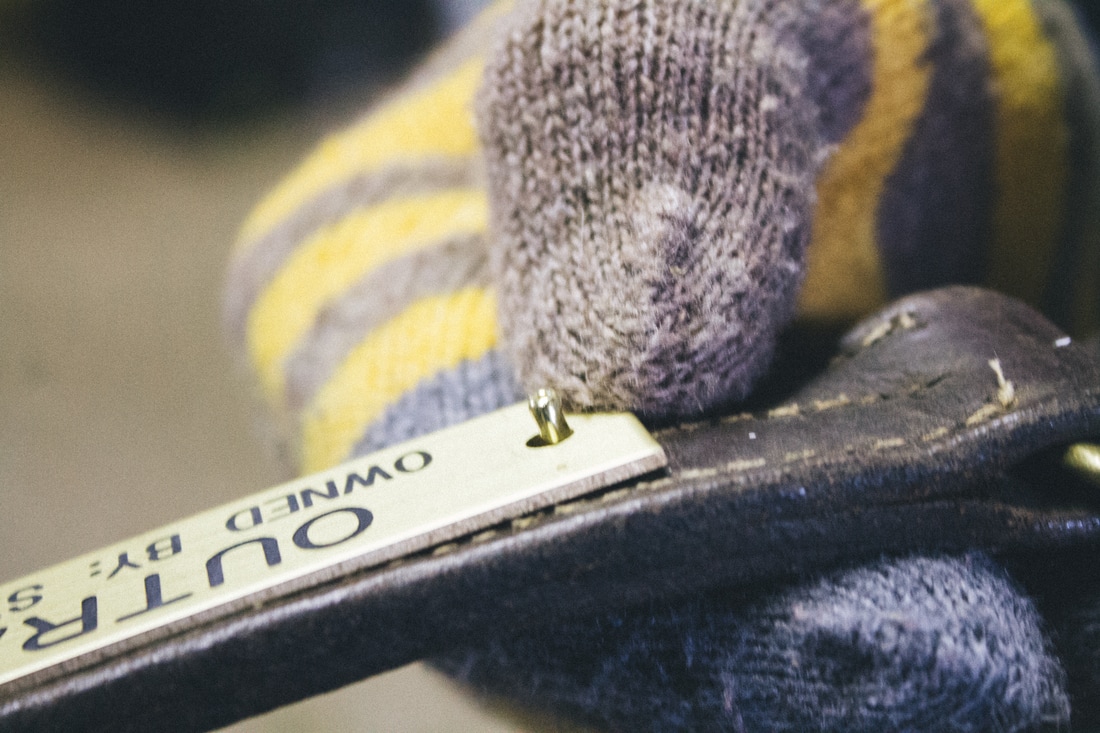
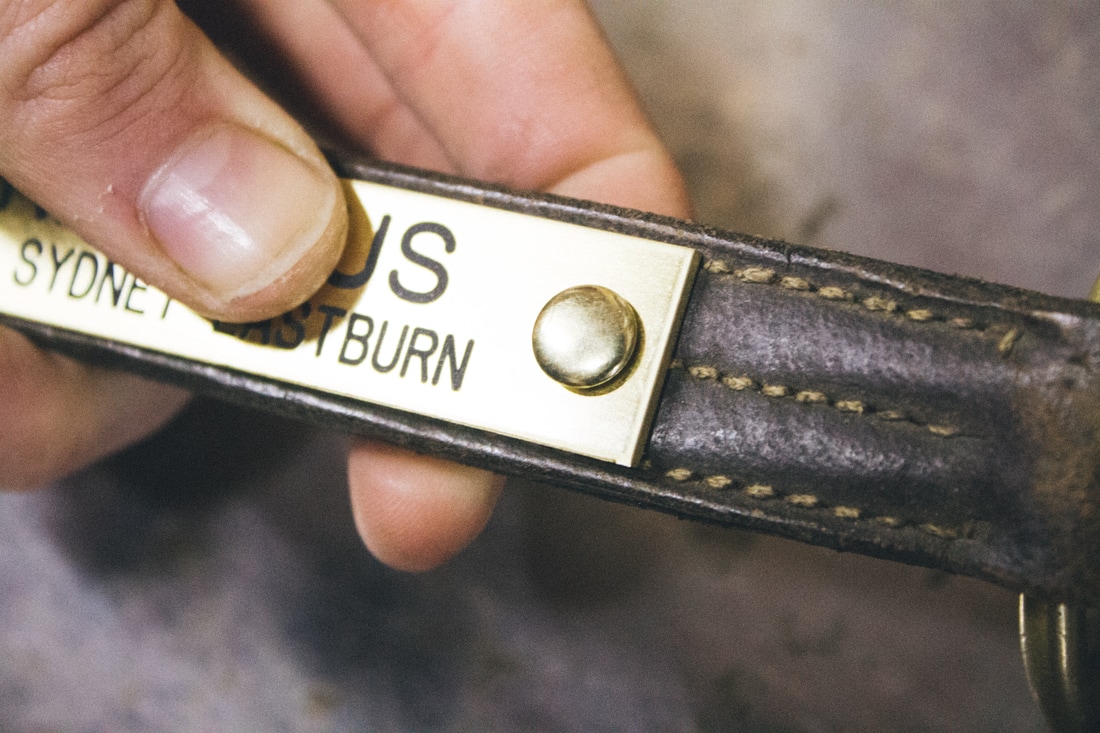
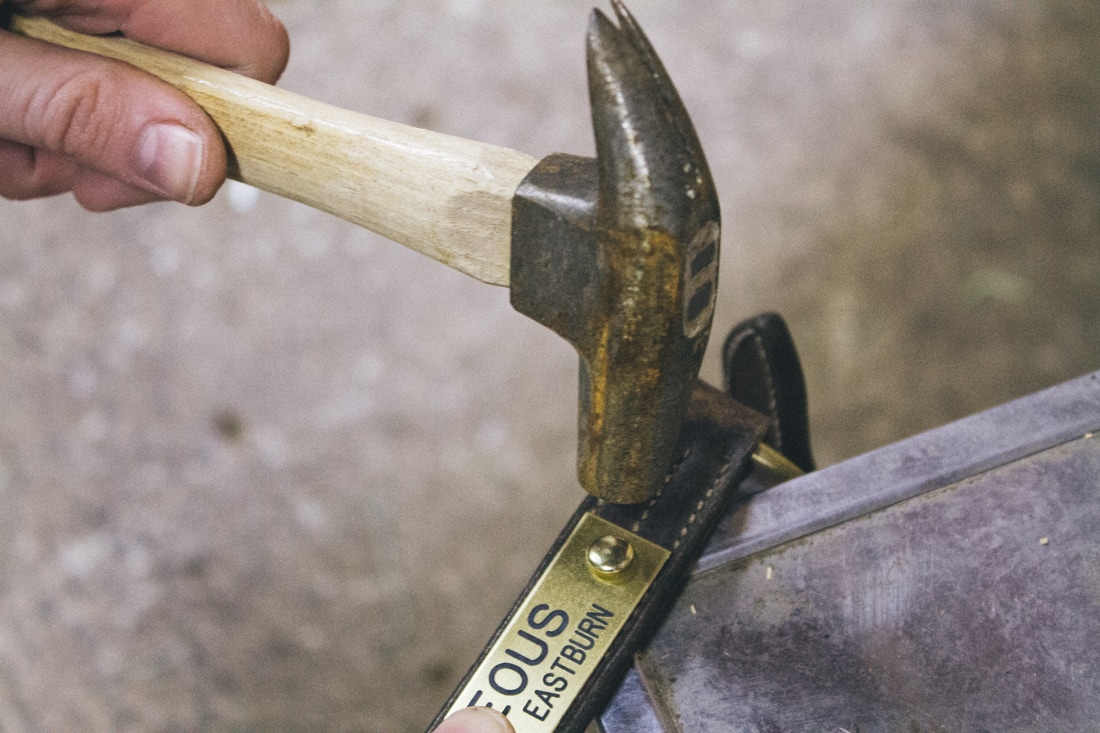
   I've always seen these beautiful leather halters with brass nameplates and just thought there was some magical factory that put these plates on halters. Well, recently I finally got nameplates for my horses and realized that there wasn't some factory that just put these on. Now, if you live in an area with a fancy tack store that can do this for you, great. I don't so it turned into a great DIY project. Below are the steps I took to attach my nameplates.

Picture
Decide where you want the plate and measure it out.

Mark the locations of the holes on the leather.
Picture

Picture
Punch holes in the halter at the marked spots.

Insert the copper rivet with the post sticking out the front.
Picture

Picture
Place the halter plate over the posts then place cap over the first post.

Find a hard surface and a wide headed hammer and flatten the cap on the post. Repeat on other side.
Picture

Picture
Voila!
0 Comments

How To: Tie Up a Lead Rope

5/4/2017

0 Comments

 
Picture
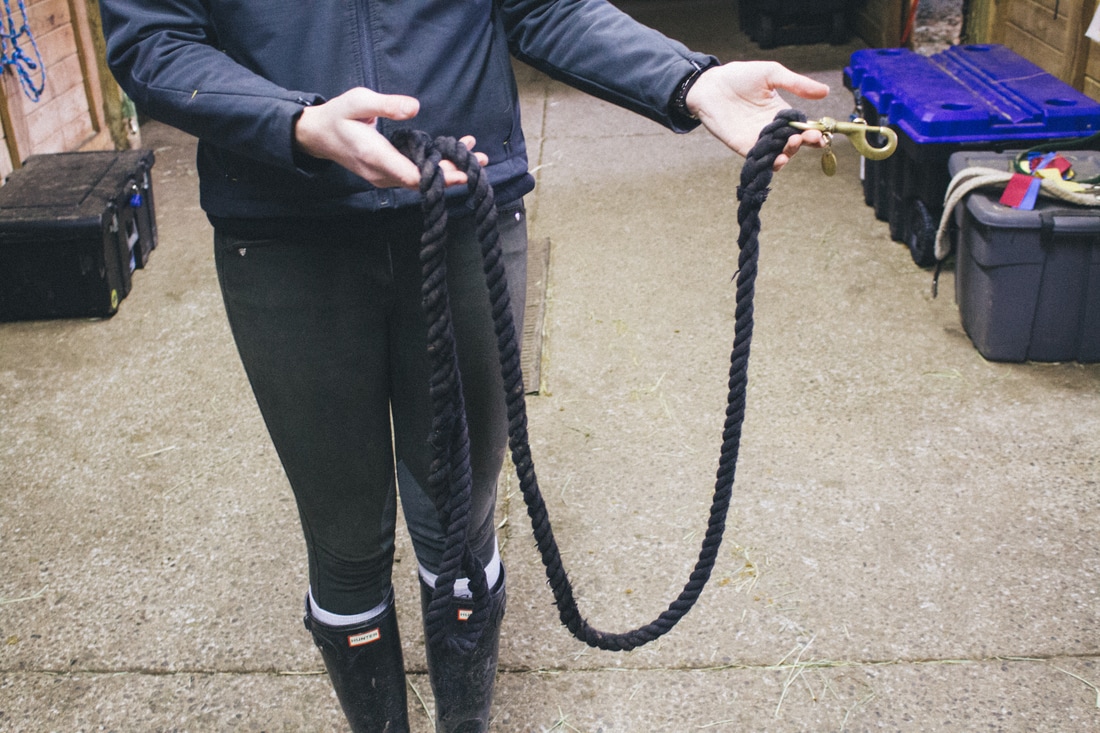
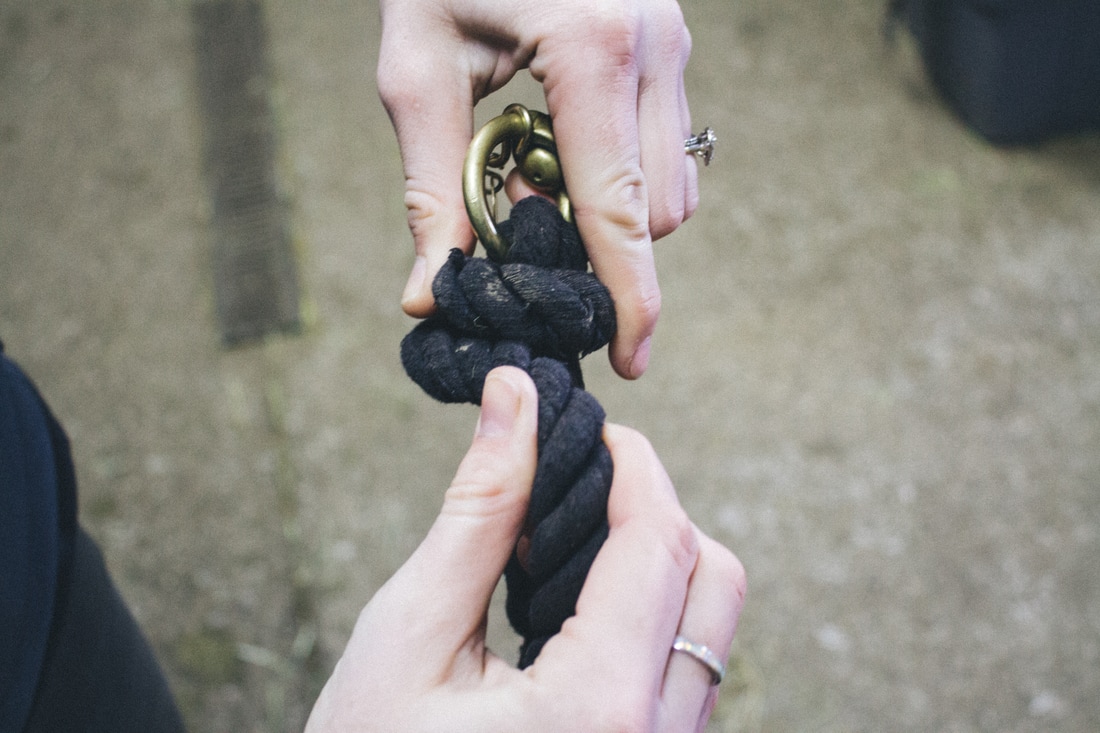
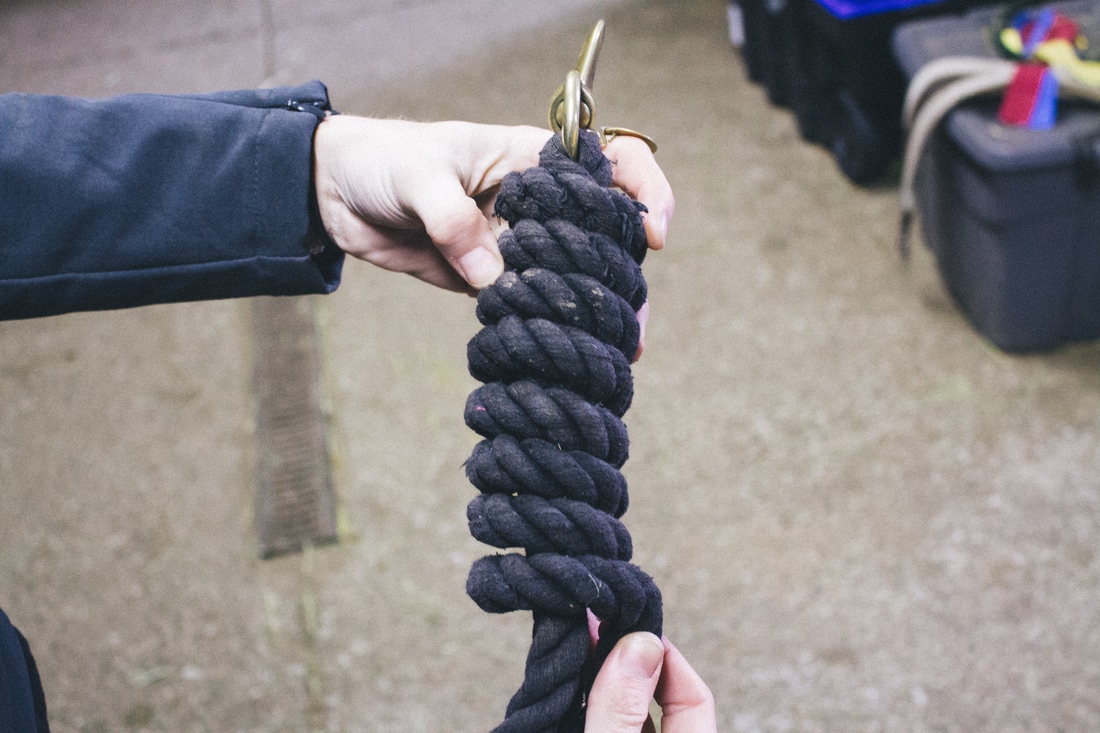
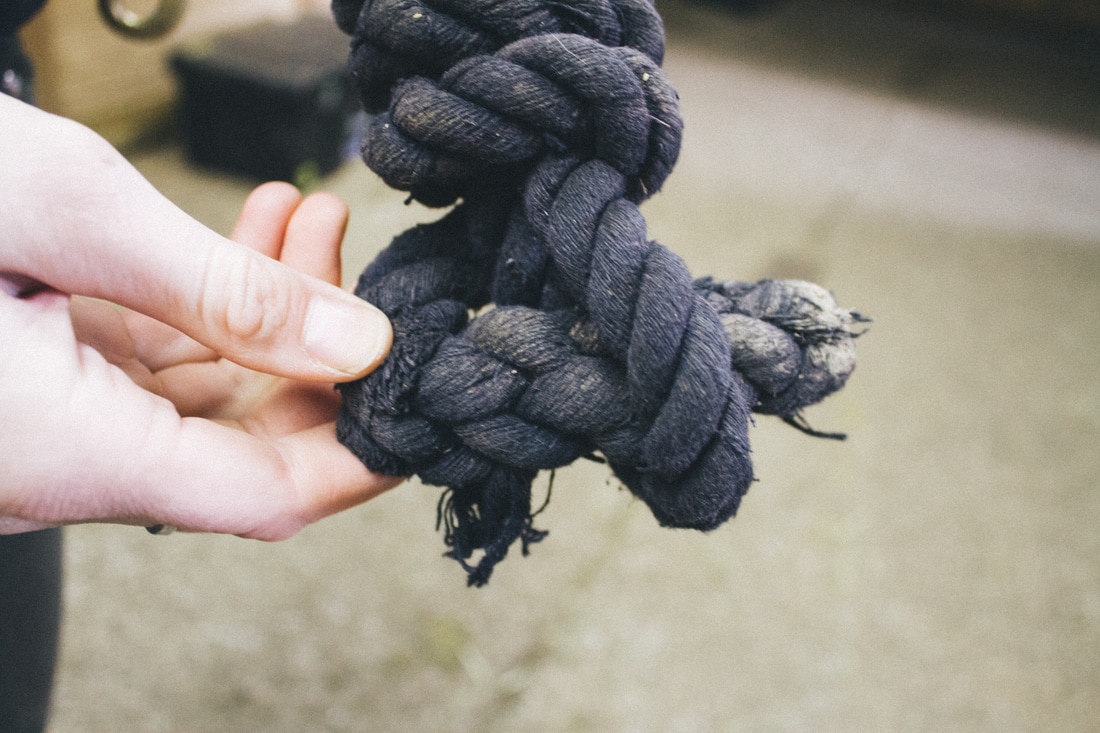
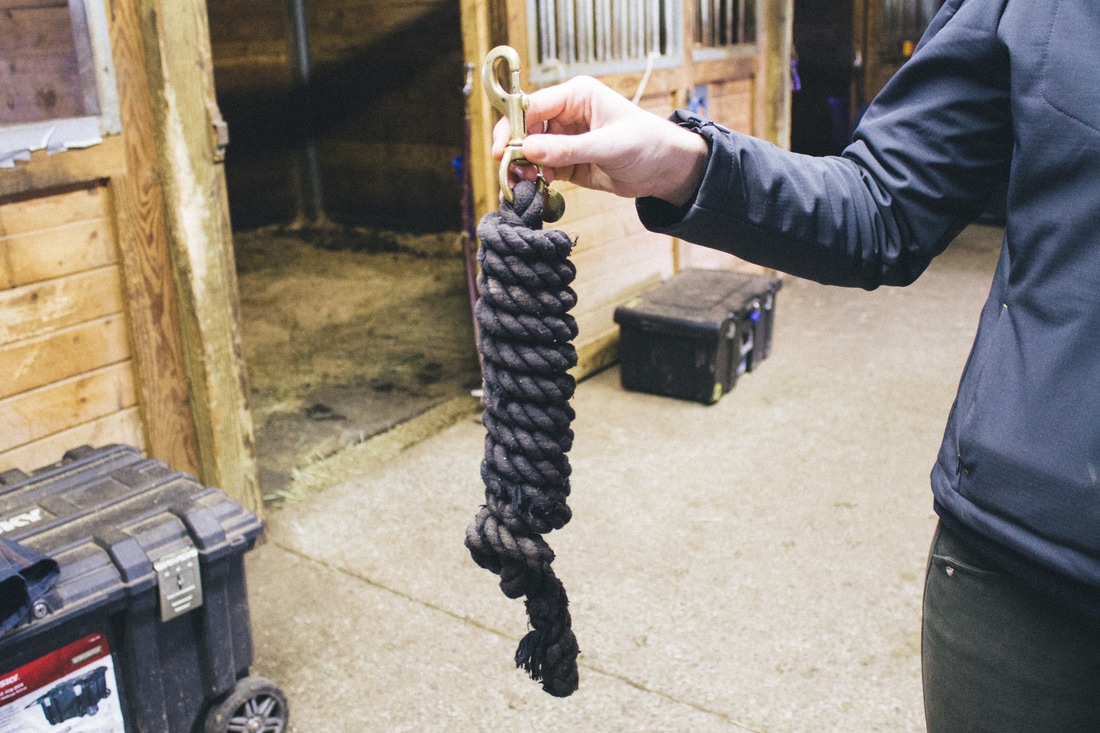
   Ever see lead ropes all wrapped up in fancy show barns making the halters look so neat and organized? Wrapping up your lead rope is not only a good way to keep your horse's stall front looking nice but it also an easy way to keep extra lead ropes from getting tangled.  Read below for the easy steps to tie up your lead rope.

Picture
Start with your lead rope fully straightened out and free of knots.

Fold over a small section of the lead rope, less than 1/4. 
Picture

Picture
Start wrapping the extra rope around the folded over section starting at the top. Make sure to hold the top tightly until you have wrapped it a couple of times. 

Go around, and around, and around.
Picture

Picture
Wrap until you get to the bottom, leave a small loop.

Tuck the end through the loop at the bottom.
Picture

Picture
All done! Looking good!
0 Comments

How To: Hold a Crop Correctly

5/1/2017

0 Comments

 
Picture
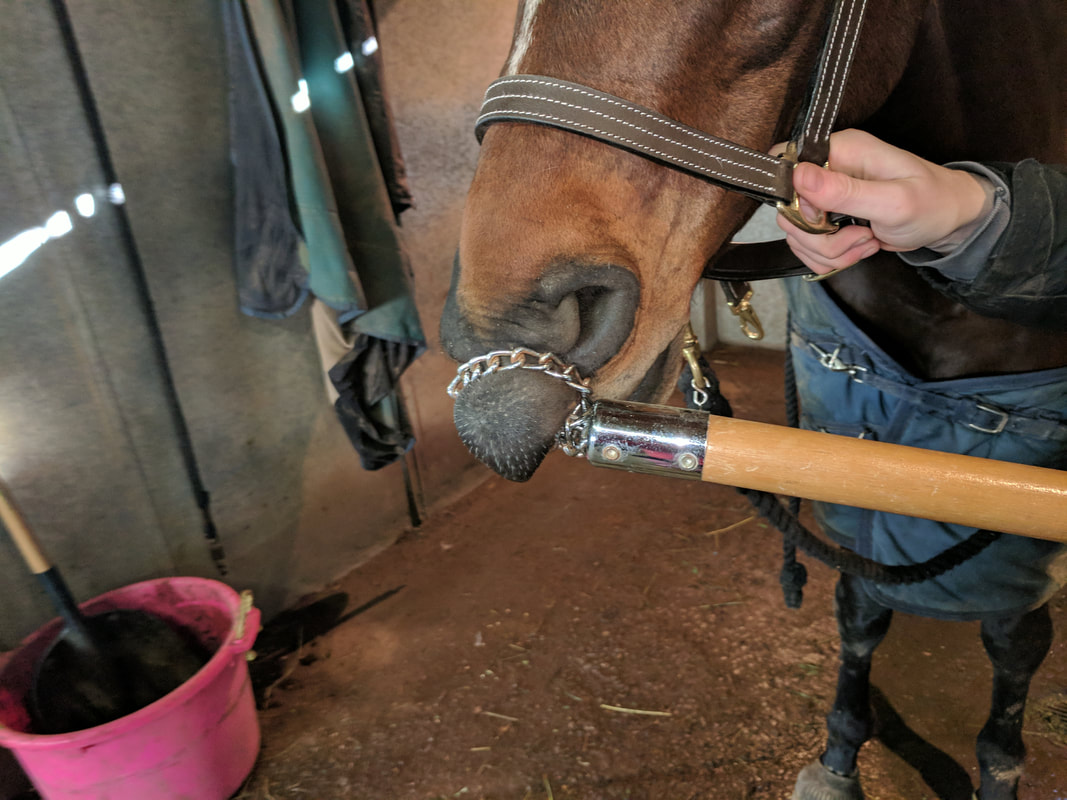
   Holding a crop is something many riders off all levels do. Sometimes horses need encouragement to go forward, a crop can be used to reinforce something you are telling your horse with your leg, or it can be used to discourage bad behavior. The crop can be held in either your inside or outside hand, it depends on what you are trying to accomplish. When your crop is not in use it should be kept resting across your thigh. This keeps the crop from waving around on accident, prevents unwanted slaps on the shoulder, and keeps the rider from breaking their wrists. The crop with rest through the middle of the hand with the thumb on top securing the crop in place. 
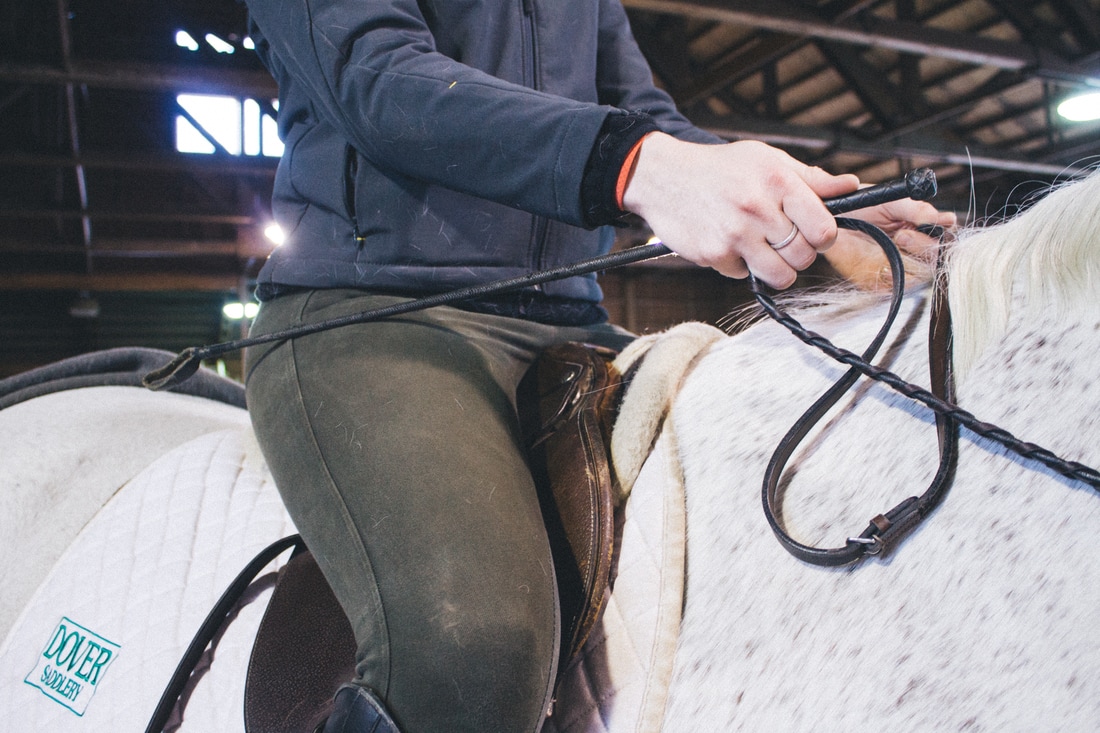
Picture
0 Comments
<<Previous
    Picture

    Instagram


    Categories

    All
    About
    Anatomy
    Barn Tours
    Book Club
    Book Review
    Career Panel
    Clipping
    College
    Equipment
    Etiquette
    Grooming
    How To
    Interviews
    Product Review
    Riding
    Road To RRP 2019
    Show Ready
    Transformations
    Videos


    Picture
    * indicates required

    Sponsors

    Cantera Equestrian
    Cantera Equestrian

    Picture
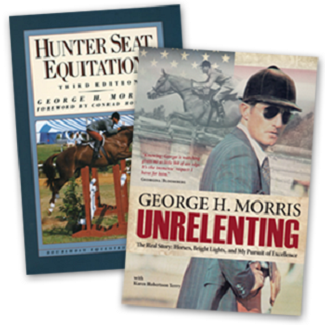
    Trafalgar Square Books
    Interested in sponsoring The Barn Rat? Be sure to contact us here!
© COPYRIGHT 2022. ALL RIGHTS RESERVED.